Simple field meals: Potatoes in gravy

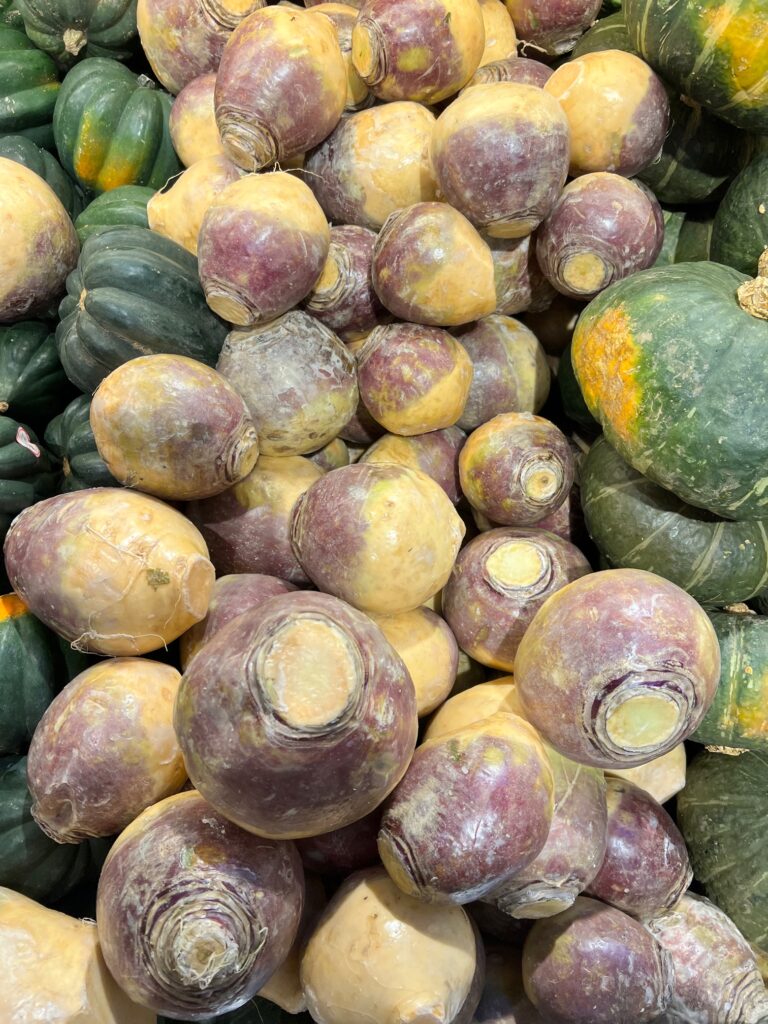
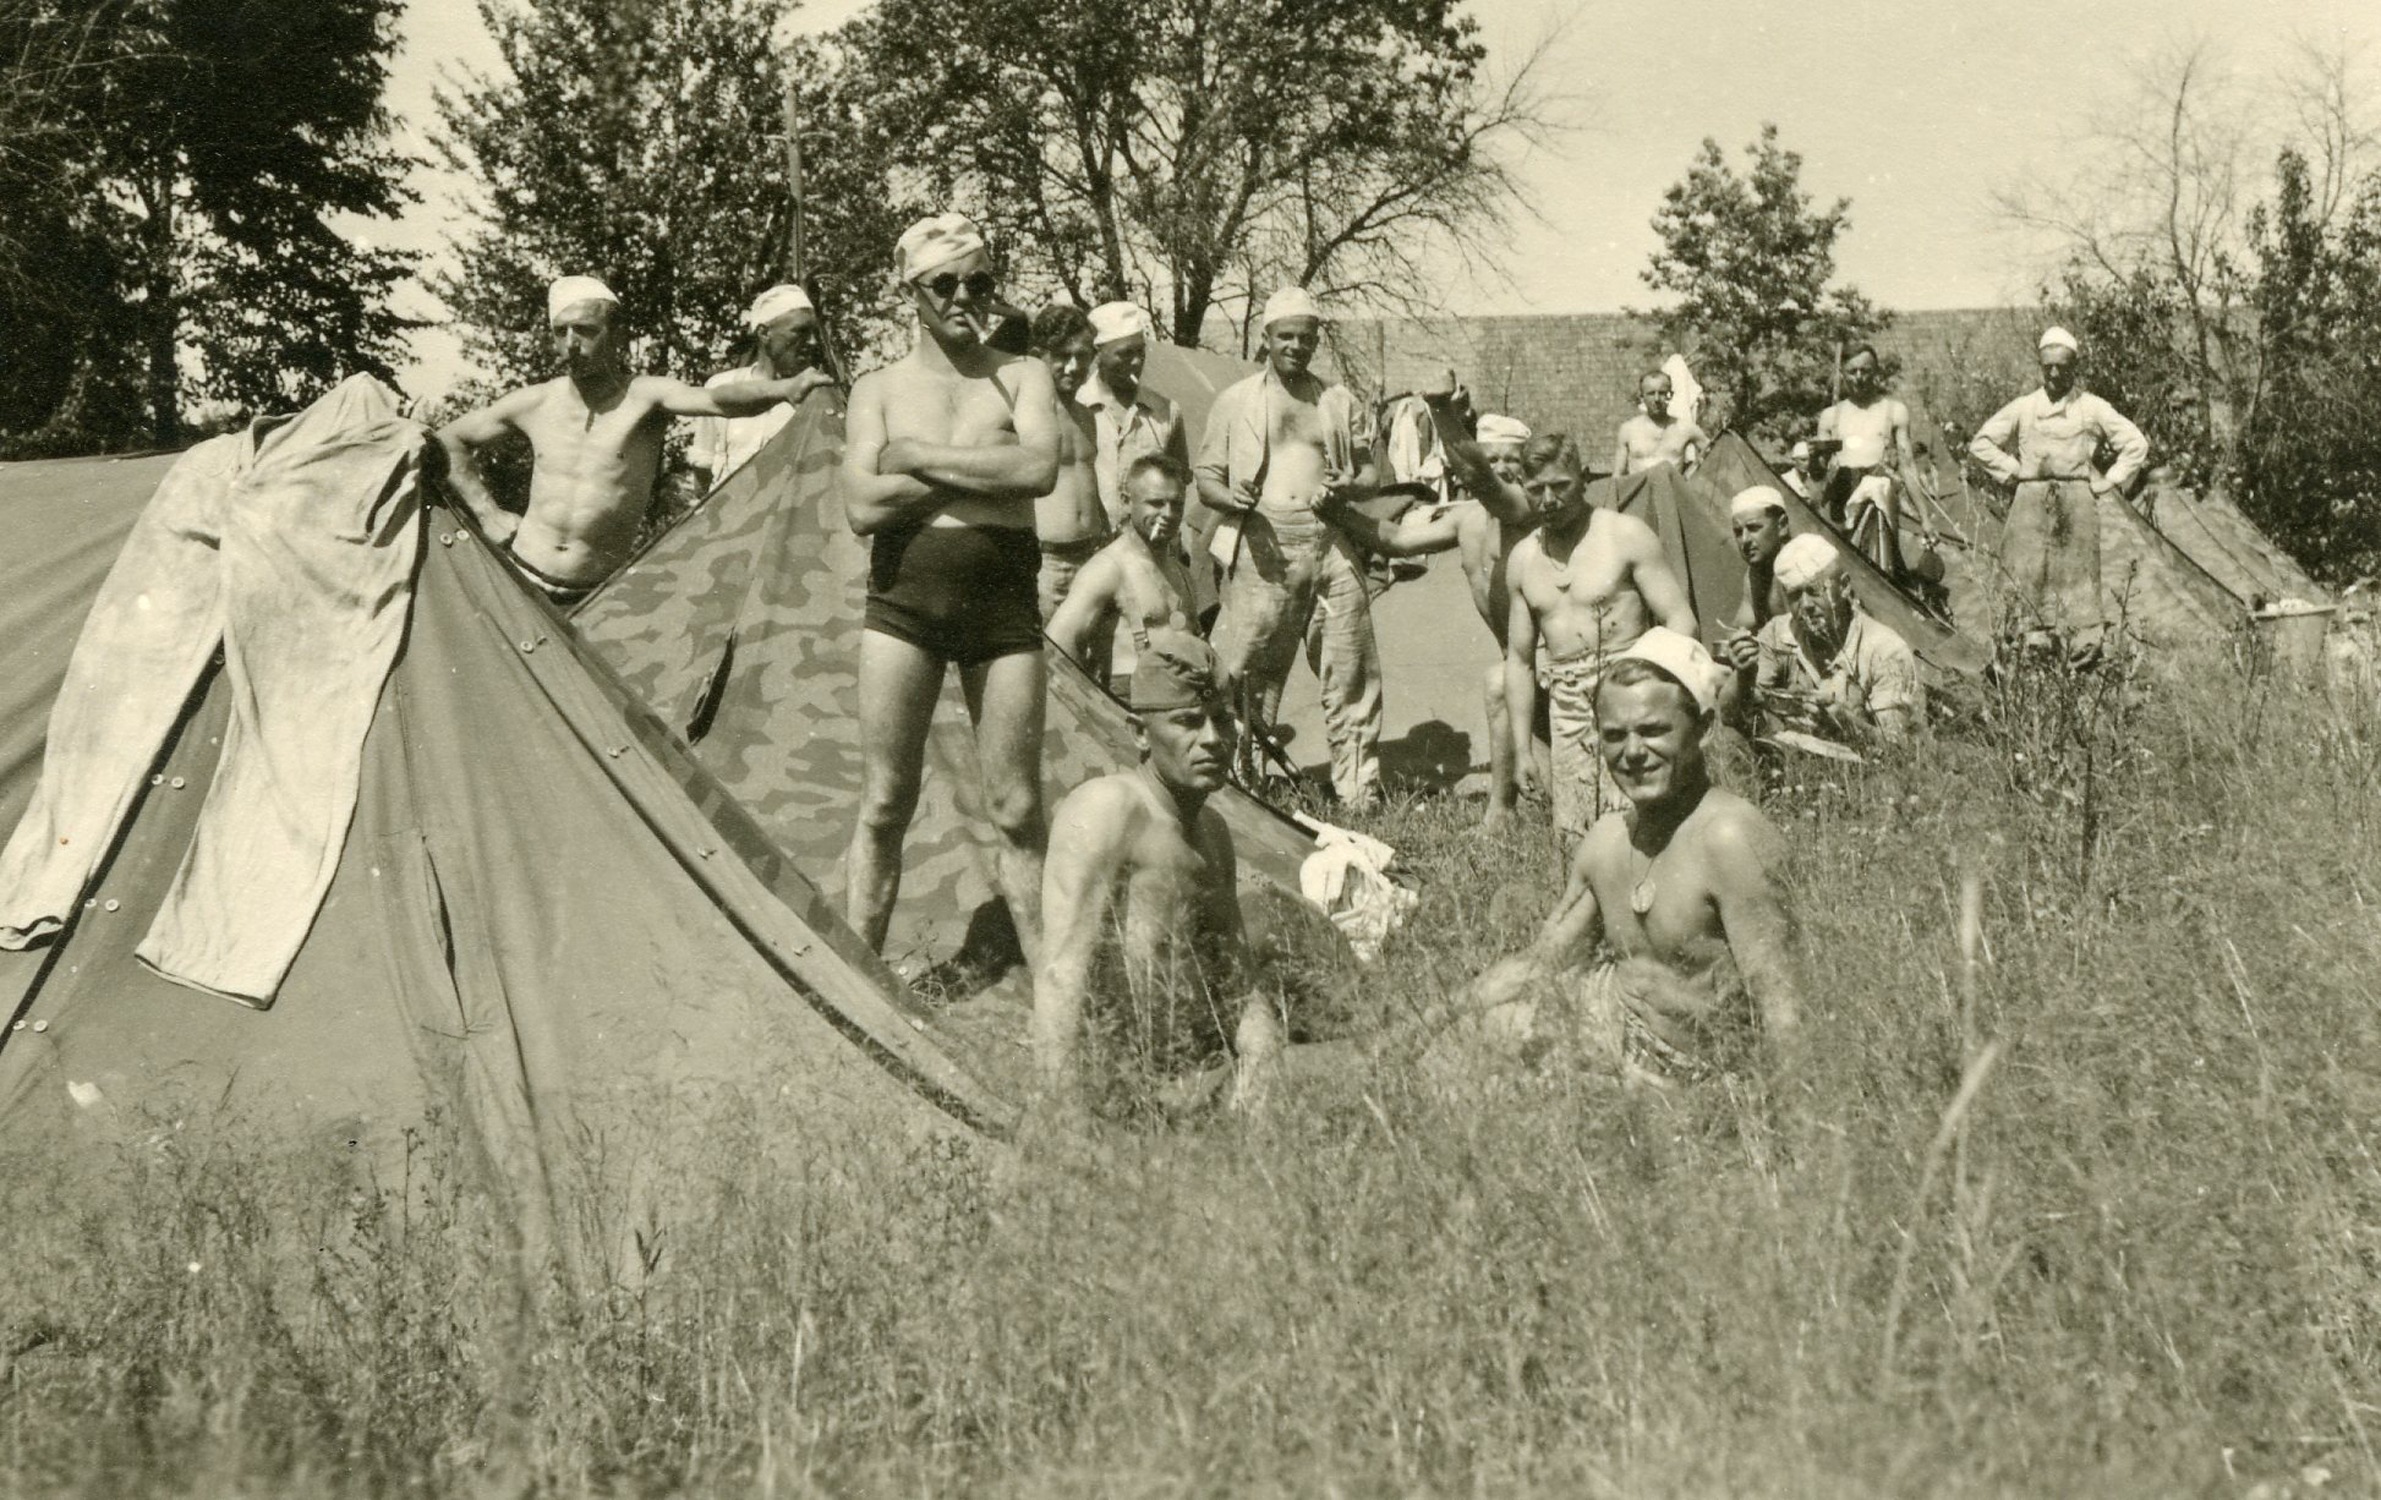
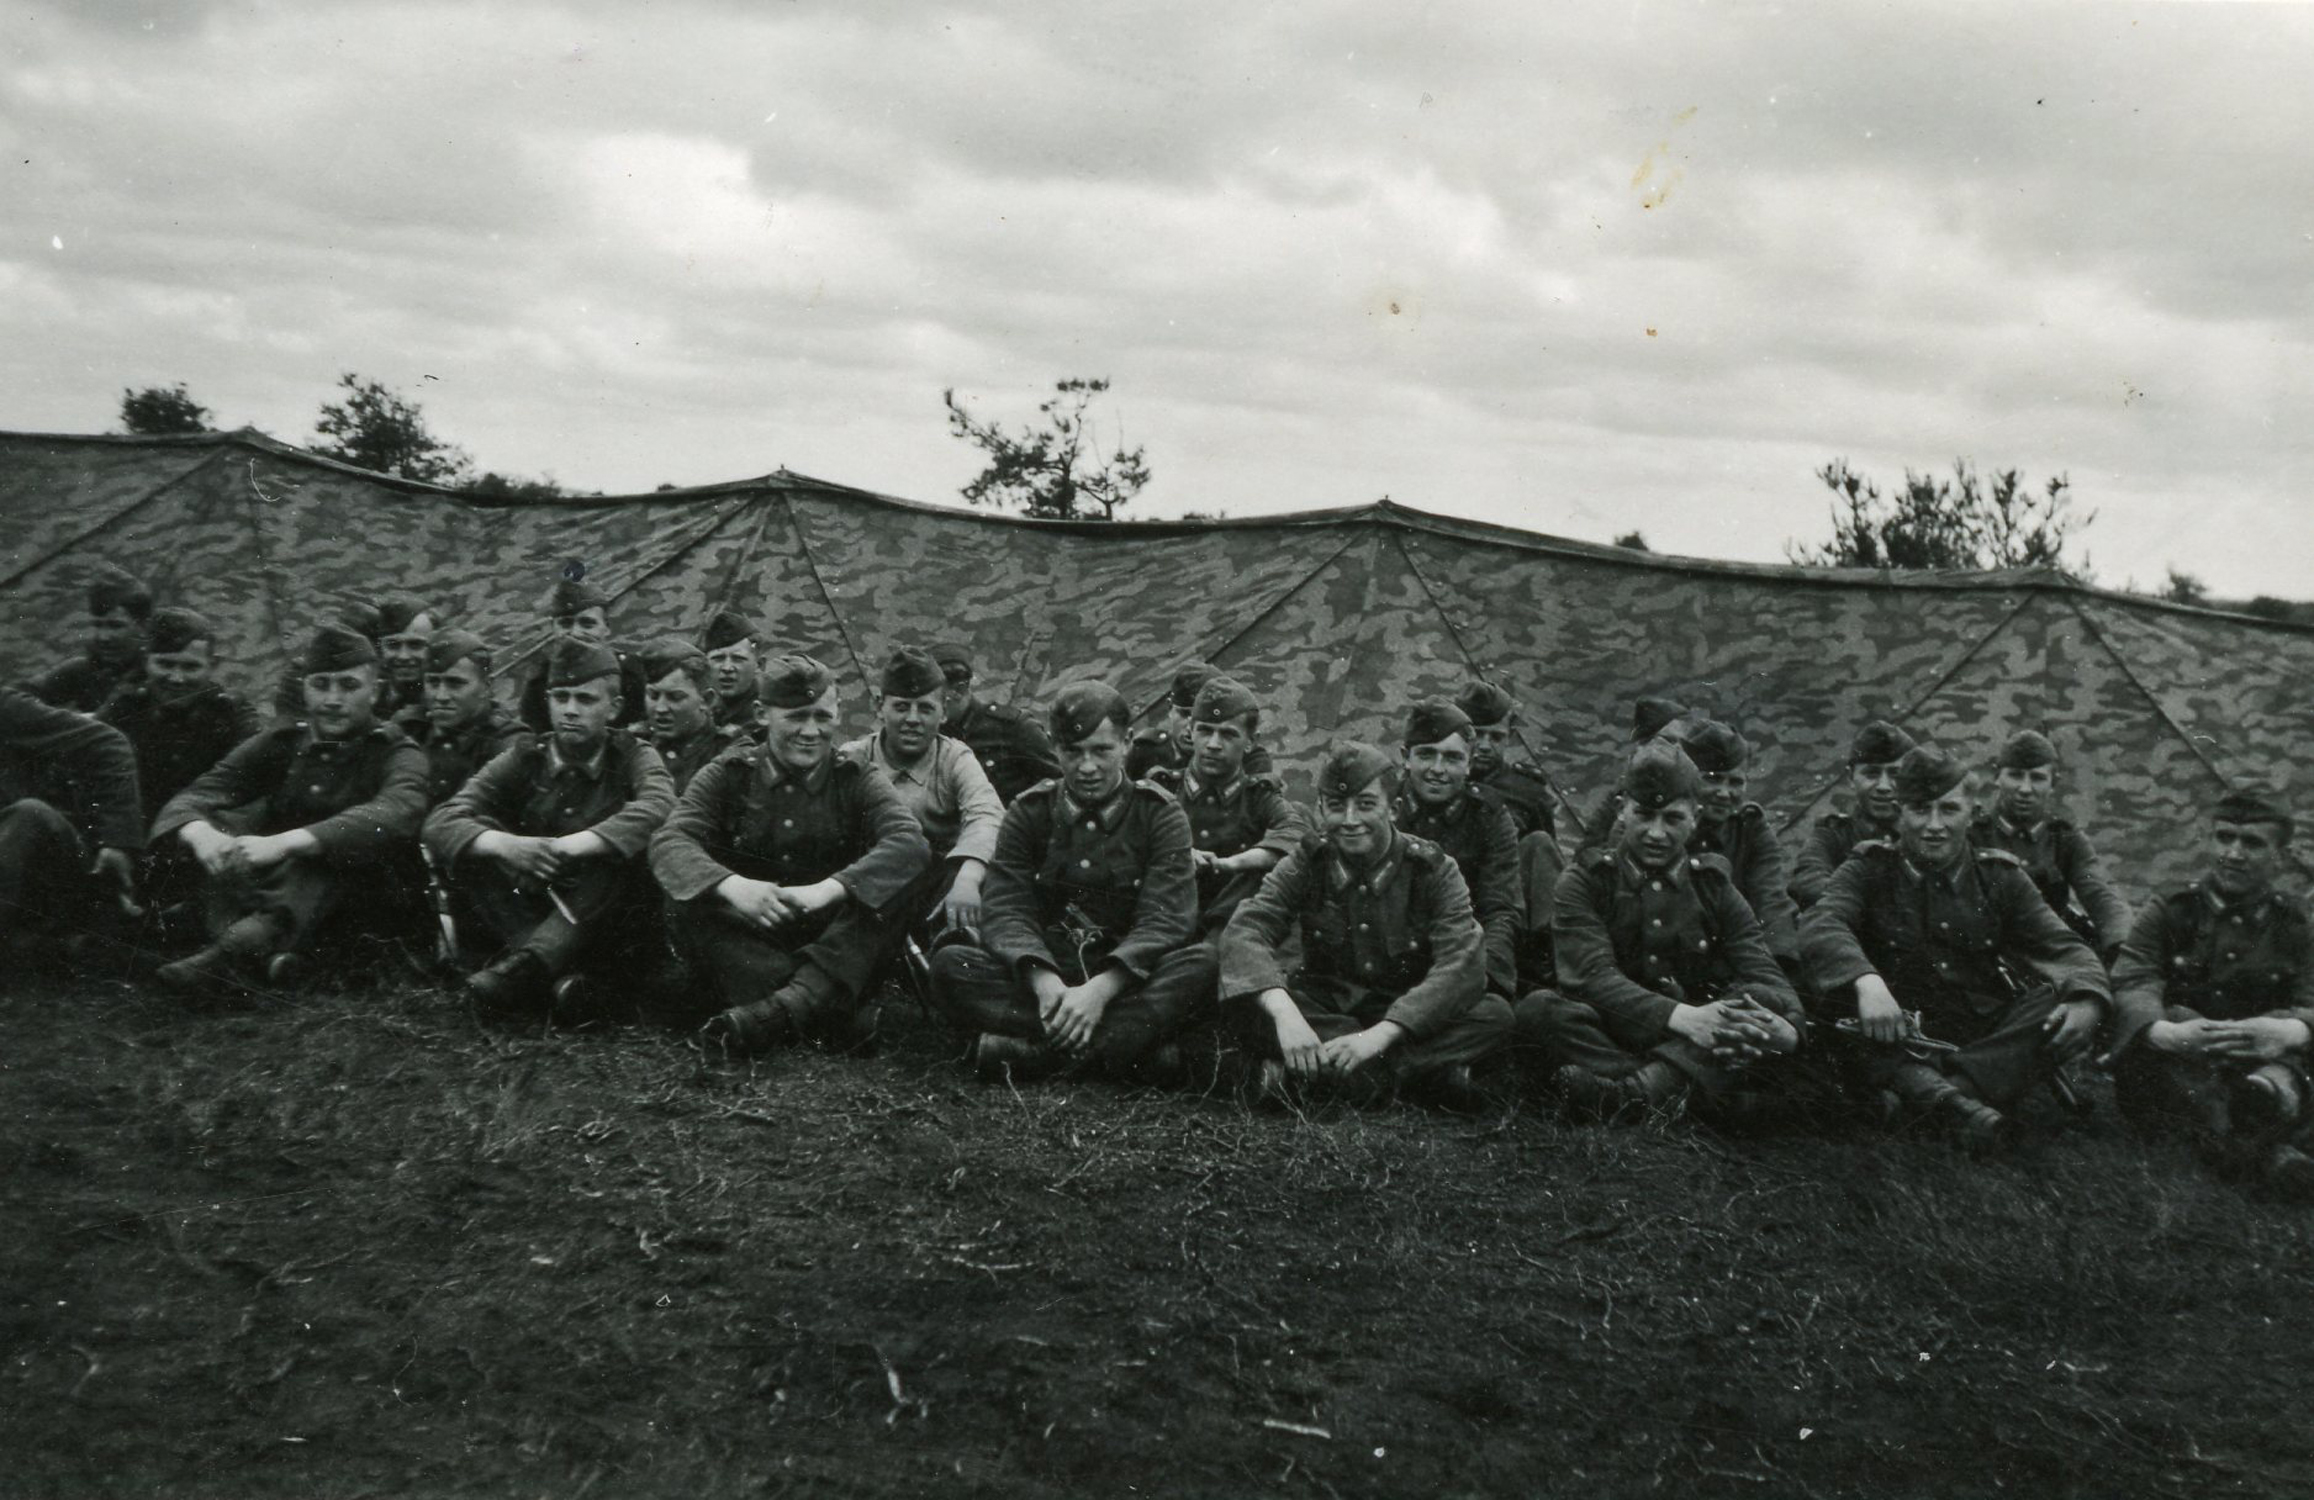
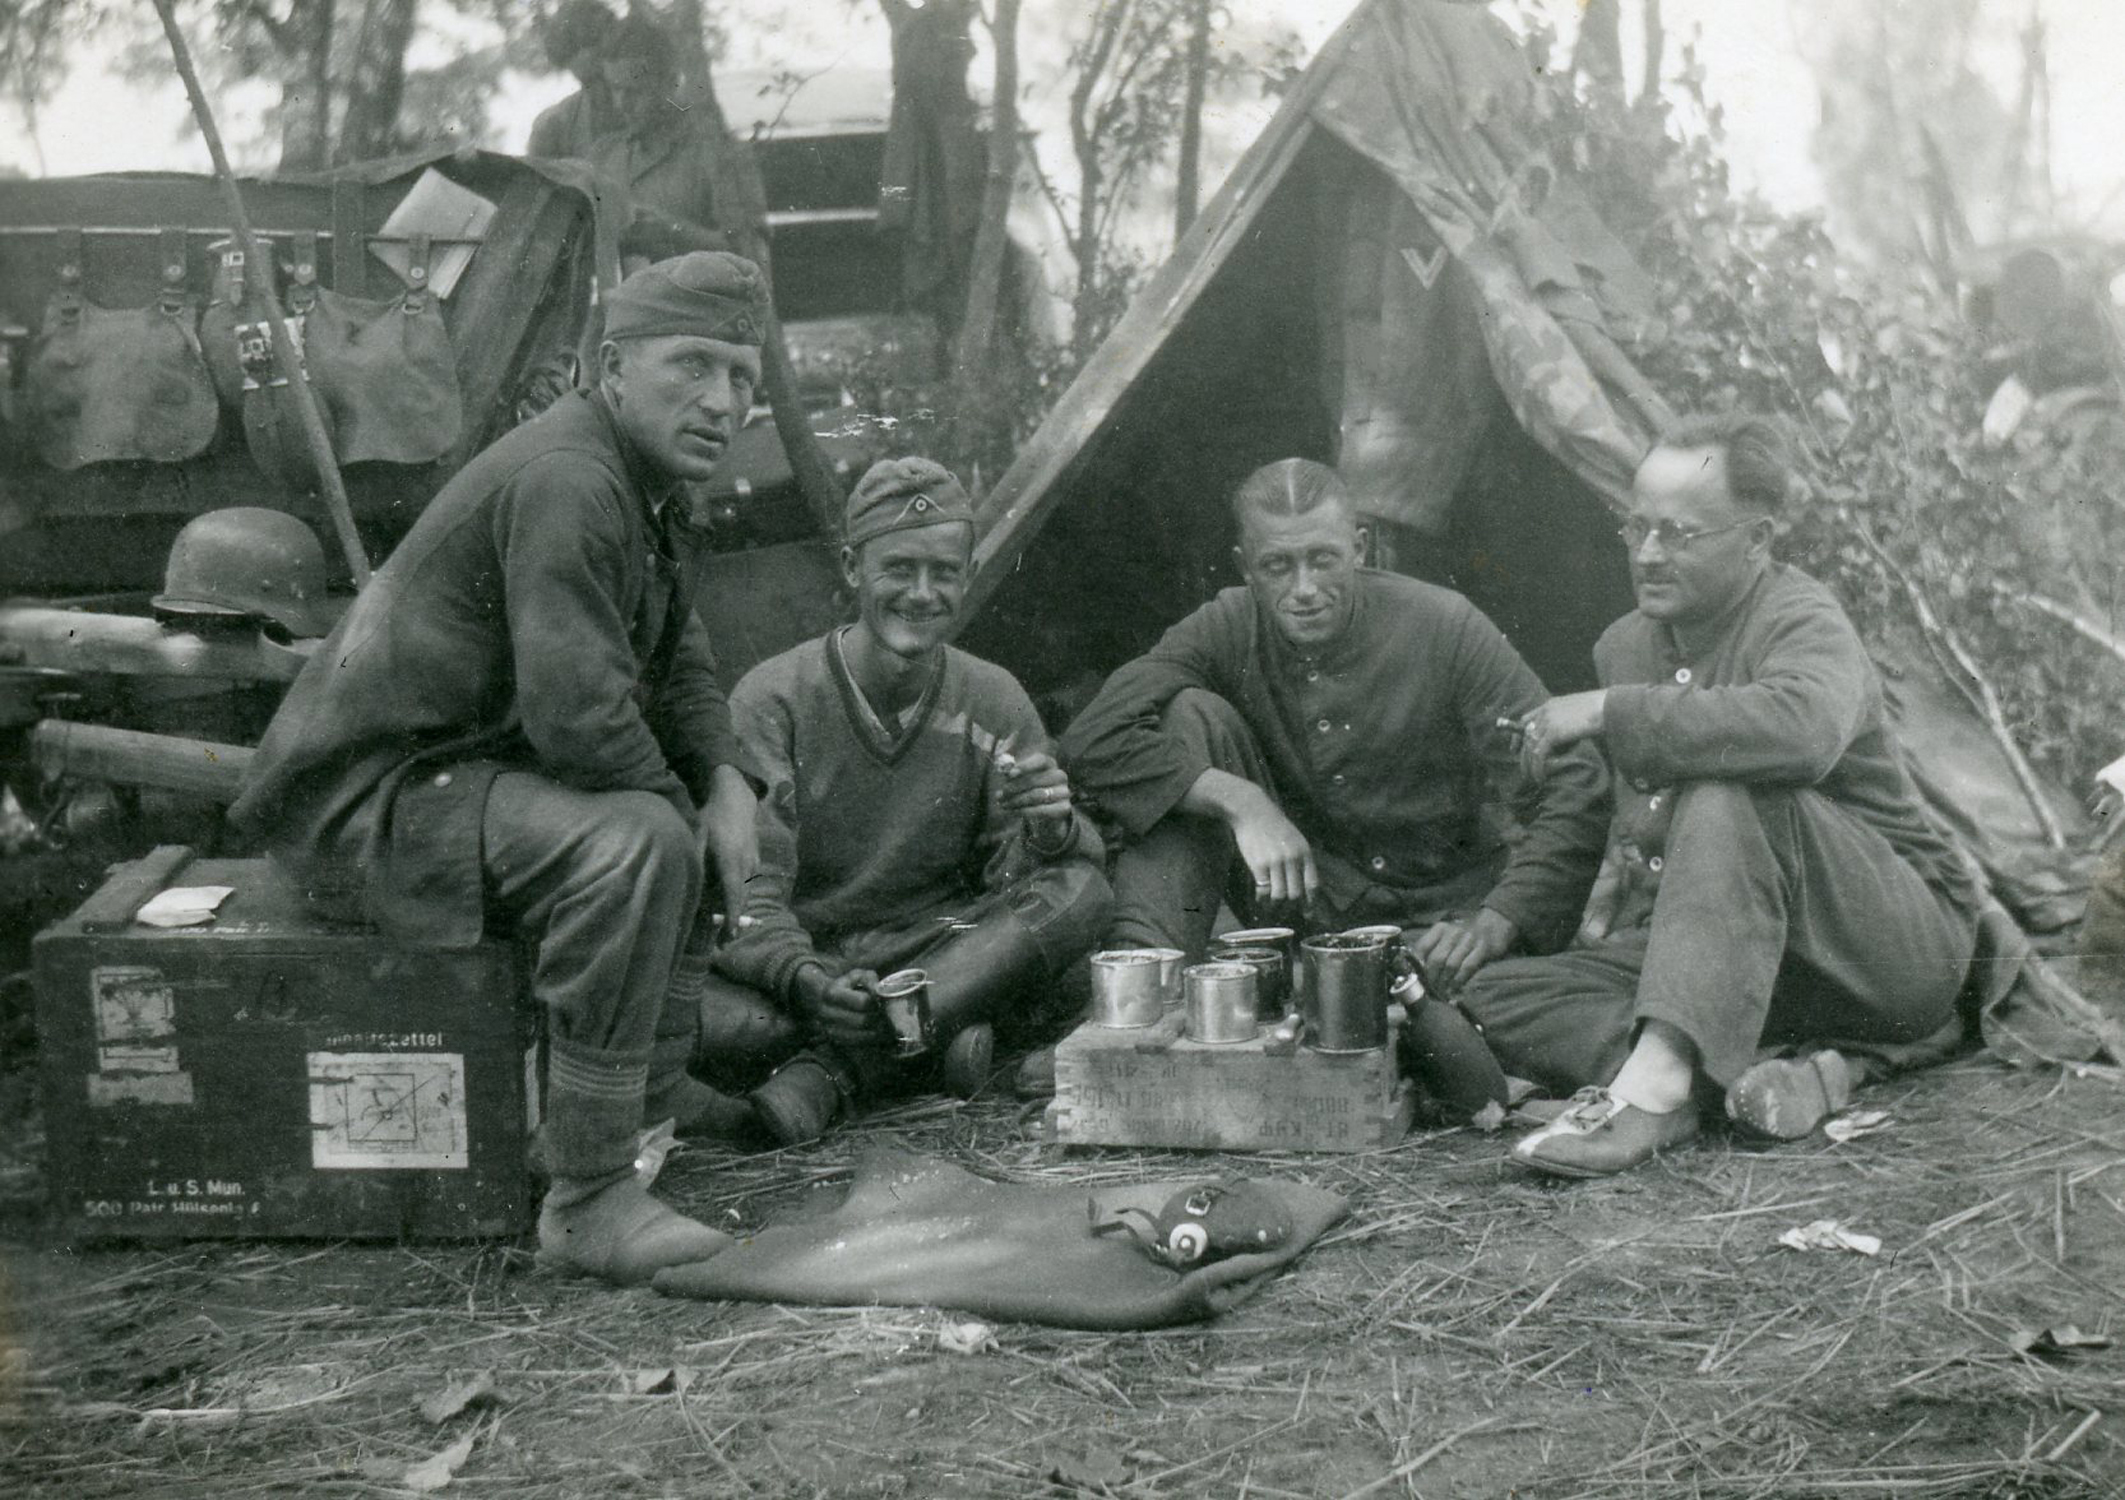
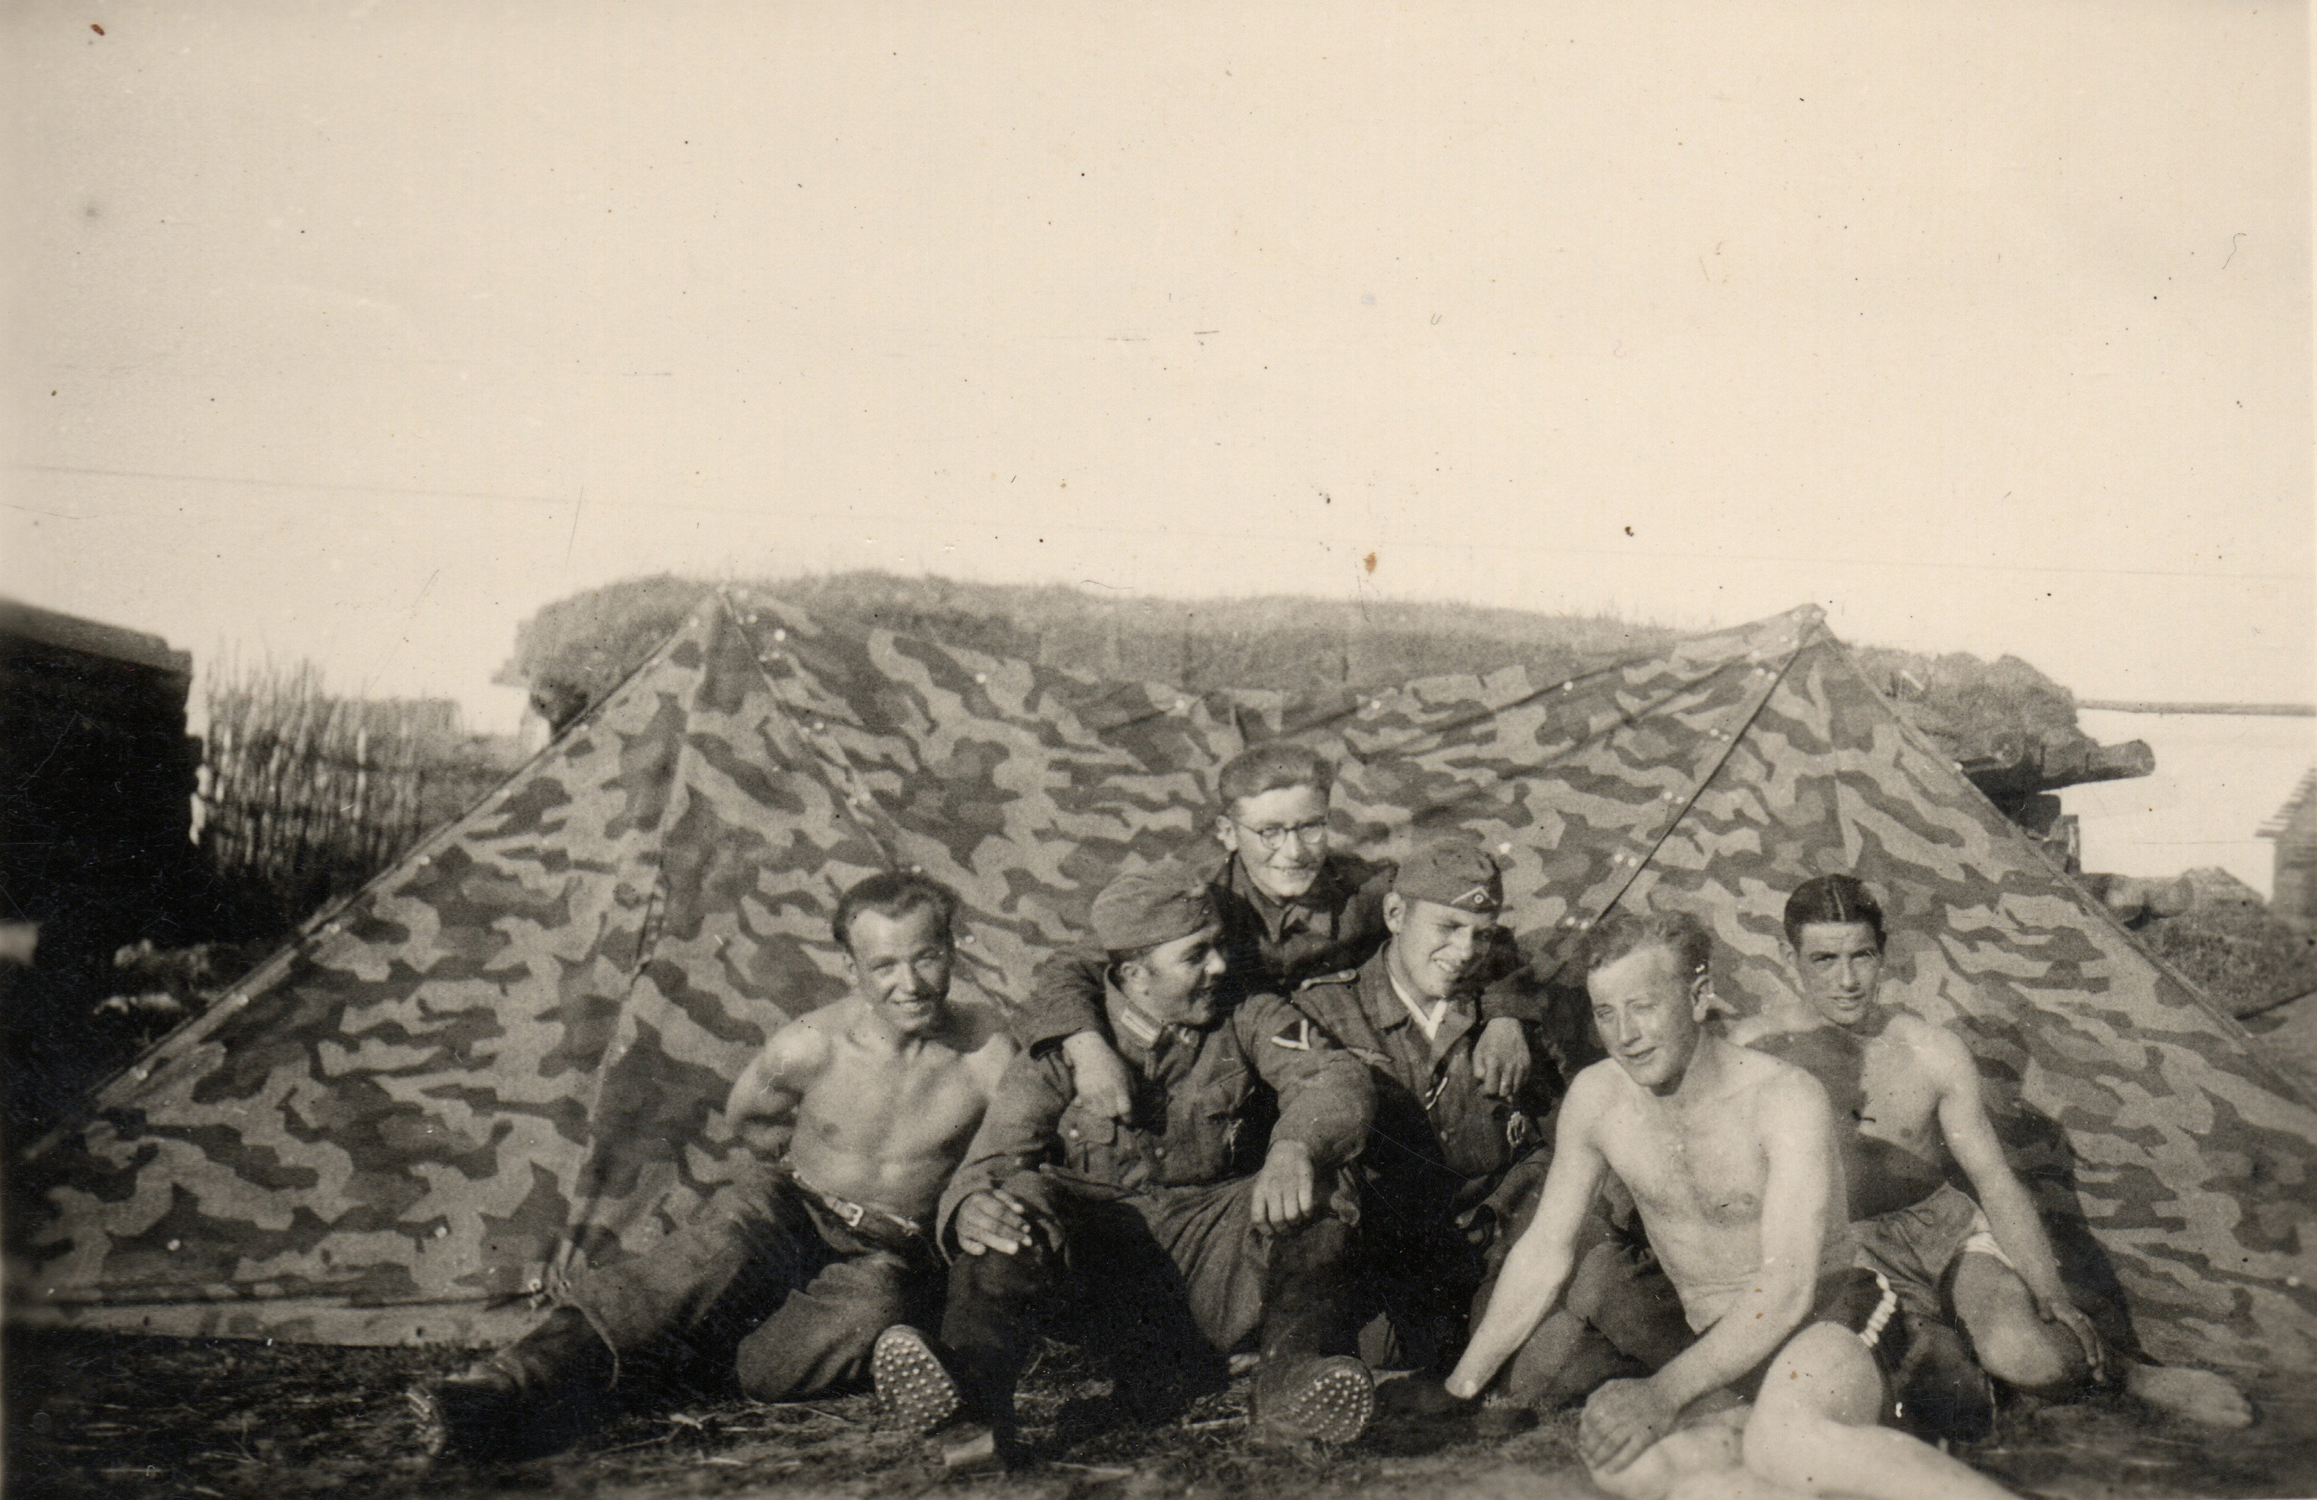
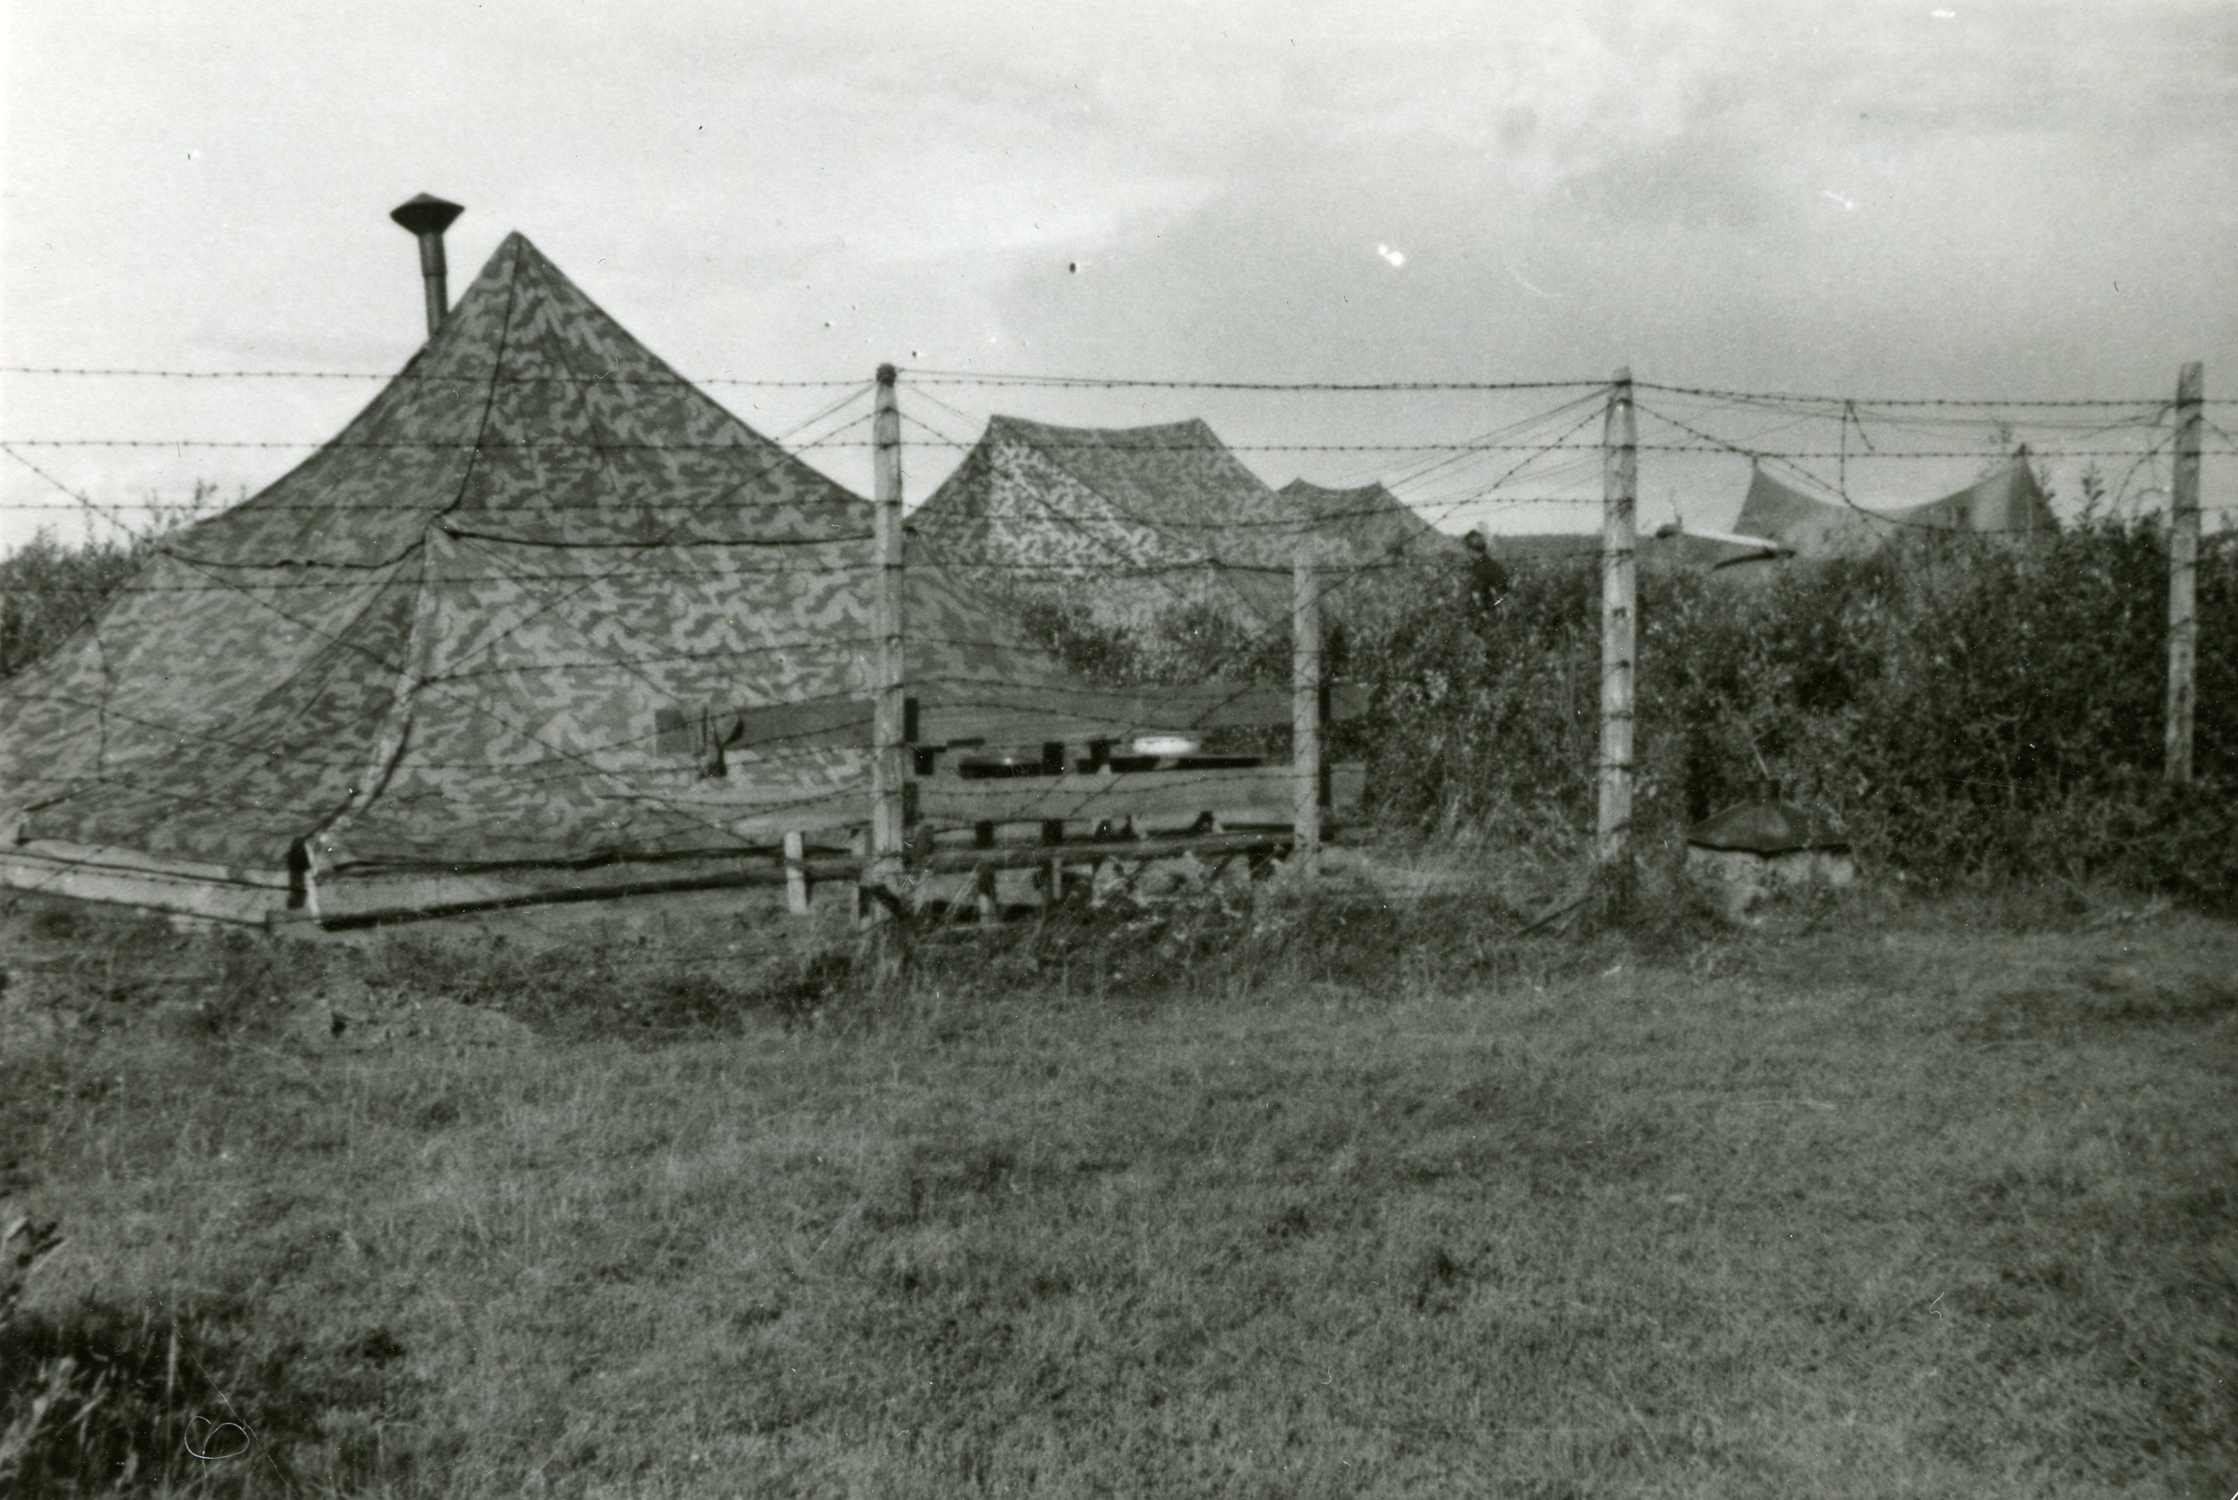
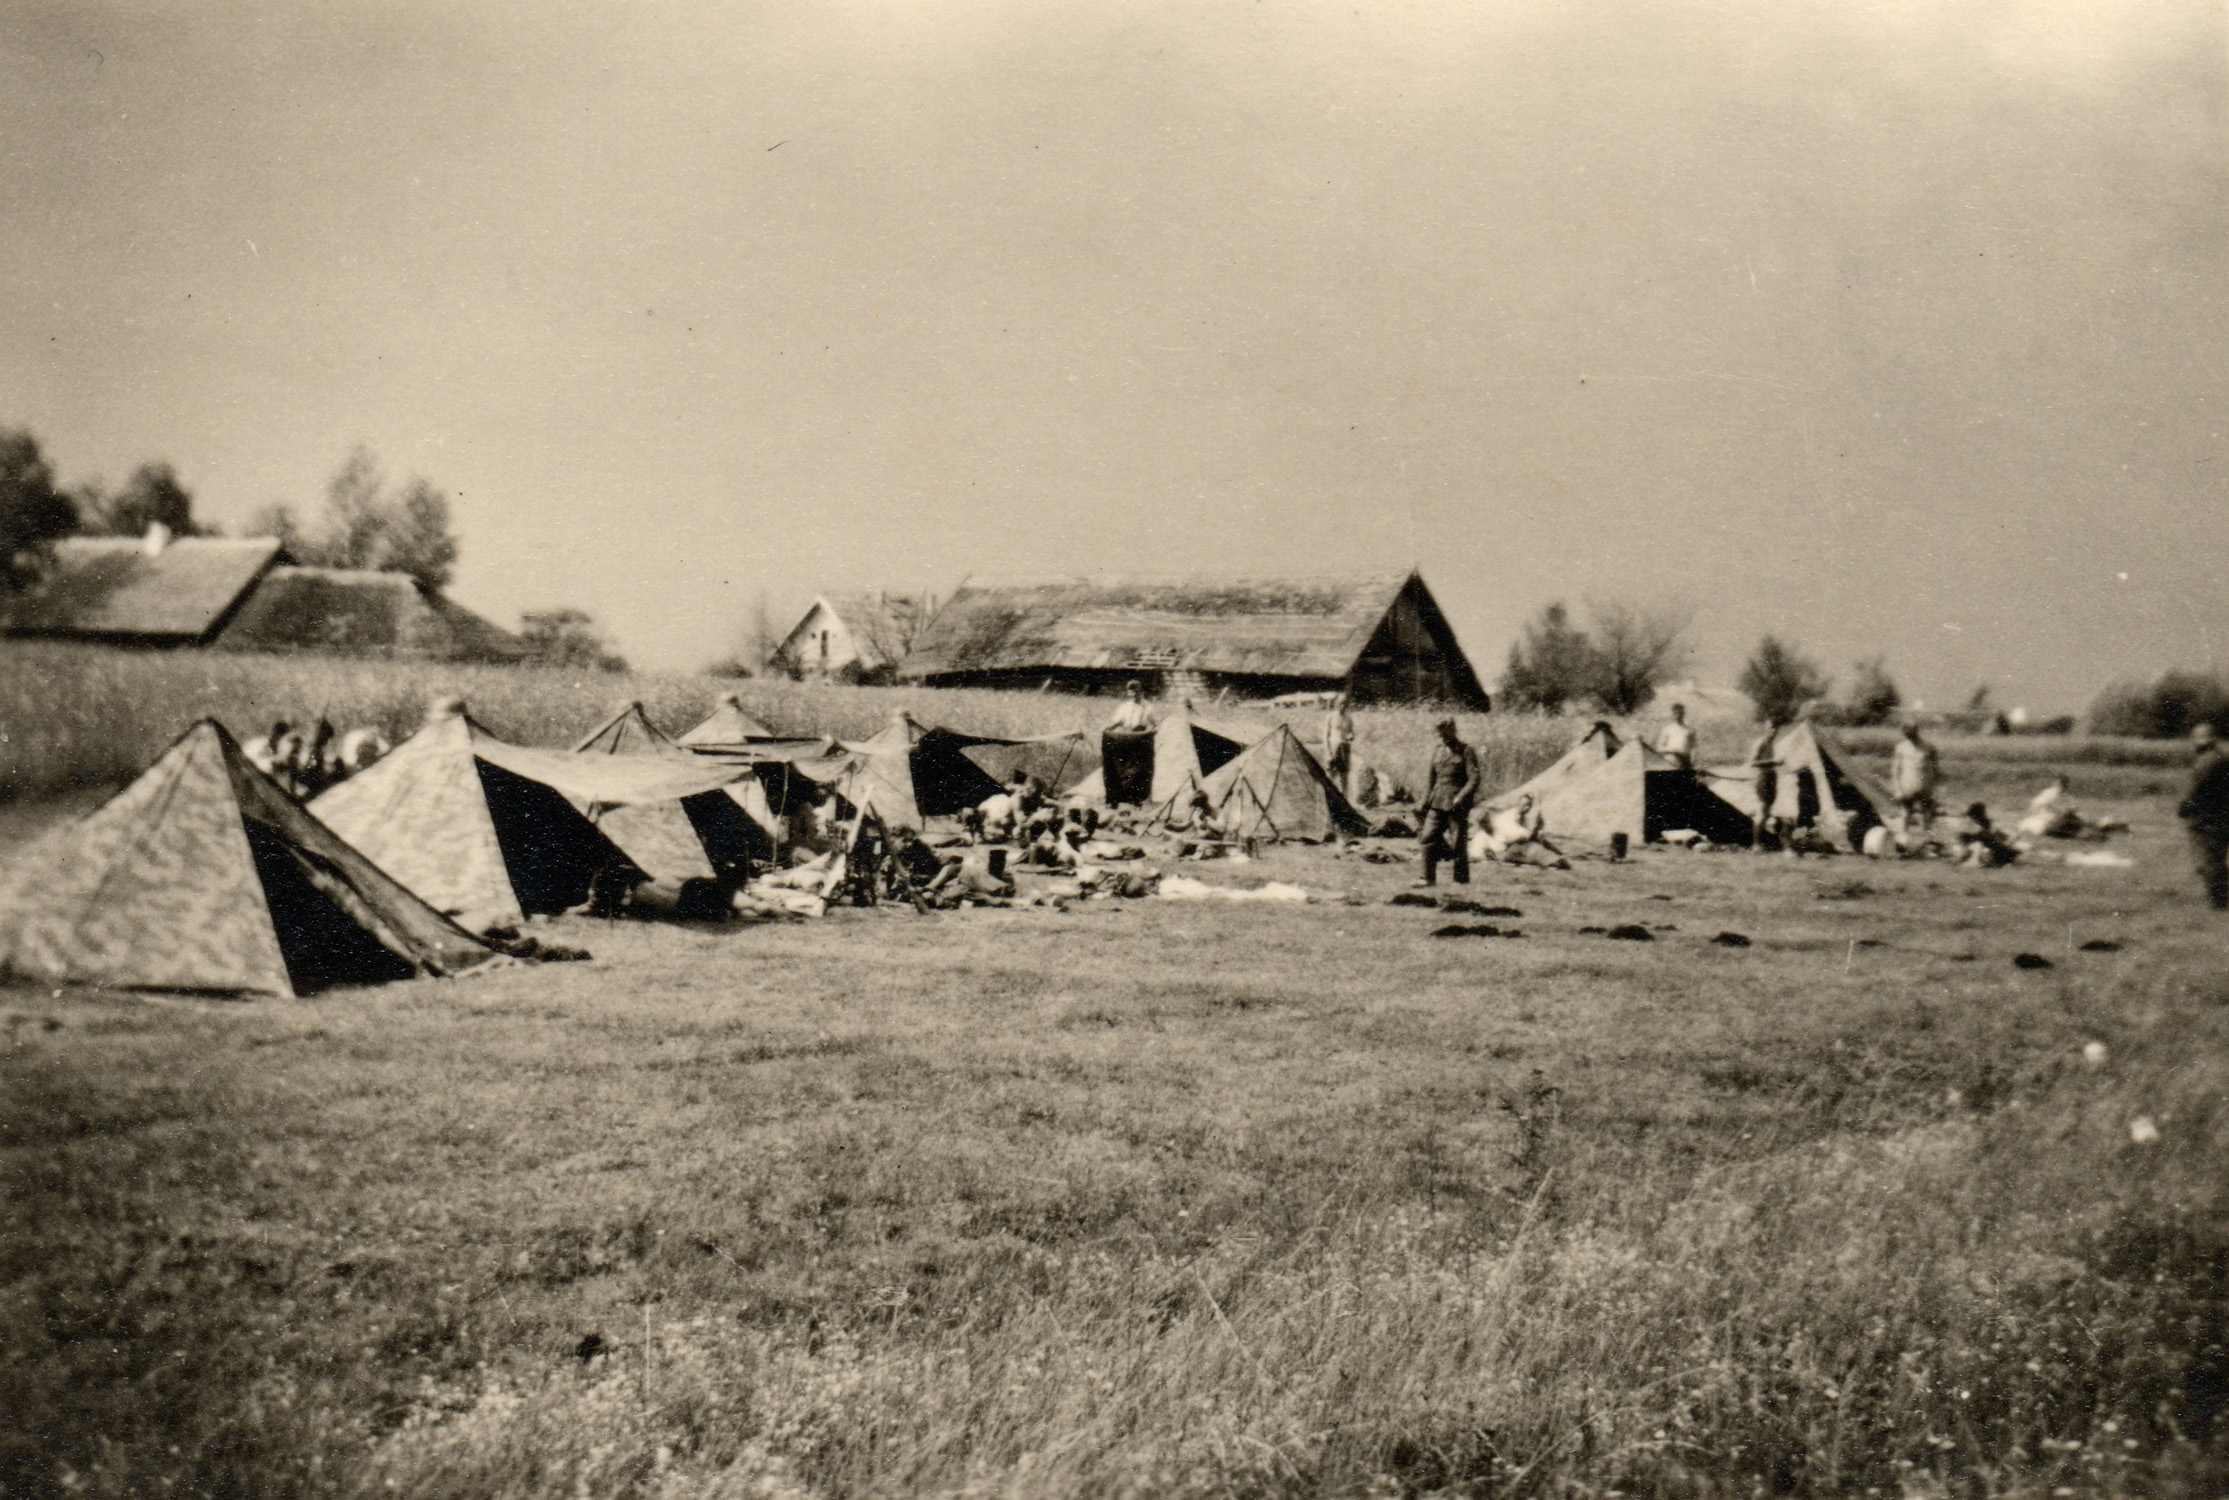
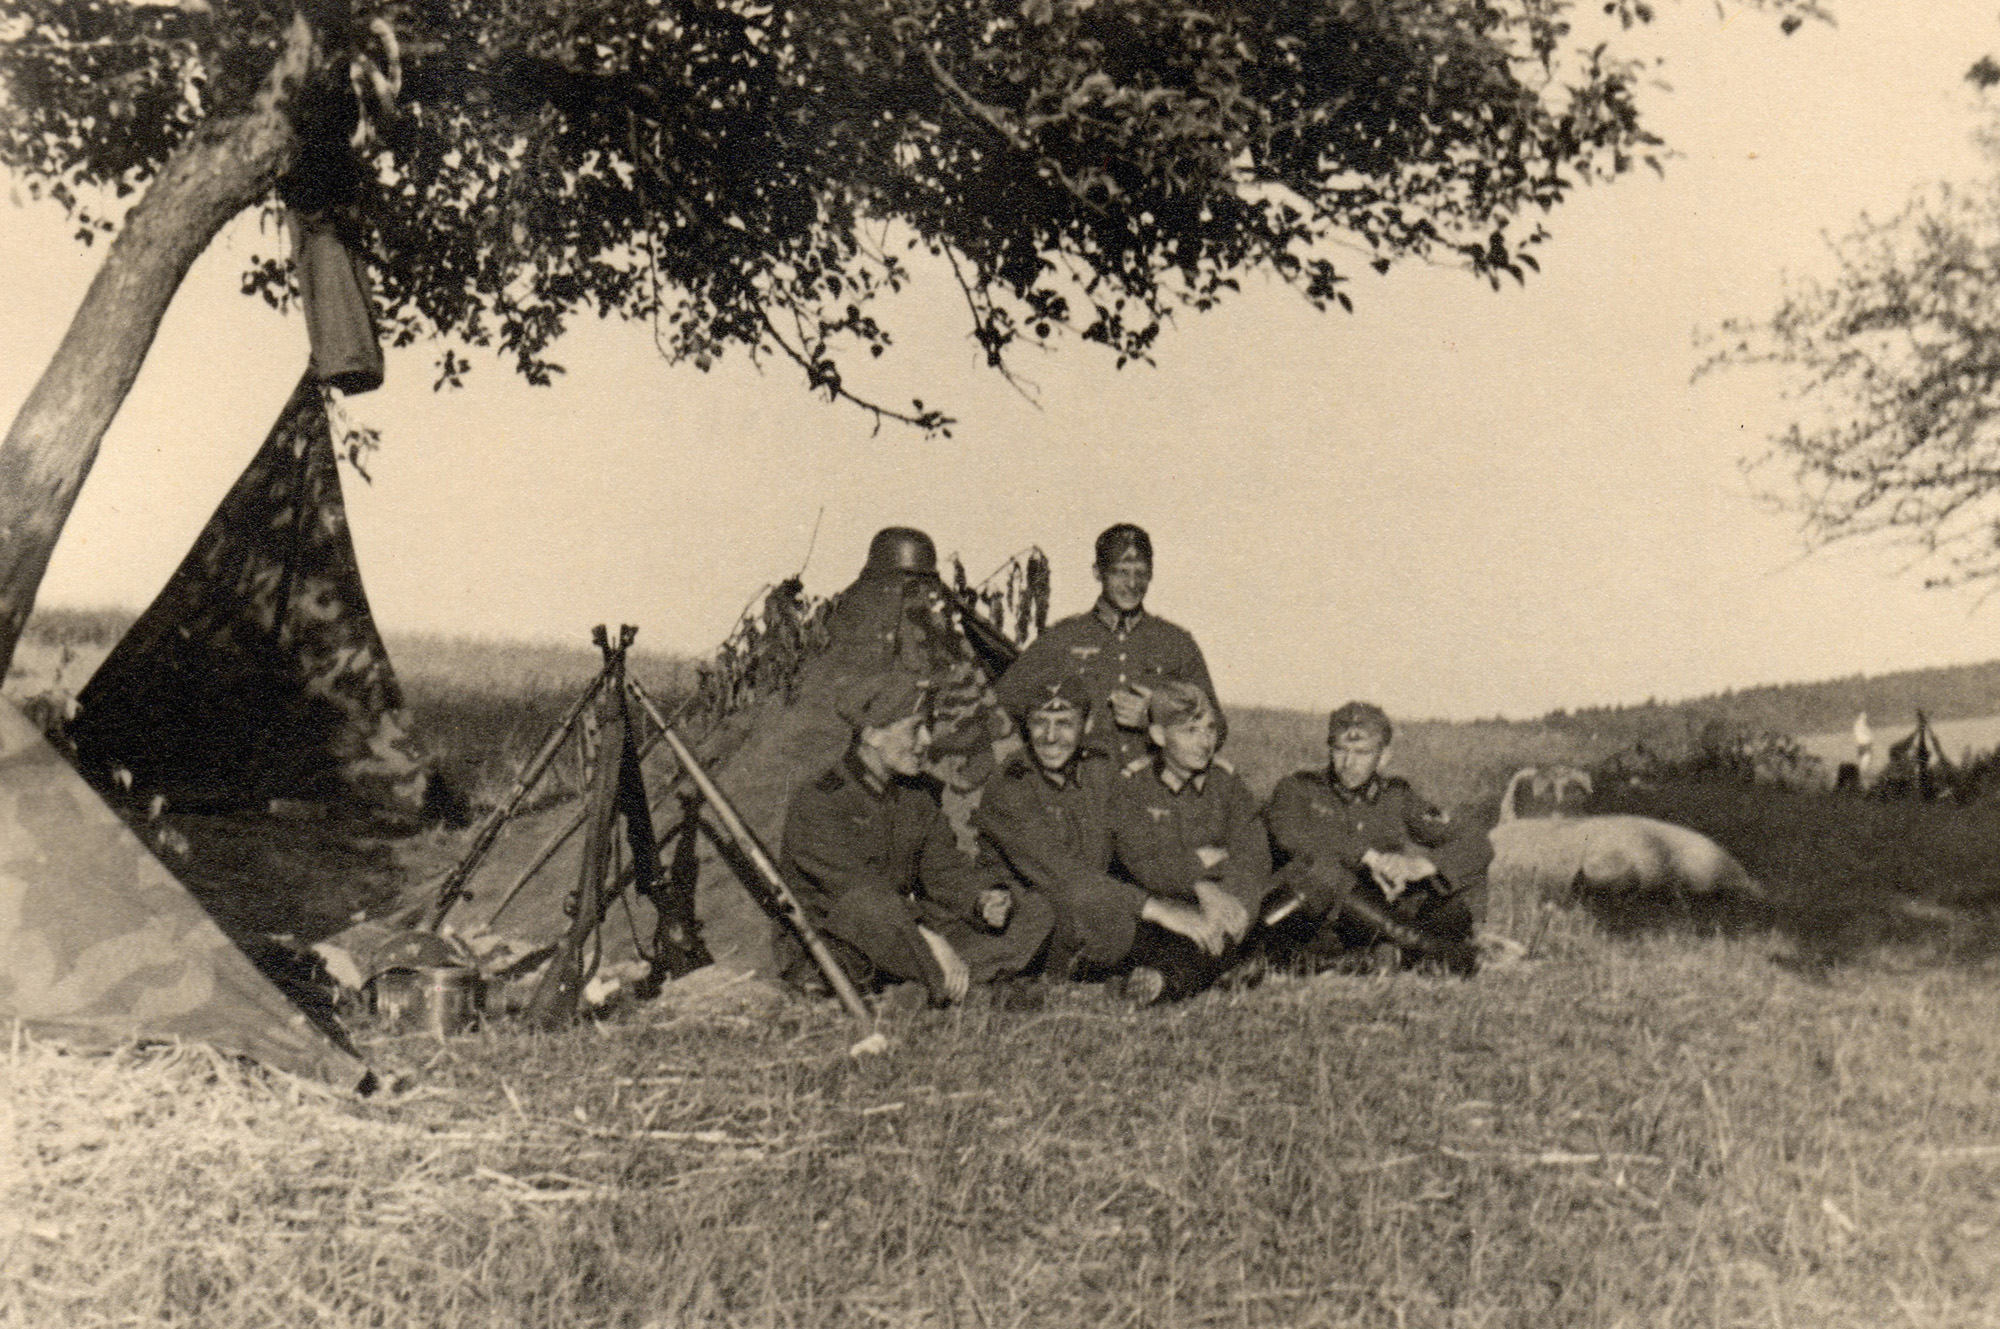
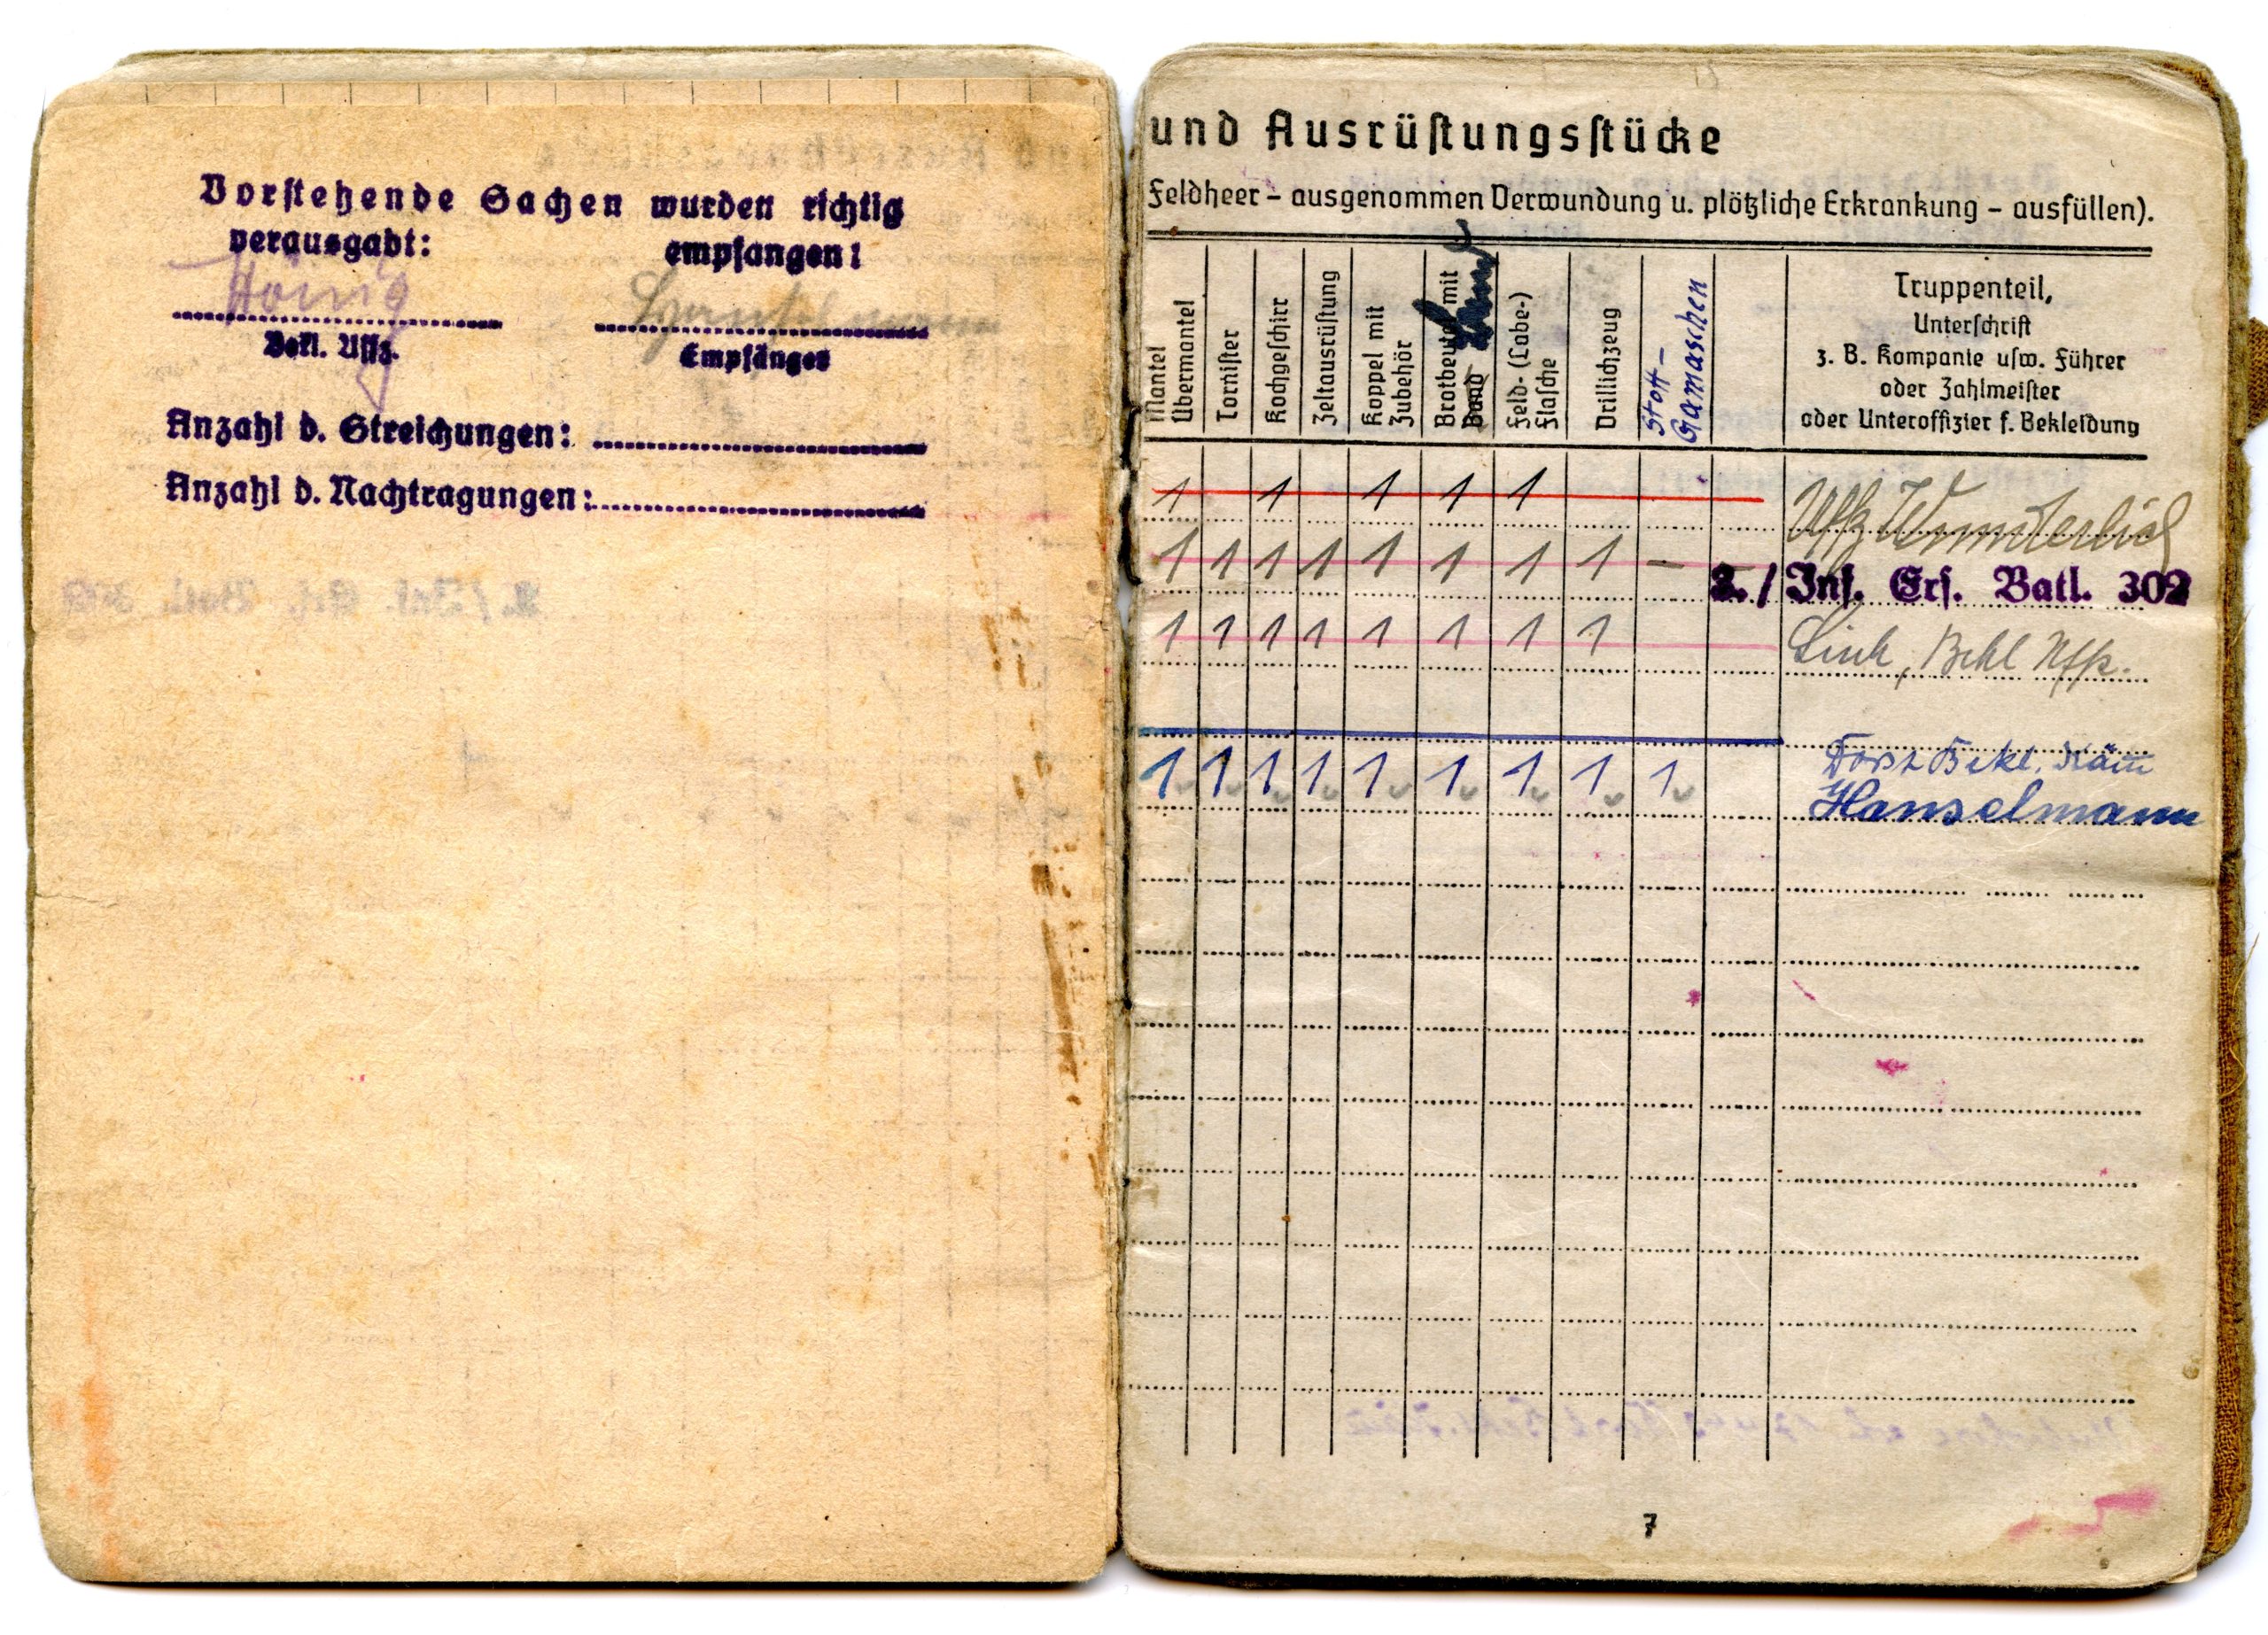
Typical German field fare relied heavily on easily prepared meals made with a limited range of ingredients. In many cases, issues with supply and availability of meat mandated the preparation of meals that used little meat, or were vegetarian. The 1942 cookbook “Fleischlose und Fleischarme Feldküchengerichte” (Vegetarian and Low-Meat Field Kitchen Meals) by Richard Schielicke gave tips on how to make hearty meals without relying on large quantities of meat. “Meals prepared with a sufficient quantity of meat, even when simply prepared, have in the hearty meat juices a good flavor basis that meatless and low-meat dishes lack. We must compensate for that, if of course only in part, through proper handling of the ingredients before cooking, better cooking methods, correct and appropriate use of particularly German seasonings, and the use of good, tasty Tunken (gravies).”

The 1941 cookbook “Die Feldküchengerichte” (The Field Kitchen Meals) gives the following instruction on making gravies.

“The basic ingredient is broth, to this is added a thickener, for example a roux (about 8 grams) or grated white bread (about 20 grams per 1/4 liter).
We will differentiate between dark and light gravies.
Light gravies consist of light broth and light roux. Dark gravies consist of dark broth and dark roux.

Gravies with flour as a thickener

a) Light basic gravy
Melt fat, and roast finely chopped onions in this for a short time. Add flour and cook for a few minutes until light yellow, fill with bone broth or meat broth and cook for 20 minutes. The gravy can be improved by the addition of milk.

Variations of light basic gravy:

Herb gravy: add aromatic herbs of all kinds, especially parsley, chervil, chives, also wild herbs.
Dill gravy: add dill
Chive gravy: add chives
Marjoram gravy: add marjoram
Mustard gravy: add mustard
Tomato gravy: add tomato paste or tomato powder
Bechamel sauce: offset the light gravy recipe with one-third milk
Horseradish gravy: Make Bechamel sauce and mix in grated horseradish

b) Dark basic gravy
Melt fat. Add flour and slowly roast until brown, constantly stirring. Add onions and brown for a short time. Fill with dark broth and cook 20 minutes.

Dark broth for filling:

Roast smaller bones with soup vegetables and boil for a few hours. If dark broth is not available, fill with light broth or hot water and improve with yeast extract or seasonings.

Variations of dark basic gravy:

Herb gravy: add herbs, especially marjoram, thyme
Pickle gravy: add pickles and pickle juice
Mustard gravy: add mustard

c) Gravies with grated white bread as a thickener
Cook grated white bread or Zwieback in the broth. In a pinch, it is enough to soak it and stir it into the boiling hot broth.
Flavoring ingredients are as with the light and dark gravies.”

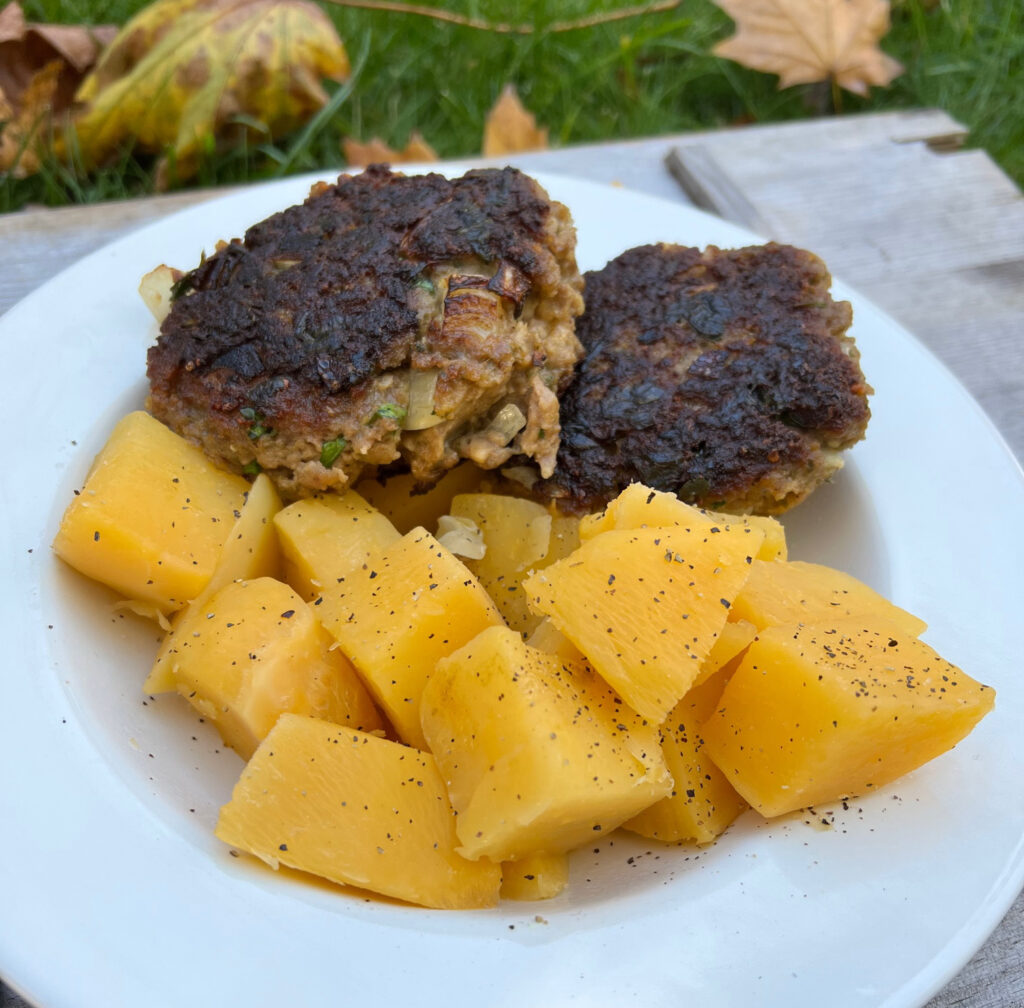
“Die Feldküchengerichte” goes on to provide instructions for “Tunkenkartoffeln” (Gravy potatoes). “Peel boiled potatoes, slice, and heat in one of the light or dark gravies.” The book gives a list of potato meals that can be prepared simply by making the corresponding gravy and heating prepared potatoes in them:

Tomato potatoes
Marjoram potatoes
Herb potatoes
Dill potatoes
Mustard potatoes, etc.

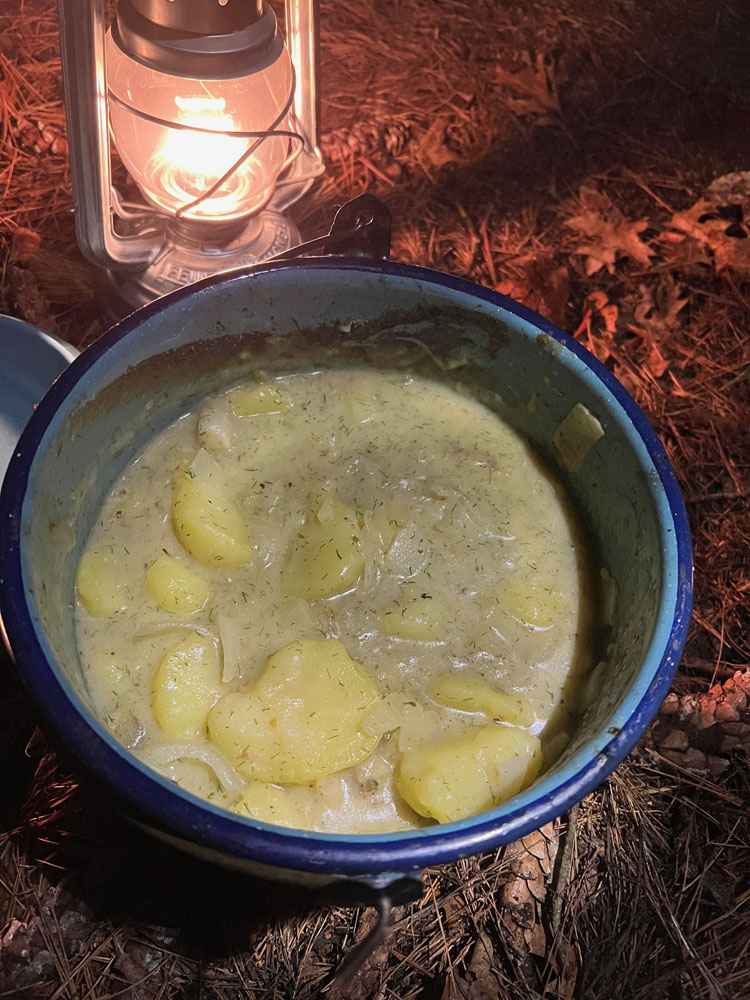
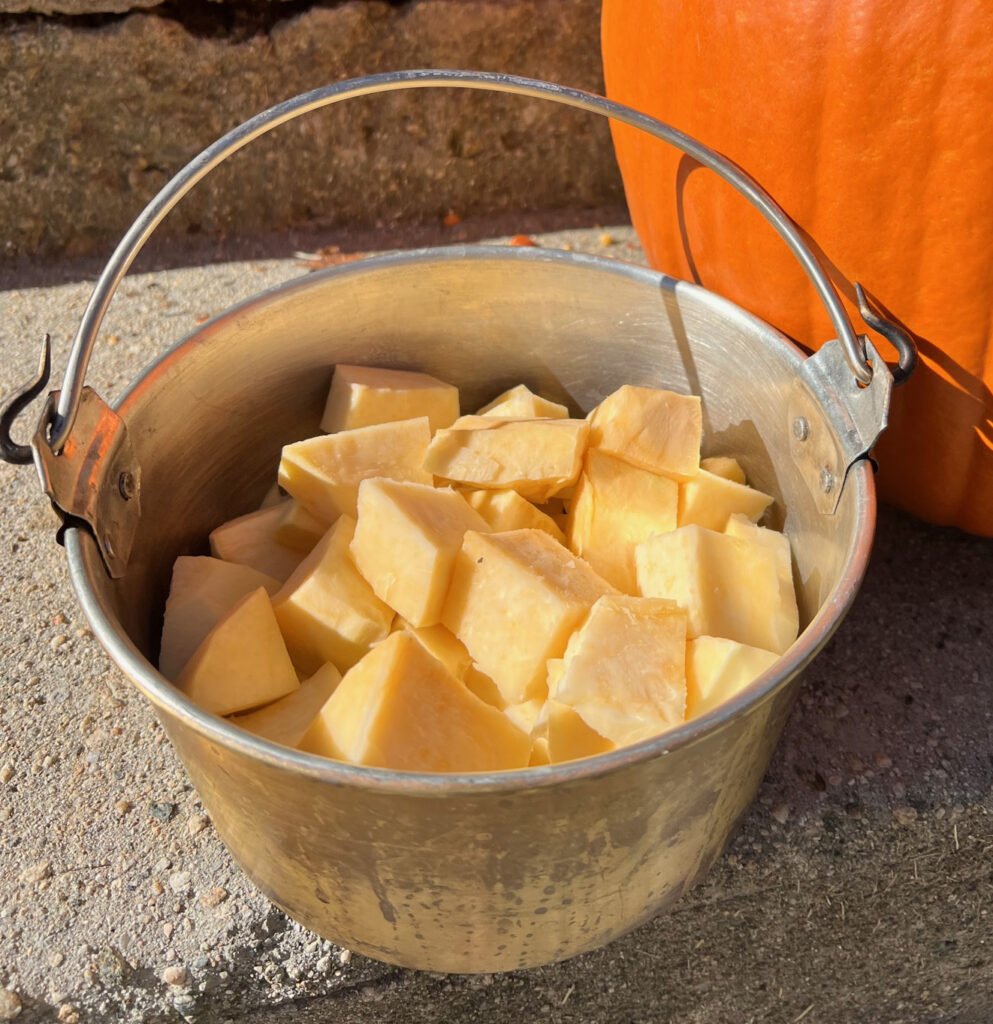
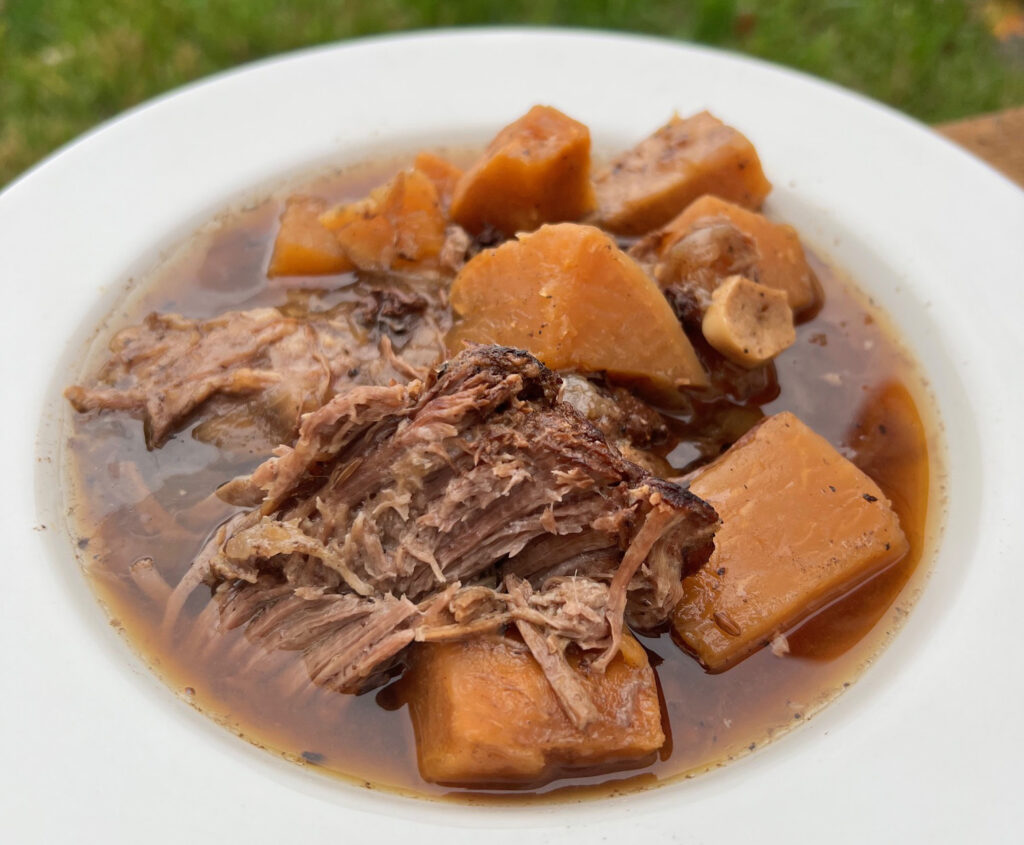
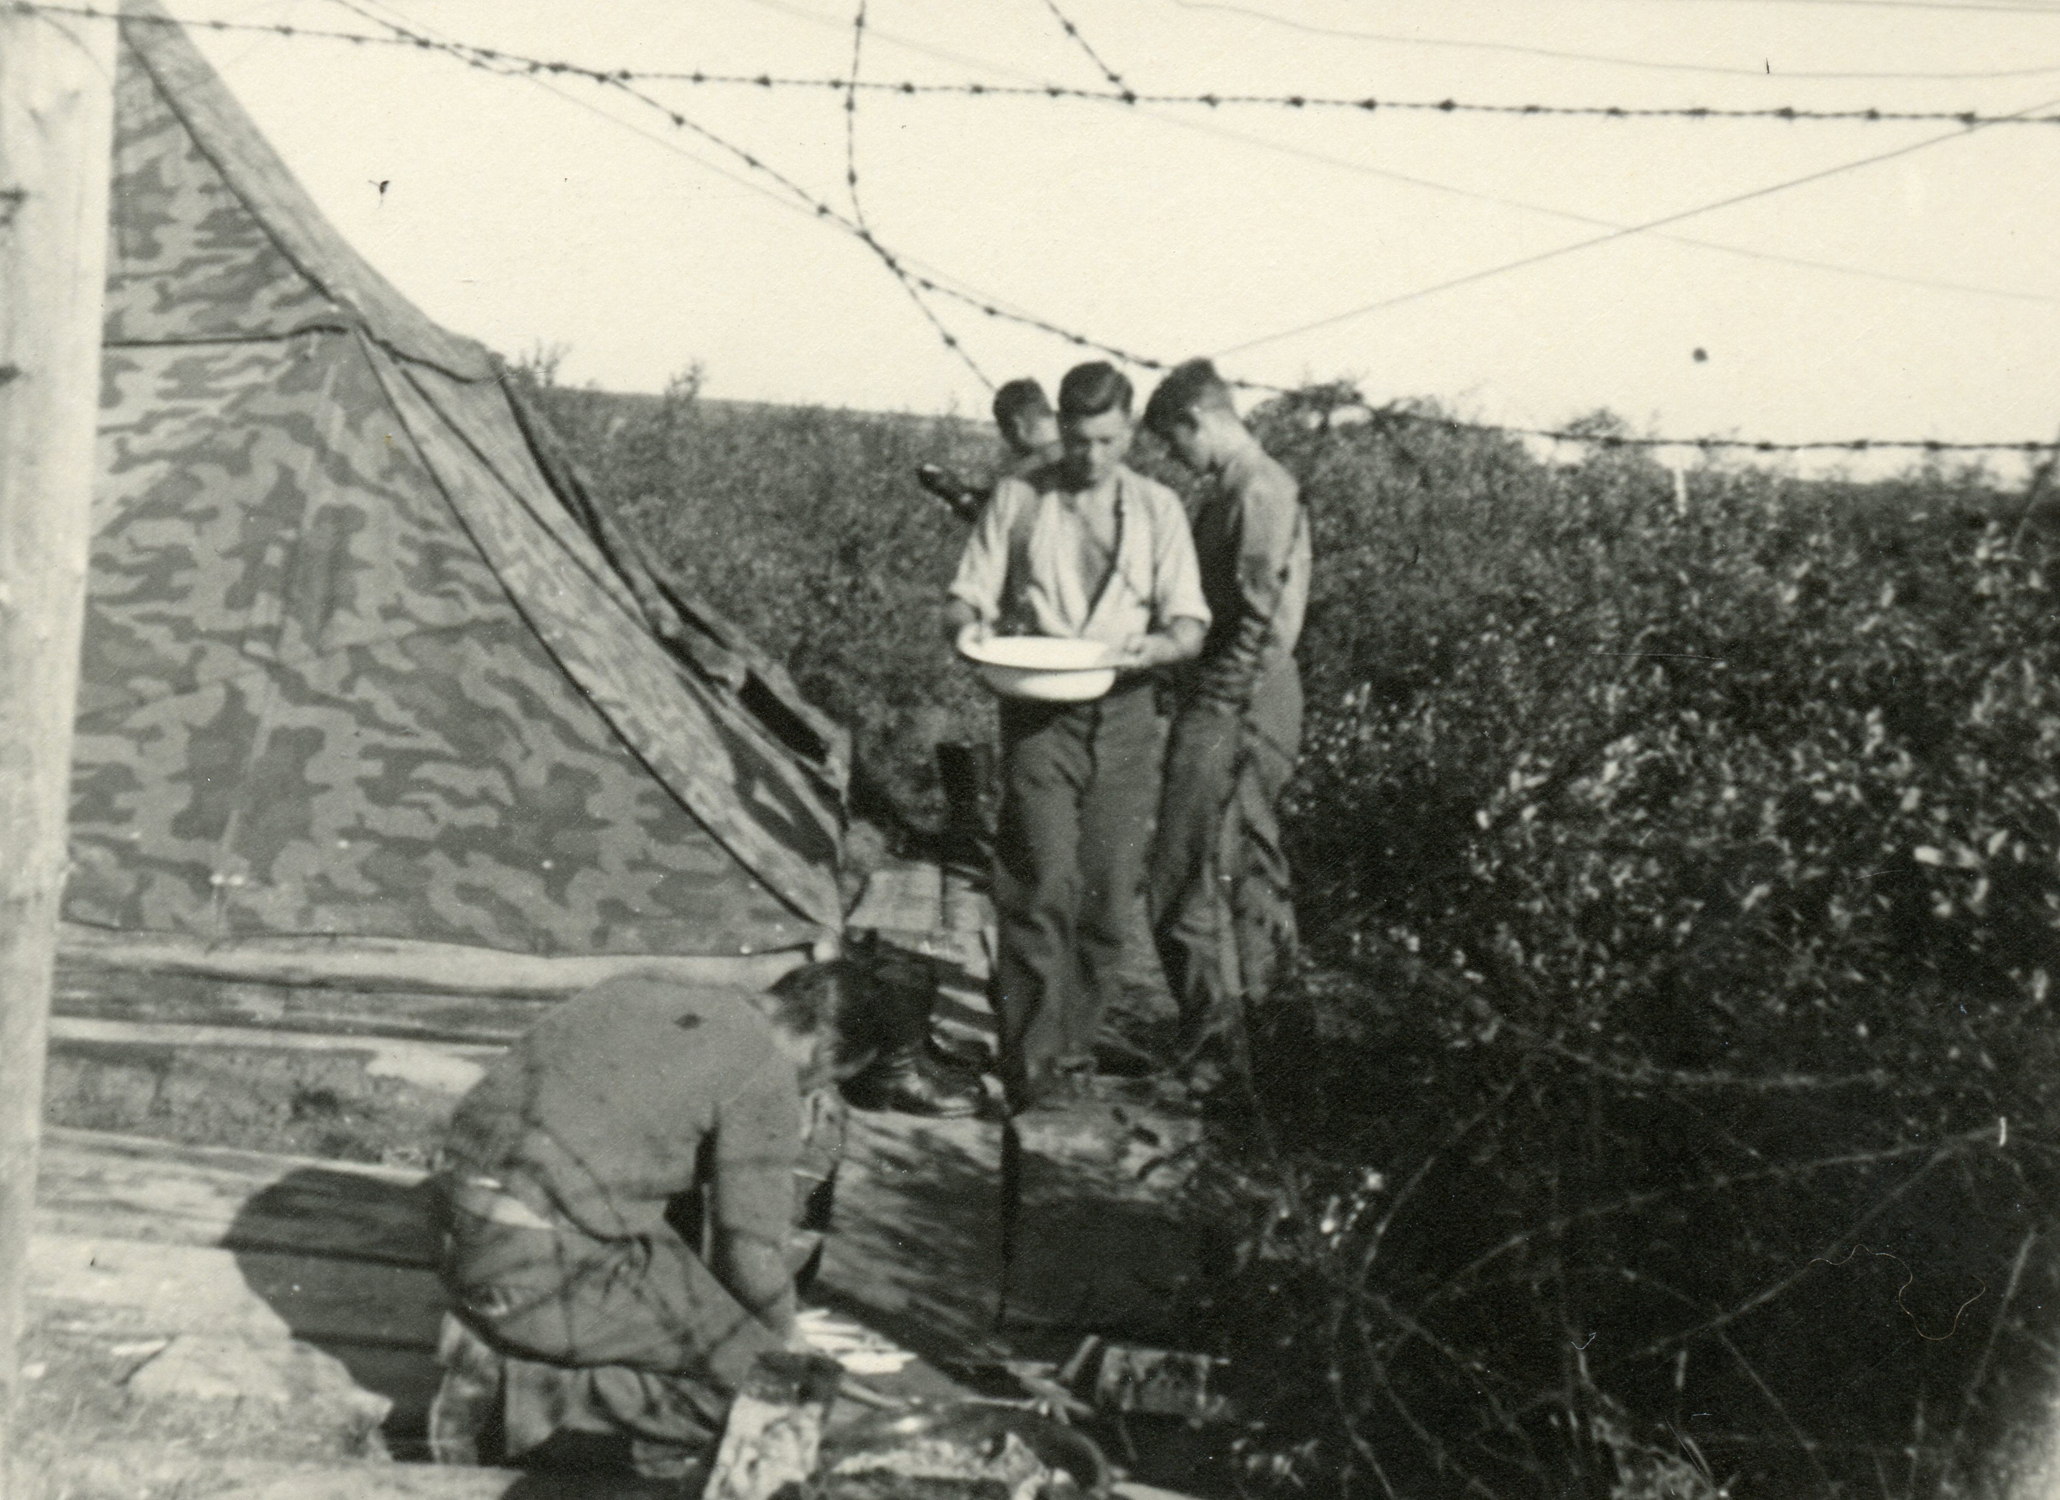
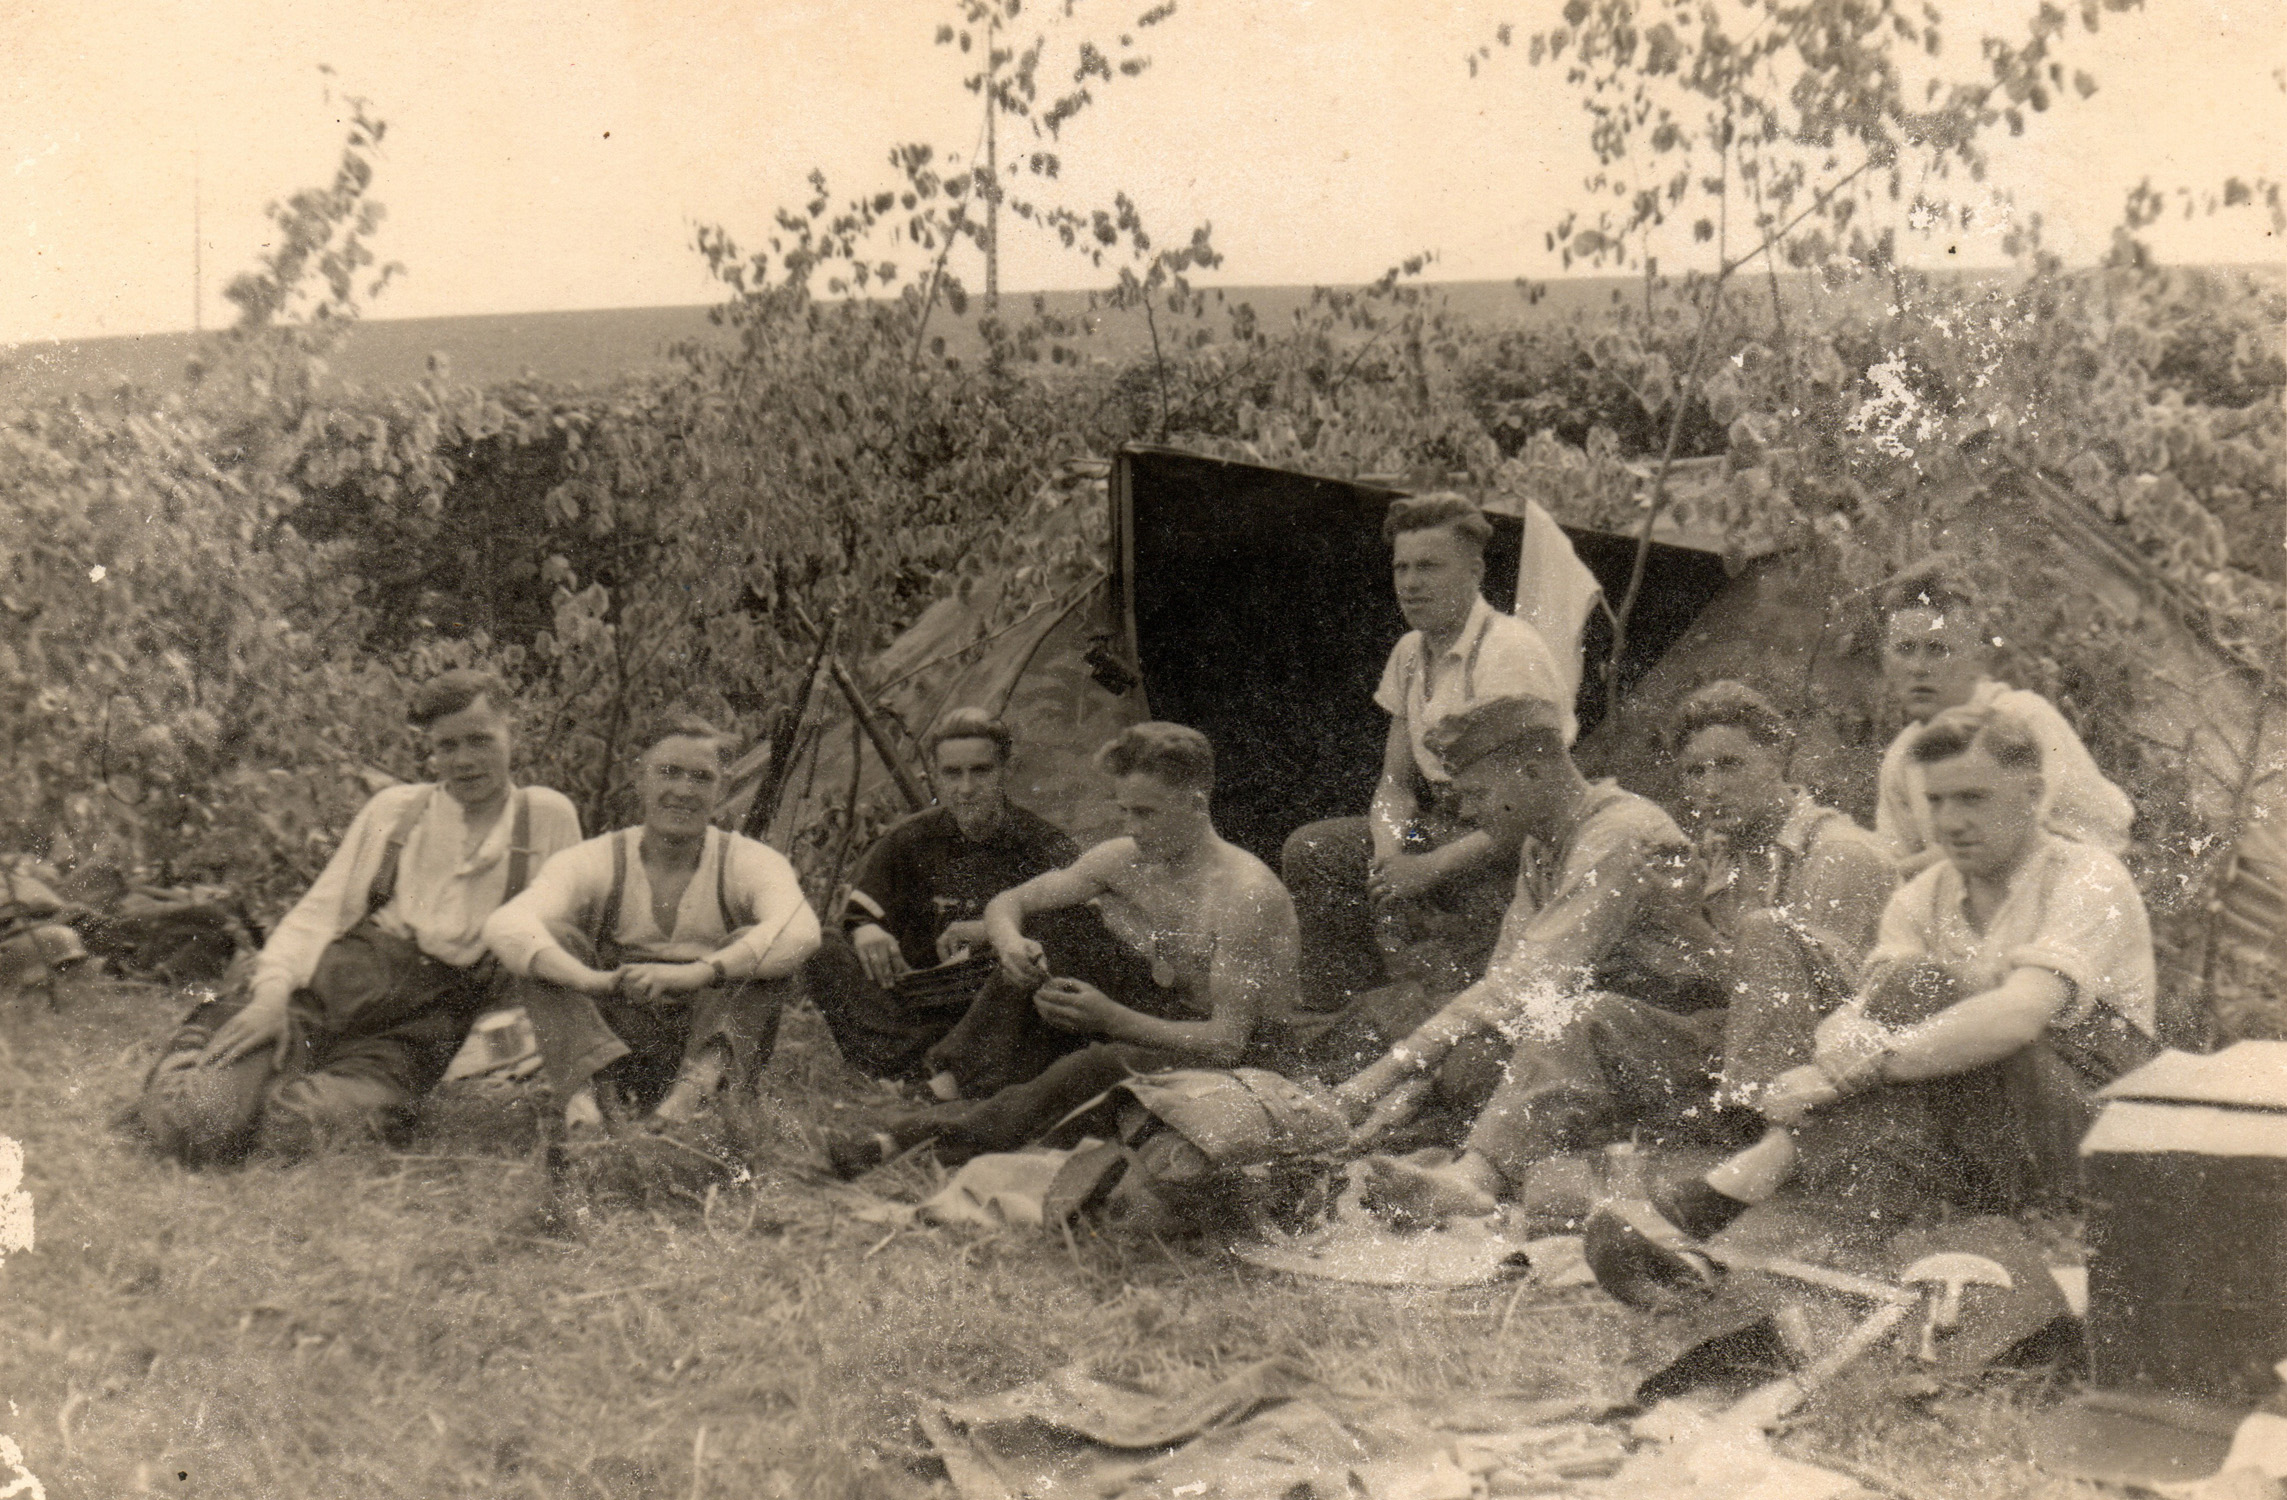
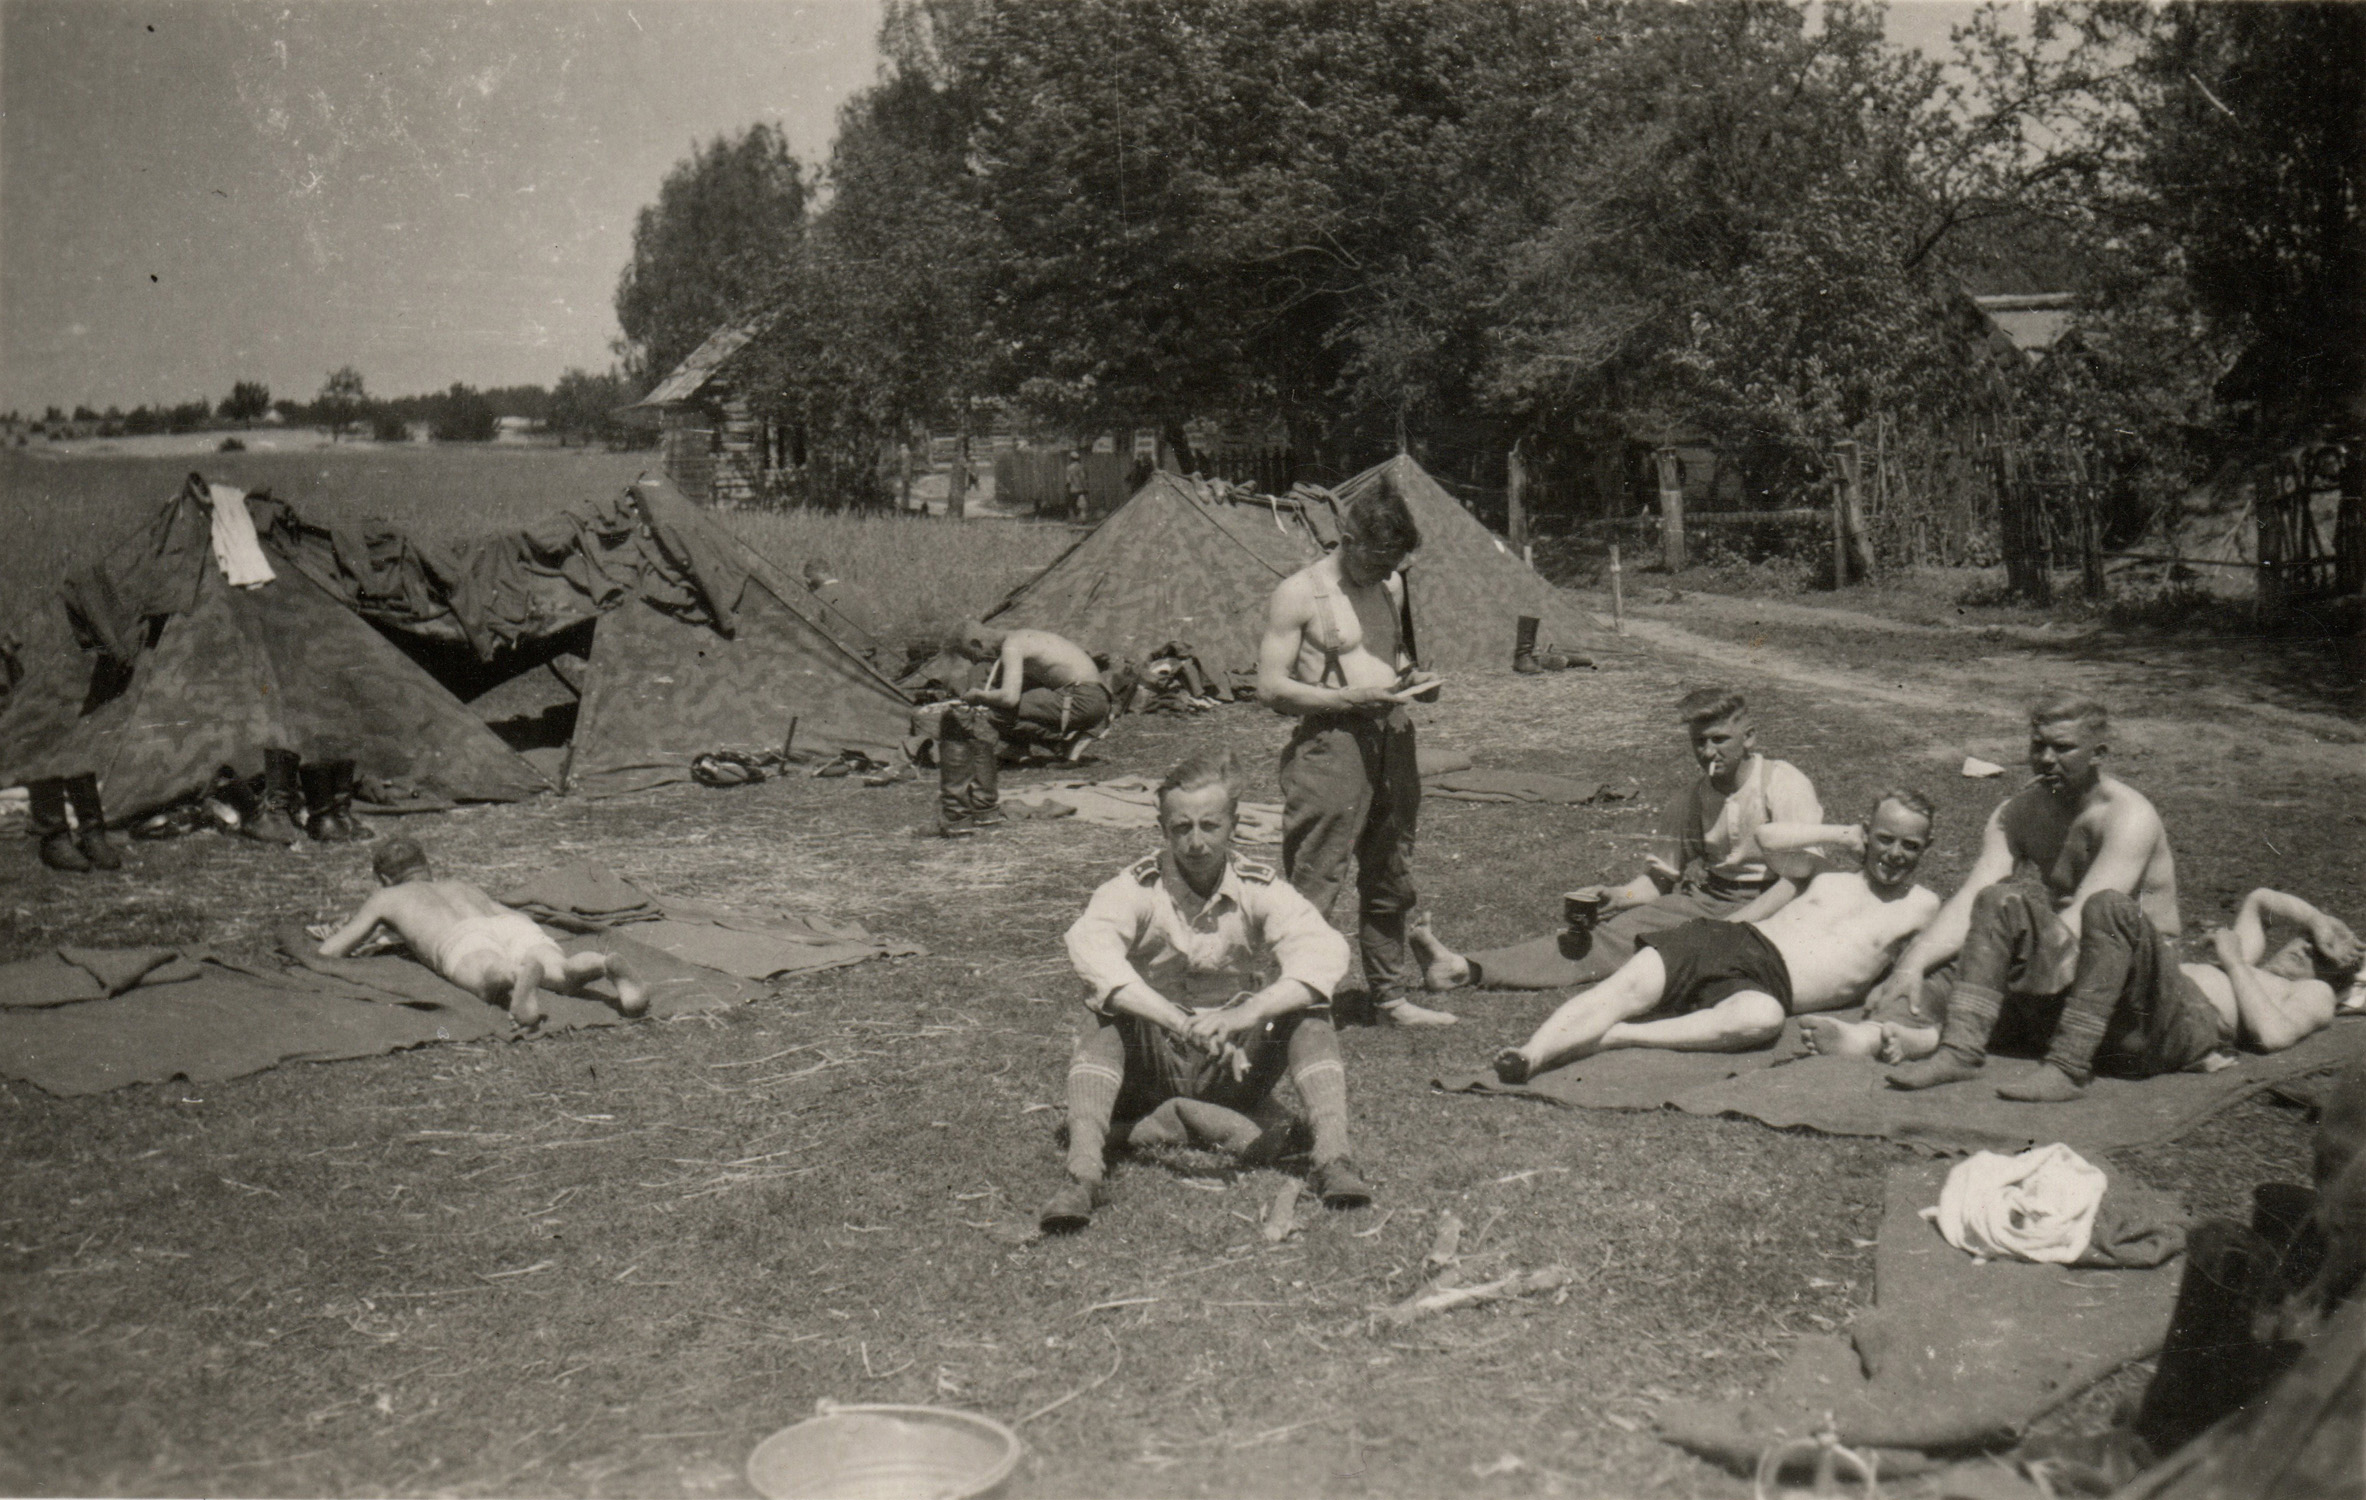
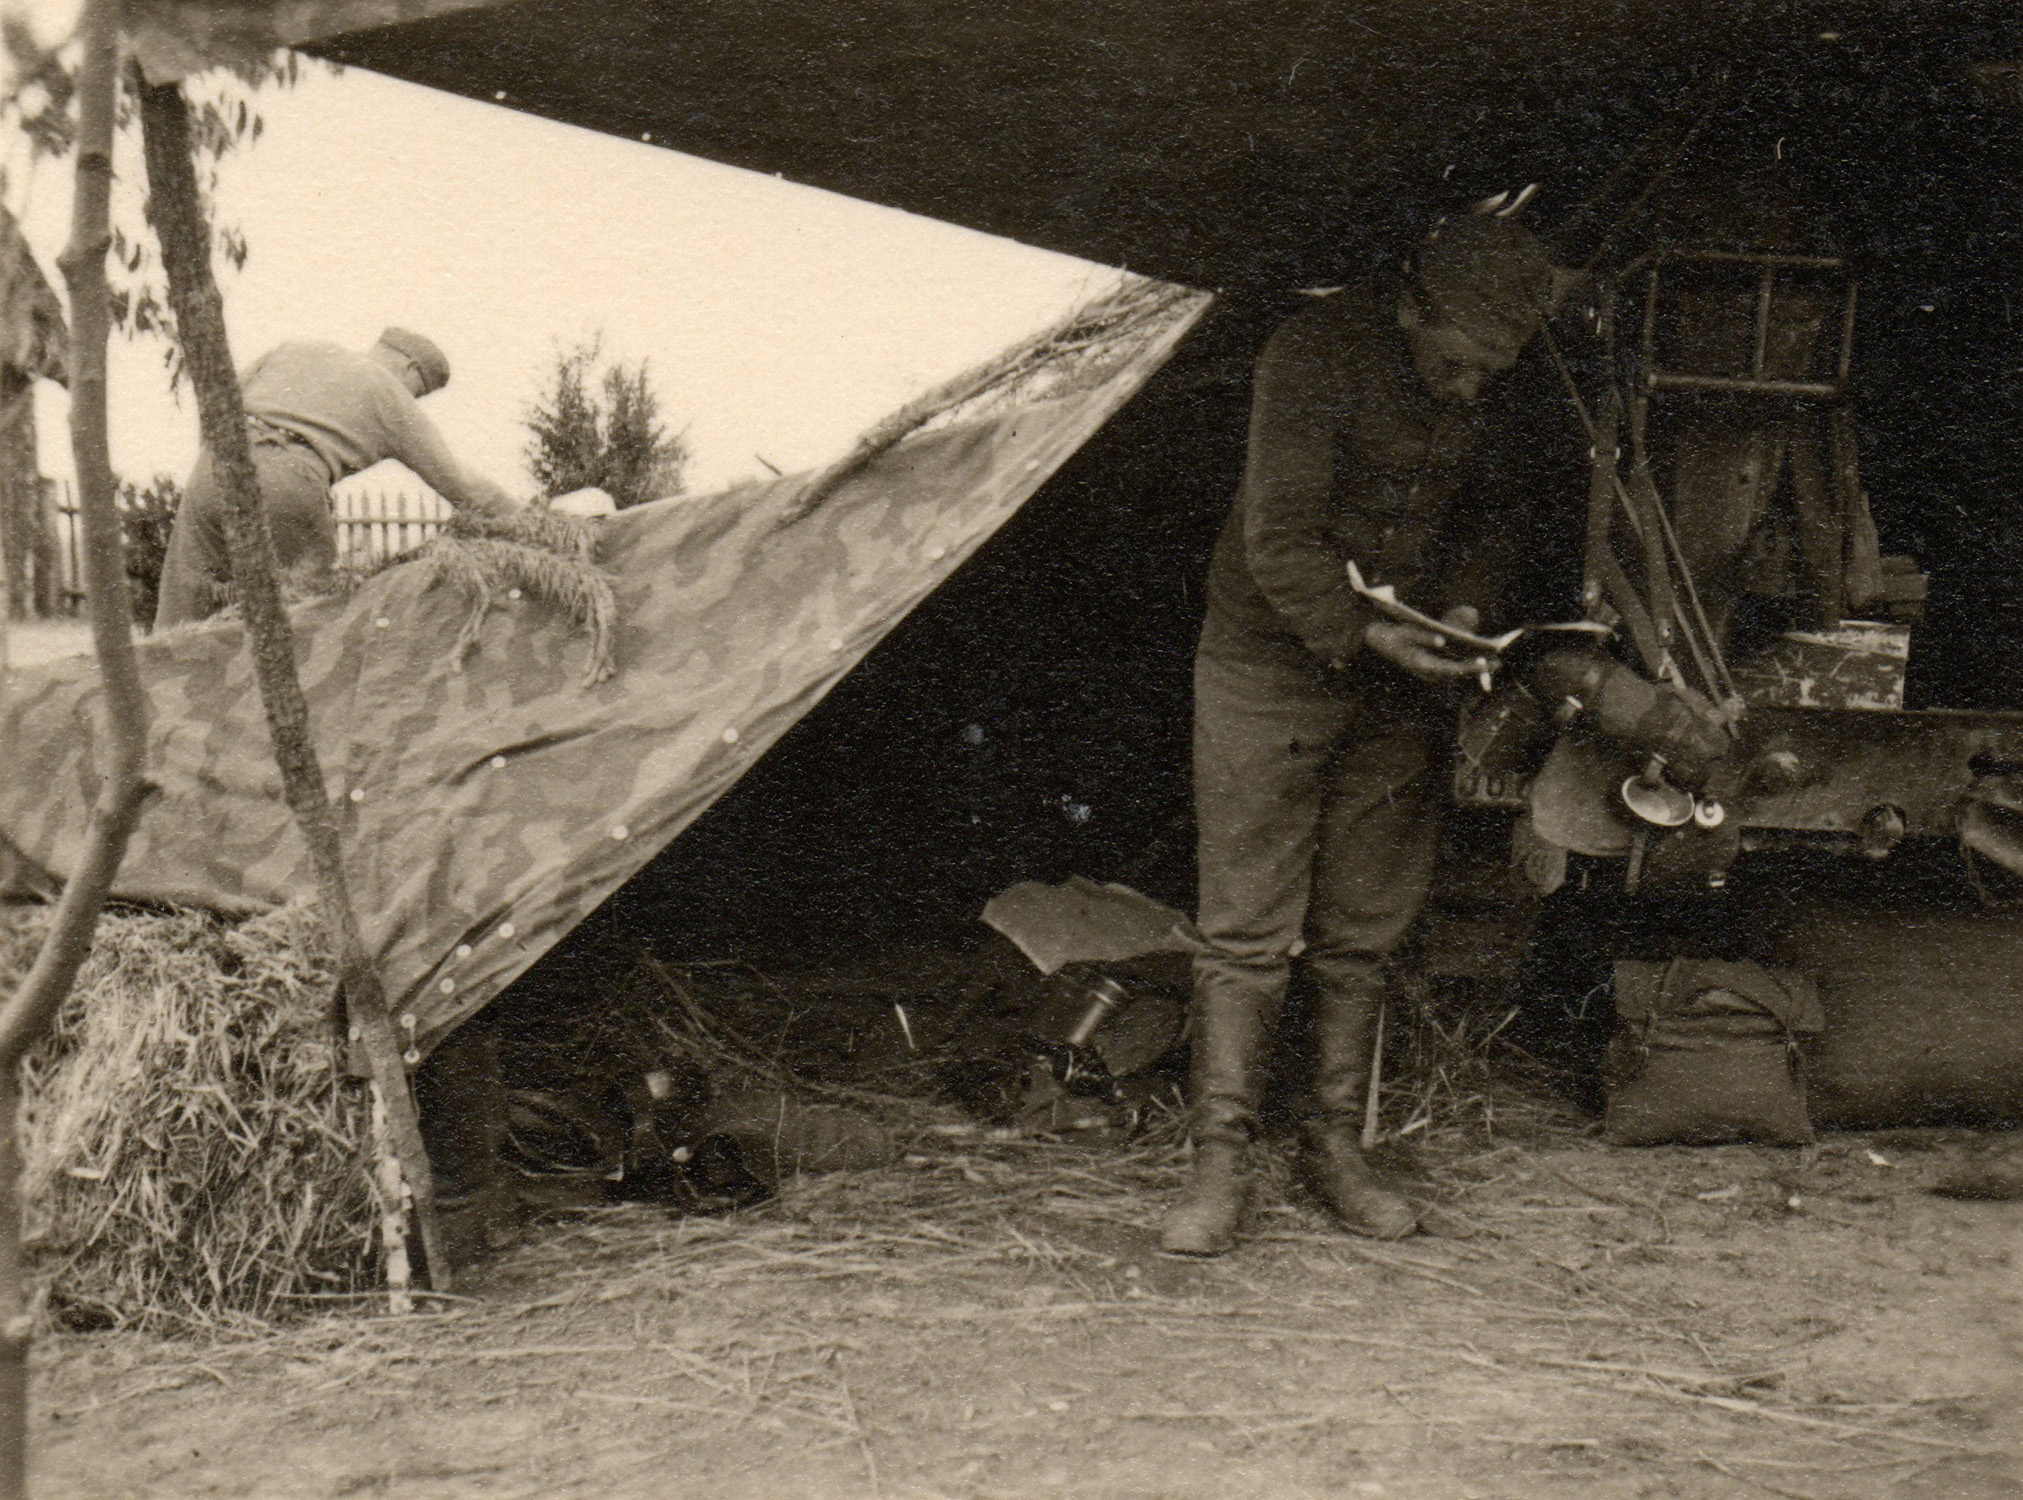
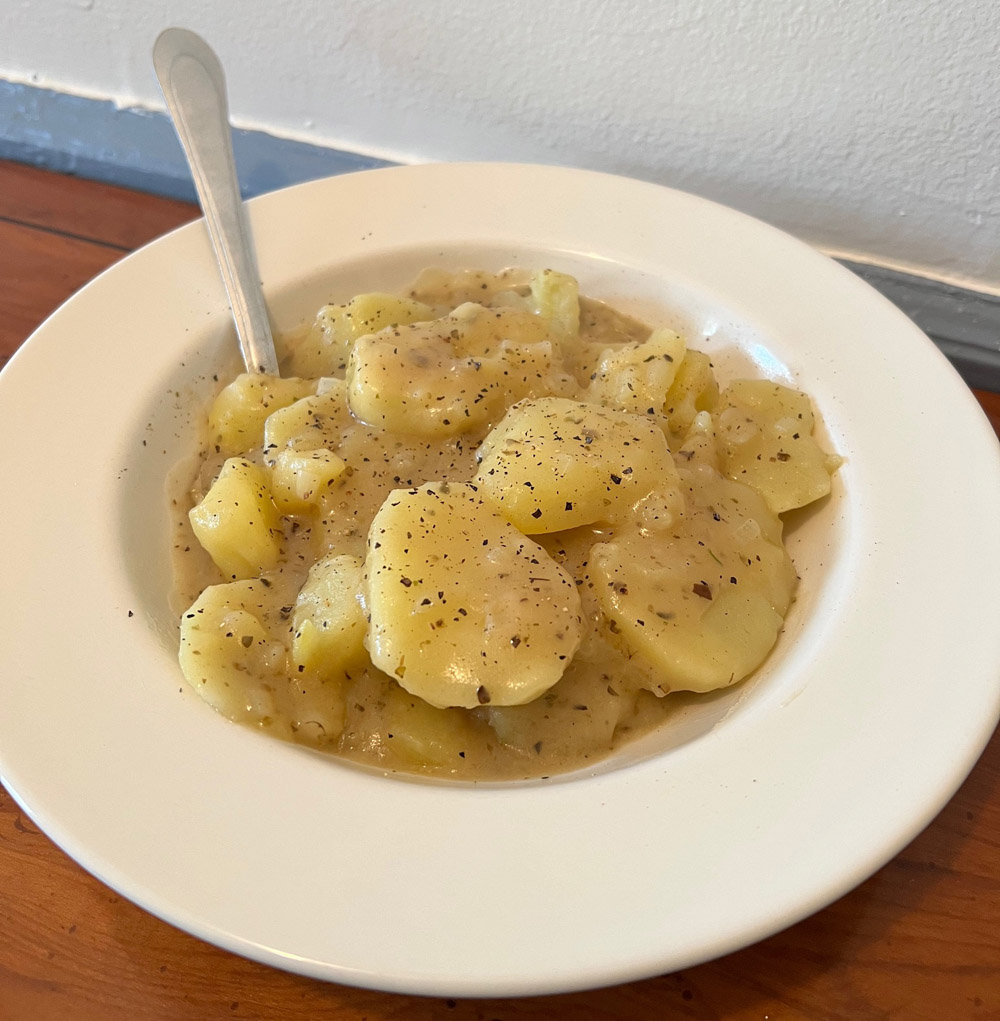
The “Ten Rules for the Field Cook” mandated that field meals were to be cooked thick, not soupy. An ample portion of cooked potatoes in a rich and flavorful sauce is a hearty and filling meal that yields a lot of satisfaction and energy. Even without meat, it is heavy comfort food. Home cooks in wartime were also encouraged to make simple, easily cooked meals like this to save energy for war work, and to be thrifty with raw ingredients in a time of scarcity.

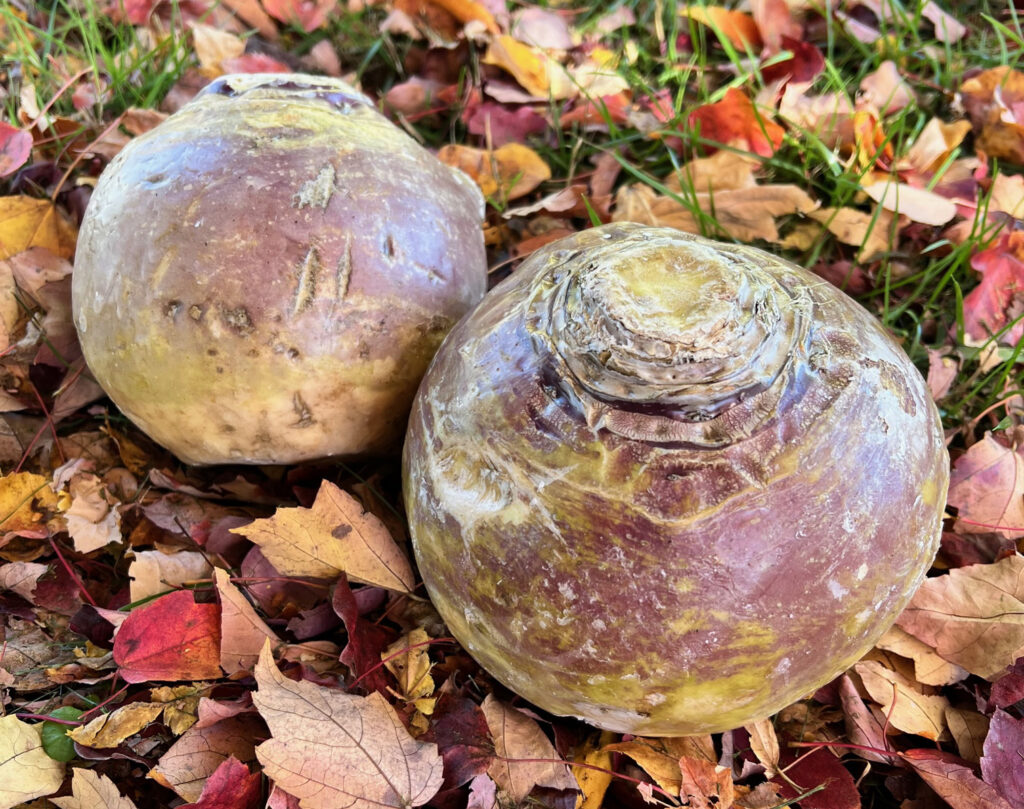
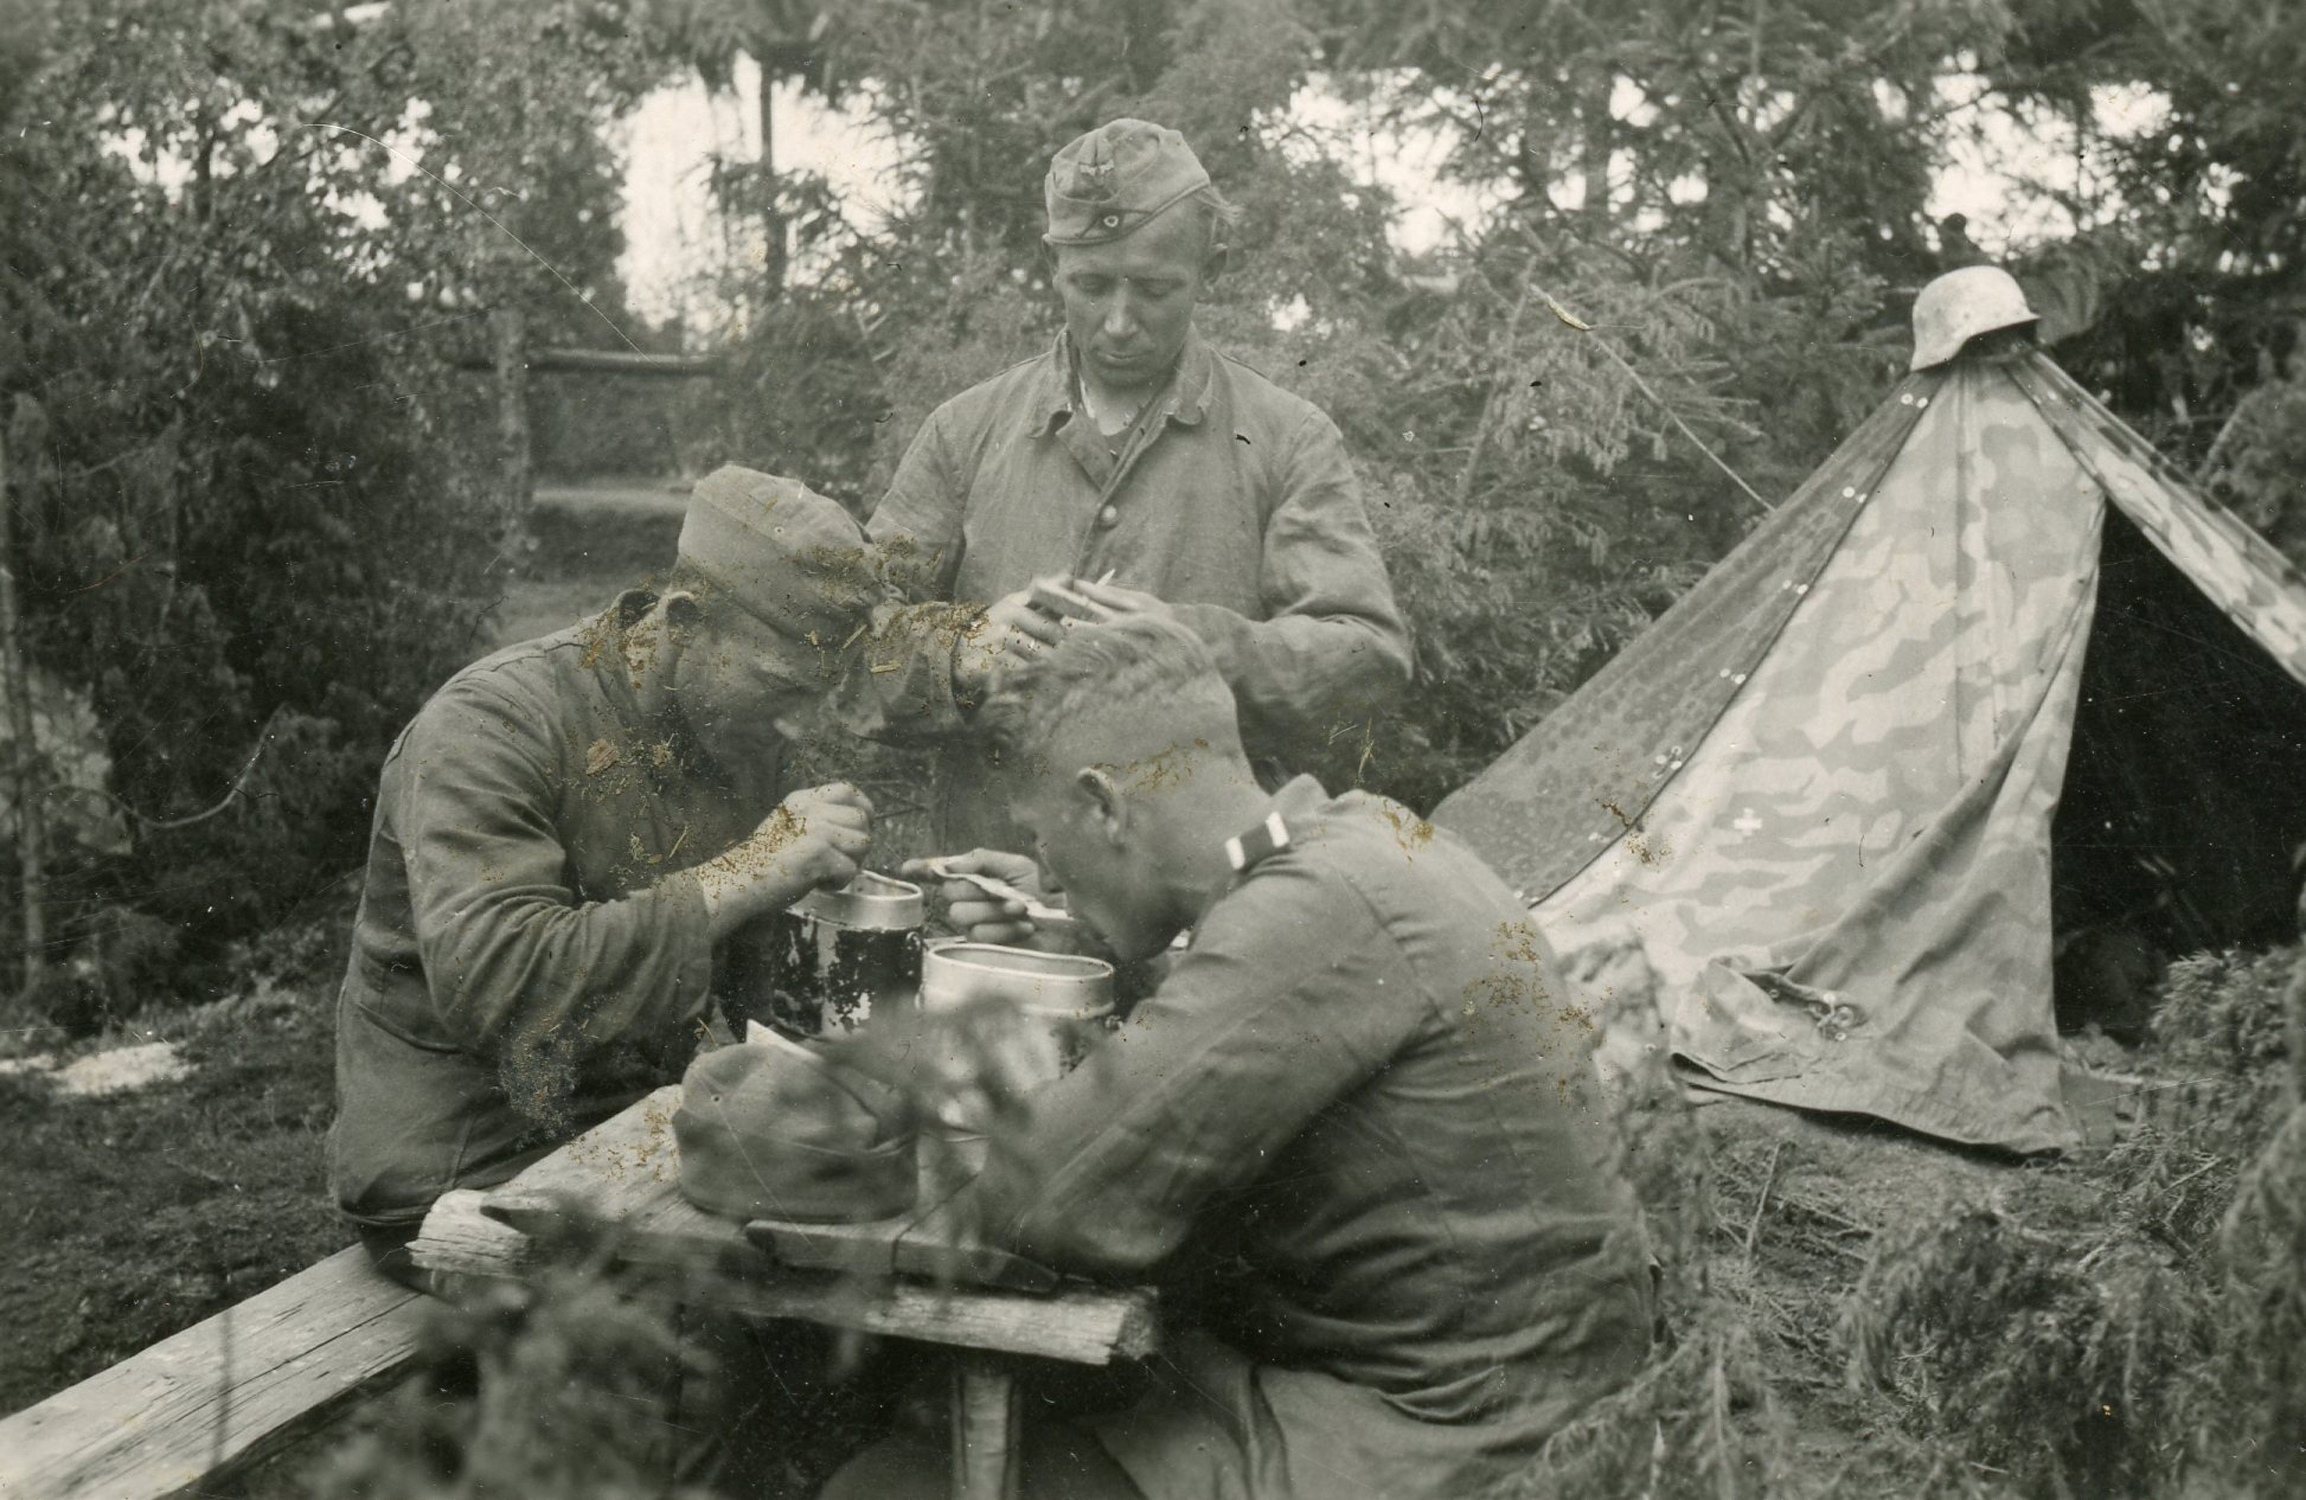
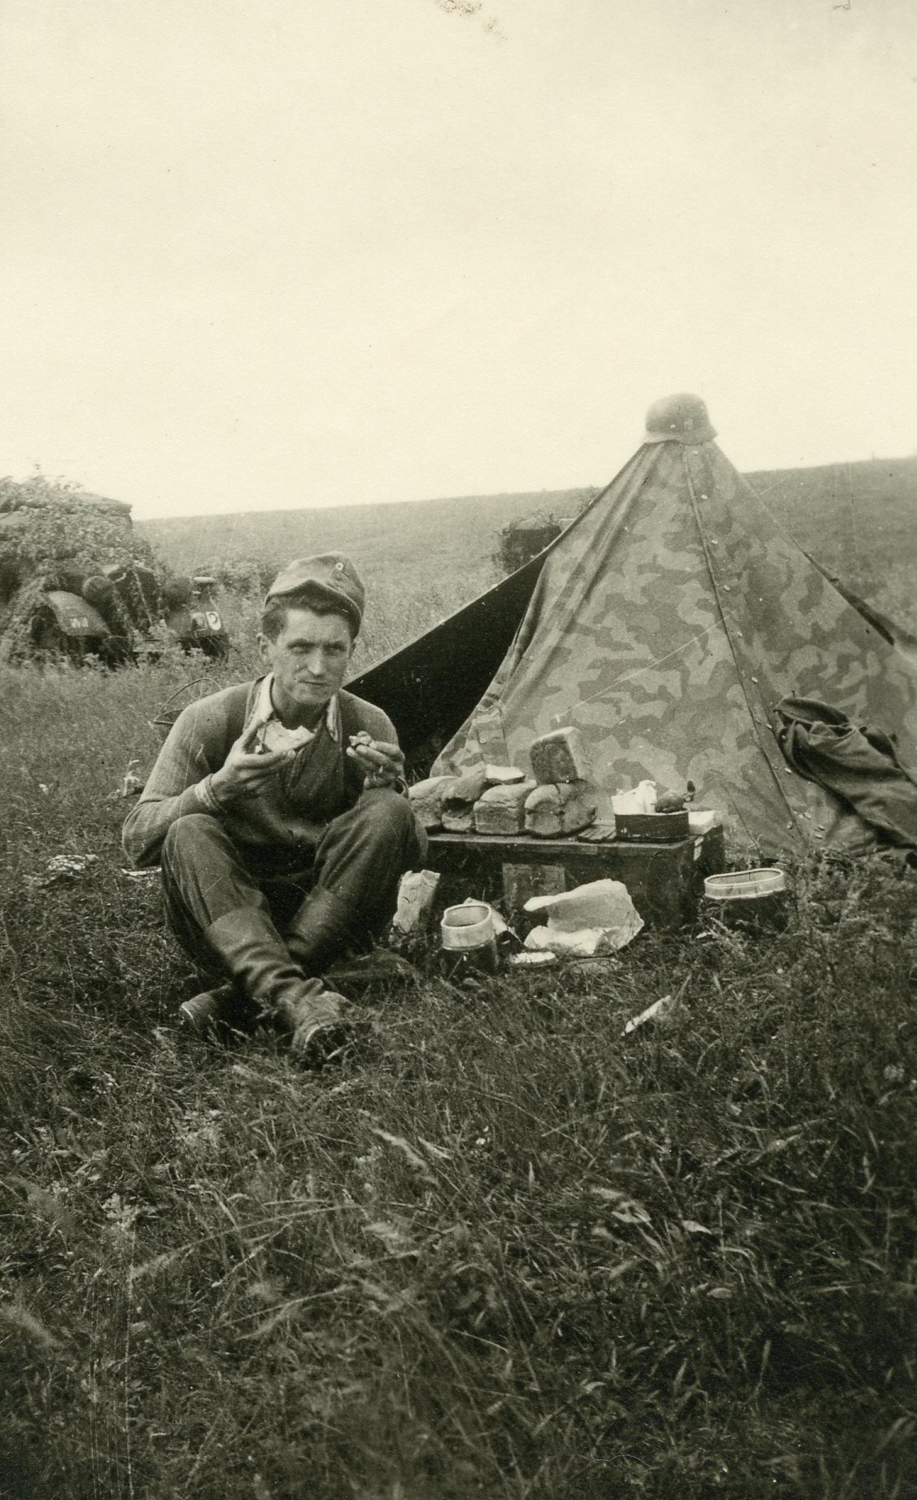
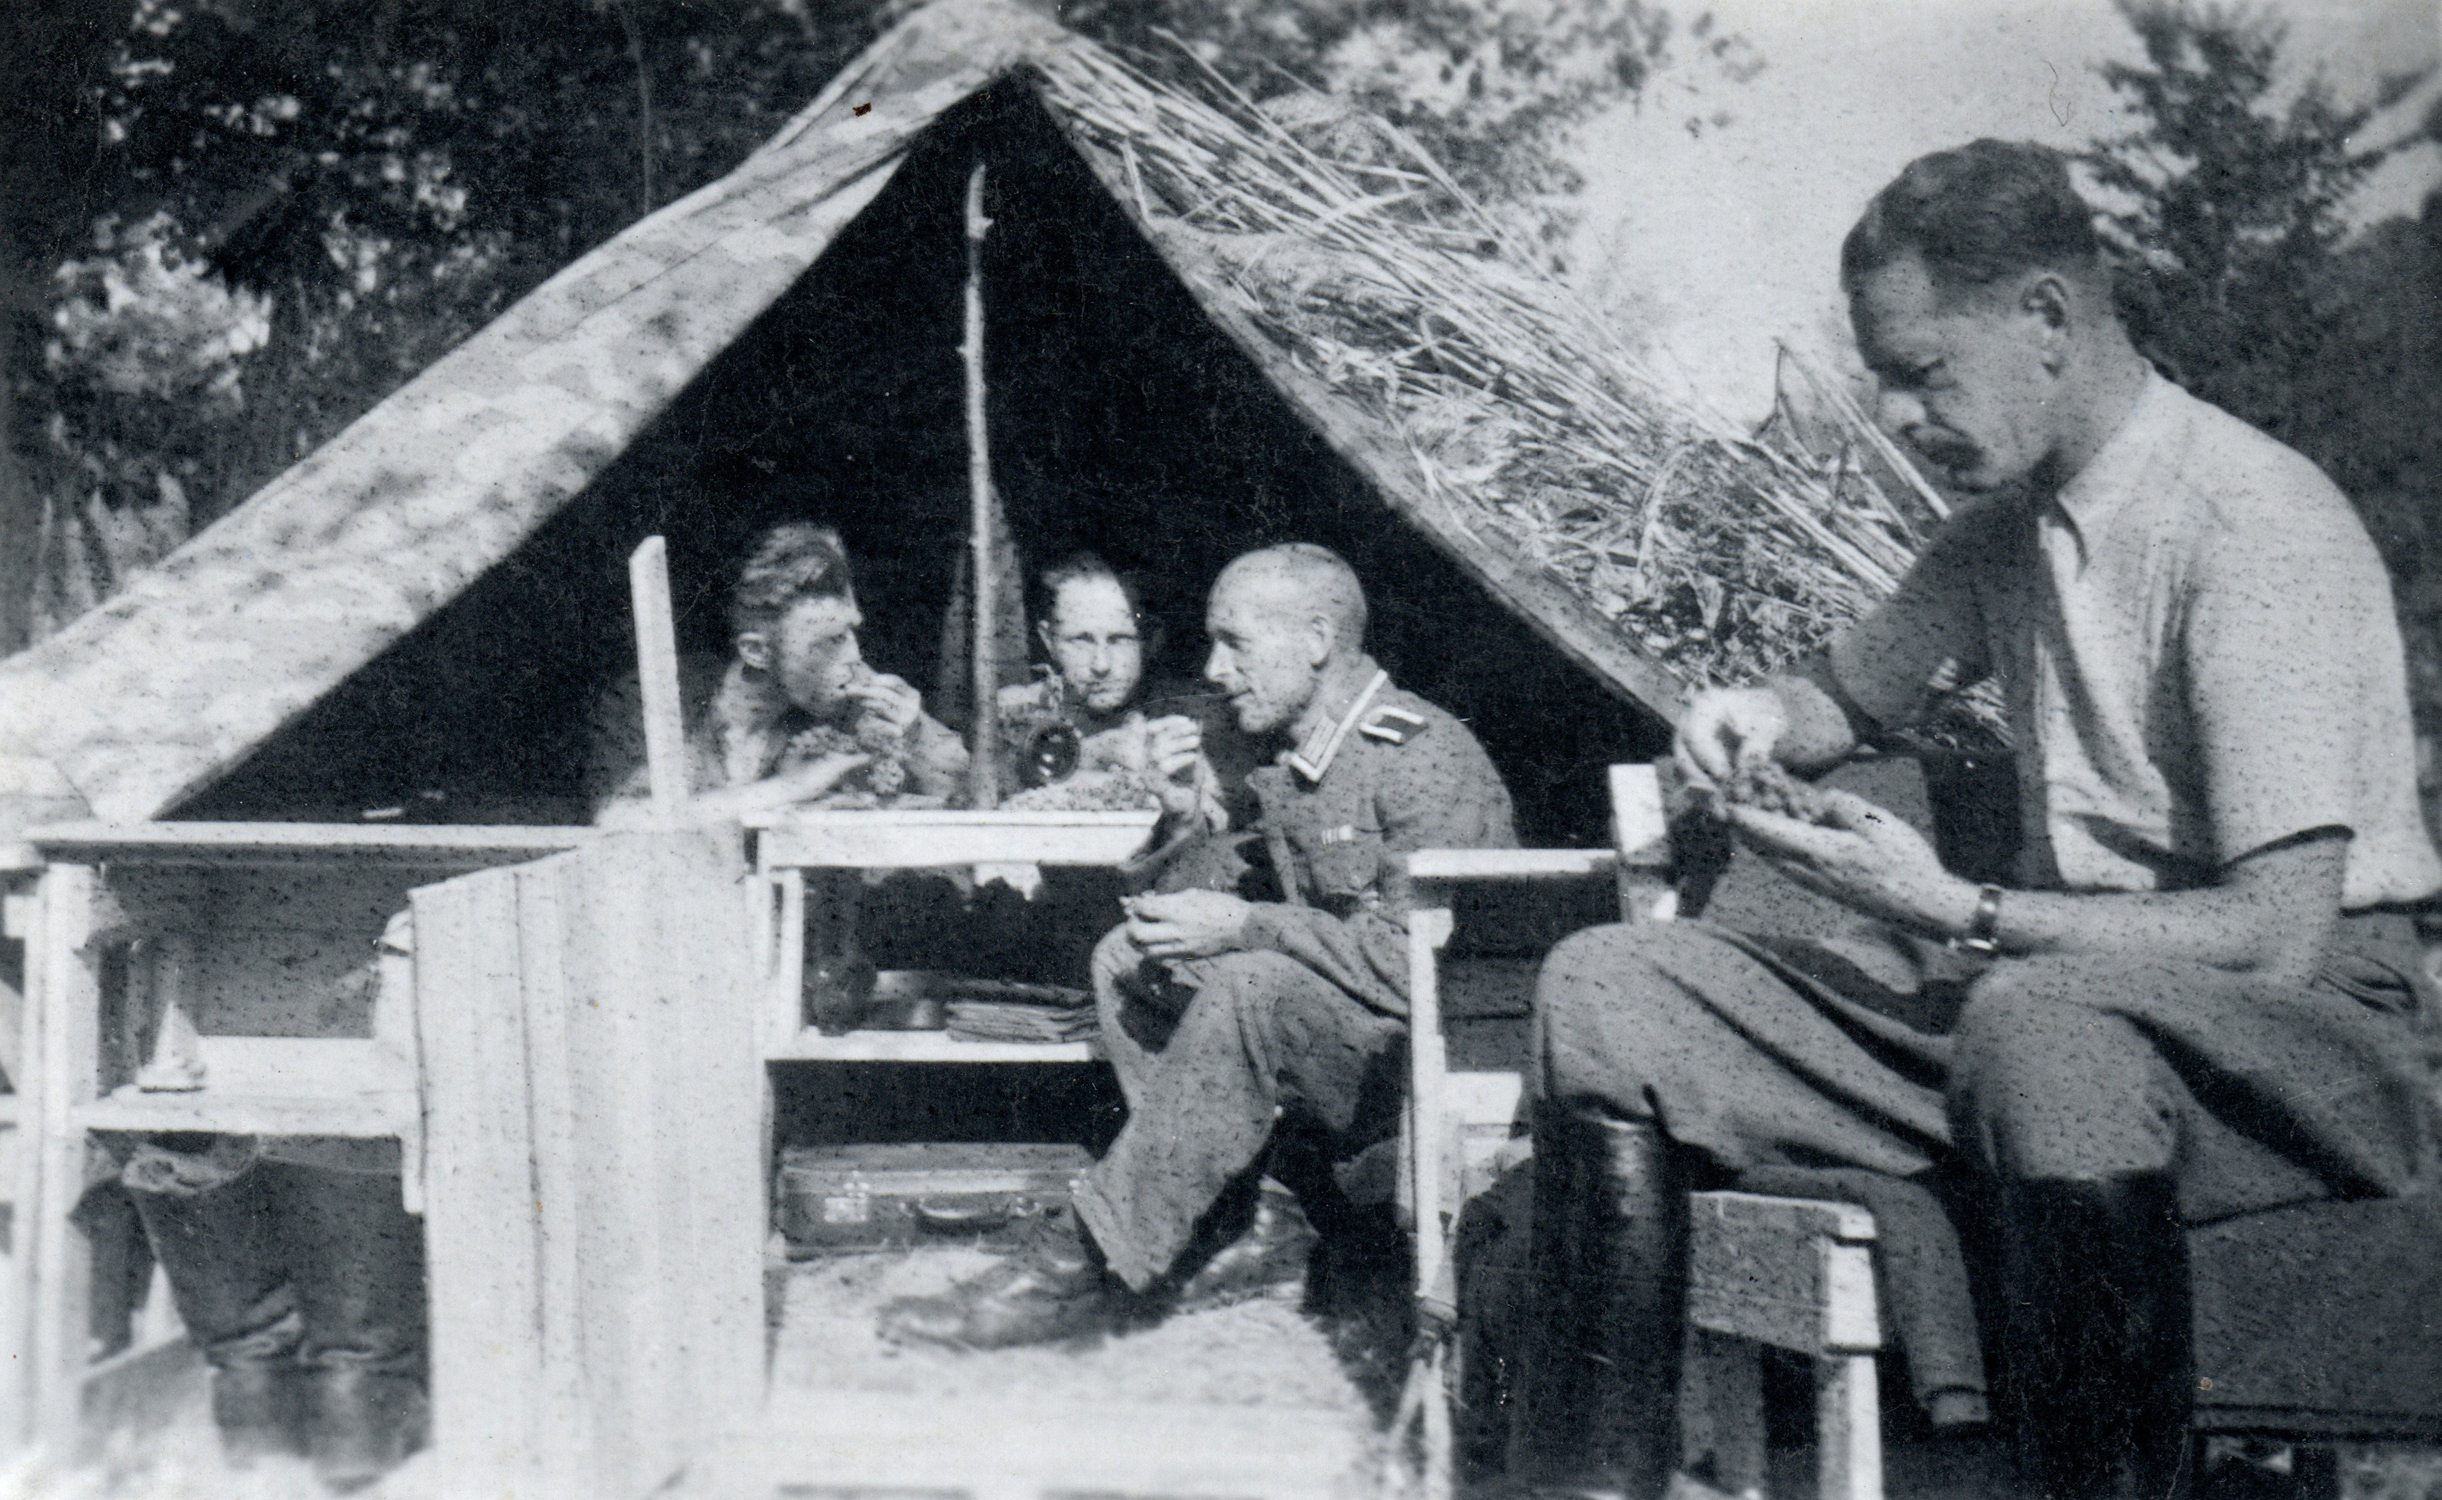
The photo at the start of this article shows potatoes in a light gravy with marjoram. Marjoram was not widely used in the USA until after WWII but it had a long history in Germany where it had over 10 different local common names. “Fleischlose und Fleischarme Feldküchengerichte” says that marjoram is “an excellent seasoning for savory gravies, legume and potato dishes, and the good, old pea soup is unthinkable without it.”

Contents of the gas mask canister, as veterans remembered it

What did Wehrmacht soldiers carry in their gas mask canisters?

The currently defunct web site of the Erste Zug reenactment group used to host several veteran interviews, most of which were originally published in Eric Tobey’s “Die Neue Feldpost” zine in the 1990s. The interviews were with soldiers who fought in a variety of units, different branches, different fronts. Here is what the veterans had to say on this.

Kurt Wegner, Grenadier-Regiment 914, interviewed by Vince Milano in 1993, when asked, “Did you ever throw away your gasmask?” answered, “Not until June 7, 1944. No one ever checked us for them in the entire time of the fighting.”

Leutnant Eberhard von Machui, of Artillerie-Regiment 28, when prompted to “describe your food in the field,” stated that every soldier was issued an iron ration which he kept in his bread bag. If a soldier could obtain an extra one he would keep it in his gas mask container after throwing away his gas mask. Lots of masks were thrown away in his unit, although the punishment for this was harsh, for example extra guard duty or deductions from pay for loss of the mask.

Josef Bieburger was a late war recruit in the Luftwaffe. In 2006 he described his training to my friend Glenn McPherson. “Our Feldwebel was a good guy. He had a big belly, and liked to laugh. One funny story when we were training. The area we trained and drilled on has a hill – it was called “Idiots Hill” – and nearby there were cherry fruit trees. Our Feldwebel was hungry this particular afternoon, and as I was the youngest and littlest of the unit, sent me on a mission. He gave me his empty gas mask container and sent me into the trees saying, “Josef – there is the Enemy! Go and take them prisoner!” So, I returned with his gas mask full of cherries and he was happy.”

William Lubbeck, author of “At Leningrad’s Gates,” a memoir of his time on the Eastern Front, was asked, “Did you throw away your gas mask?” He answered, “Put it on two or three times during the French campaign in 1940, but did not carry it after we reached Leningrad in 1941.”

Gustav Rewwer, who served on the Eastern Front in a Fallschirm-Panzergrenadier unit, and who I interviewed, told me that he retained his gas mask container, but that he discarded the gas mask and used the carrier to hold extra rations.

Gustav, a veteran of the SS-Panzer-Division “Das Reich,” and who did not want to use his full name, said in 1993, “We were going to have a gas mask inspection. Some men threw their masks away and put their papers in the can because it was waterproof. Before an inspection, the soldiers who had thrown their masks away would find one to borrow in another company who was not having an inspection. But I never threw mine away. While everyone was running around to find a mask, I would rest. We are in formation and the Scharführer gives me the command. I whip my can around and pop the lid. The Scharführer reaches in and pulls out a pair of ladies underwear. Huge ones, big enough for a cow. He’s standing there, they are blowing in the breeze. No mask, someone pinched my mask, Gaenzenbittel pinched my mask. This was not funny to the command, but even the Scharführer looked like he was going to laugh. Inspection over, we got extra work. We had to dig holes for Panzers.”

Gerd Hörner, interviewed by Brad Hubbard in 2002-2003, was asked about his time in Grenadier-Regiment 980. He said, “We put our socks and Fusslappen [foot wraps] in the gas mask canister and our writing implements in the gas sheet bag.”

Hans Melker of Grenadier-Regiment 169 was asked in 1993 if he threw his mask away. He replied, “No, they checked you for them and you could get into trouble if you didn’t have one. There was a special Unteroffizier who checked you for them. I did not want to get into trouble.”

These interview snippets that were compiled from one source provide a wealth of detail. We are lucky that earlier generations of reenactors recorded these interviews. Most veteran memoirs do not mention the contents of the gas mask canister. This detail was probably not seen as important by most soldiers looking back, though there are no doubt many references to discover, among the countless reminisces that have survived.

I find it interesting how consistent the responses are, in the tiny sample of interviews cited here. Clearly, soldiers knew they might be punished for not carrying the mask, and some did carry it. It’s also clear that some soldiers discarded the masks. In some units, it seems, nobody was checking. And even where inspections did happen, some soldiers found ways around it, and avoided punishment despite not having masks.

I have heard it alleged that the idea that German soldiers often carried something other than the mask in the canister or that they threw the masks away was a myth, a reenactorism. I wonder where that “myth” would have come from? In reality, there was an era of reenacting in which it was very common to encounter and interview German veterans, when they were in their 70s, and often with very sharp memories. It used to be possible to ask veterans about this, I asked veterans about this, and many told me they threw away their masks and used the canister for other things. And many other reenactors heard this from many other veterans, and some of these conversations were documented, and this documentation is abundant and clear. There are other sources that support this as well. Lots of soldiers threw their masks away.

Tips on setting up and sleeping in tents, from “Zeltbau”

The following is from the booklet “Zeltbau” (Tent Building) by Hans Möser, published in 1933. This instructional booklet with information about constructing and living in tent encampments was intended for use by members of the Hitler Youth and presumably other paramilitary organizations.

Set-Up of Tents

In the tents, absolute order and cleanliness must reign. That is even more crucial in small camps where all equipment items, tools, food supply, etc. must be stored in the sleeping tent. The floor of the tent can be divided using poles and the like… With regard to the interior layout, you can let your imagination wander… With large camps, the set-up of tents is relatively more simple, because dedicated tents or storage rooms for equipment and supplies can be laid out.

On Sleeping in the Tent

A basic requirement is that one does not put on too much clothing while sleeping. Why? – The blood circulation is much more lively, when one is not constricted too much. This is the reason why someone in the camp, lying in his bathing suit with only a light covering, can feel less cold than the person for whom two pairs of pants and three vests still seems insufficient as night clothing. On the other hand, there must also be something underneath you (see “ground layer”) that will provide excellent insulation from the ground depending on the weather and season. And another thing: shoes off, belt undone, suspenders unbuttoned, stocking garters off your legs, sports shorts with elastic off your body, thus stripping away everything attached and constricting. Better to be covered up by your clothes, than to lay there in the straw like a Roulade and then suffer an array of back pains and cramps the next day.

The Sleeping Ground Layer

In dry, warm weather, a dedicated ground layer is not necessary, if the tent will shelter sleepers for only a night. On the other hand, it would be irresponsible for a leader to let his men sleep without a ground layer in a multi-day camp. In bad weather, or even if the ground is damp, you cannot go without a carefully laid out, thick insulating layer. Depending on availability this could be straw, dry leaves, dry pine needles, brush broken into small pieces, etc. Especially in spring and fall, a layer of newspaper aside from the remaining ground cover is very appropriate as a protection against moisture and cold from the ground. In general, newspaper forms a warming ground layer. – If it only rained very little before erecting the tent, and the weather is quite warm, then it is enough to just turn the ground under the tent a shovel deep. Then no further ground layer is needed. At the most you can use newspaper.

Heating the Tent

Heating the tent is essential when the tent camp is set up too early or too late in the season. In very cold weather or frost, the tent must be heated. It is always most beneficial if, from the very outset, the tent is built large enough so that a small fire can be kindled on the ground (12-man tent). It can only be glowing embers and not a brightly blazing fire. For the small tent (gable tent) it is recommended to set up a heating channel (see illustration).

In front of the tent, an earthen hearth is built, the exhaust channel of which runs in a zig-zag under the tent floor. At the other end, a chimney is built as high as possible. The heating channel in the tent is covered with thin stones, sheet metal (cut-up food cans!) and the cracks sealed with clay. Over all of this is placed a thin layer of earth. The fire is maintained by the night watch. You will find that it gets nice and warm in the tent. In some places the heating channel is best tried out first. One can also, for example, scatter the embers of the campfire in the tent and cover them with a thin layer of dirt. The ground is warmed very well. However, this does not sustain warmth in the tent. For that, the use of heated stones is much better. They are removed from the camp fire and rolled into the tent. But the simplest, most comfortable and safest thing is definitely the use of a heating stove…

[For this book’s instructions for making an expedient tent stove, see Tent heating charcoal oven made from a food can]

WWII period German methods for waterproofing fabric

Here are some methods for waterproofing fabric, taken from two different pre-1945 German books. Some of these methods are simple and would be easy to duplicate today. Others read as fairly technical chemical formulas, by our modern standards. The books that these recipes are taken from were intended not for industrial or specialist use, but rather for use by ordinary people- by soldiers in the field, or even perhaps by children. It is interesting to note that no brand name consumer products are mentioned. Instead, these recipes use generic chemicals which, apparently, were things that it was possible for people to obtain, in a pre-Internet and arguably less consumerist world. The nature of these recipes gives some insight into how different things used to be in this era, now fading from living memory.

The first source that we will look at is “Tornister-Lexikon für den Frontsoldaten” by Gerhard Bönicke, published by the Oberkommando der Wehrmacht in 1943. This book was intended for use by Wehrmacht soldiers in the field. The last suggestion is the simplest and would be easiest to replicate today.

Waterproofing of fabrics

1 part ready-to-use, medium strength joinery glue, 1 part glycerin and 5 parts of water are mixed together and the fabric is painted with this mixture. After drying, the fabric is laid in a mixture of 1 part 40 percent formaldehyde and 9 parts water. Leave the fabric in this second bath for a long while. Or, dissolve the remains of shaving or hand soap by heating and shaking in a hundred times as much water and swish the fabric back and forth in the solution for 10 minutes. Take the fabric off, allow to drip dry and place in 2.5 percent aluminum acetate, leave the fabric in the solution for 5 hours, take it out, rinse well and allow to dry. Or, dunk the fabric for 8-10 minutes in a solution of 1 part fat in 9 parts gasoline (caution, do this work outside!) and limewash [1 kg quicklime and 2 liters water]. Or, vigorously rub the outer side of the fabric with a piece of a candle or beeswax.

The 1933 booklet “Zeltbau,” published by Franckh’sche Verlagshandlung in Stuttgart, was part of a series (“Geländesport-Bücherei,” or Field Sport Library) likely intended for use by the Hitlerjugend and other paramilitary organizations. While it is interesting to know how things were done in the past, I would encourage readers to avoid handling toxic chemicals.

One must know…

How fabrics (Zeltbahnen, wind jackets, cotton cloth etc.) are made waterproof. There are various recipes. Here are a few of them: a) In 2 to 2-1/2 liters of boiling water, dissolve a half pound of alum, then add about 9 liters of cold water, put in the fabric and allow it to sit in the solution for about 24 hours. Afterwards, wring the fabric out well. In the meantime, make a new solution from a quarter pound of lead(II) acetate (very poisonous!!) in 2 liters of boiling water, then pour in 8 liters of cold water. Place the fabric in this solution and allow to sit for 7 hours. Hang the fabric to dry without wringing it out. b) Dissolve 50 grams of zinc sulfate in 20 to 22 liters of cold water, add a quarter pound of sodium carbonate and stir well. Then add 5 to 7 grams of tartaric acid, soak the fabric in this alkaline solution for 24 hours, and hang to dry without wringing it out. c) Dissolve 60 grams of lead(II) acetate in 1 liter of water. Also add 60 grams of aluminum sulfate to 1 liter of water. Mix both solutions together. By slowly pouring into a second container, the solid precipitate that forms is removed. The fabric is painted with this alkaline solution until it is well soaked through. Then the cloth is hung to dry.

“Zeltbau” also includes advice for waterproofing footwear.

One part paraffin mixed with 10 parts gasoline or 150 grams of mutton fat, 45 grams of wax and 30 grams of resin in a half liter of boiling linseed oil (boil the latter in a water bath!), mix all well and rub in to boots or other leather. Rub in vigorously to soles and uppers, knead it and work it with the ball of the hand. The most important thing is to rub it well into the seams (in particular between the sole and the upper).

Was tent canvas waterproof from the factory? Wehrmacht issue Zeltbahn shelter quarters were treated with a chemical called Persistol, which made the canvas water repellent, but not waterproof. The major factor in staying dry under canvas is perhaps more likely to have been the tightly woven nature of the canvas itself, and the way the fibers react to being soaked with water. “Zeltbau” cautioned readers, “in rainy weather, nobody should touch the tent fabric from the inside, otherwise it will nastily rain inside. It can potentially make it like sitting under a shower!”

How waterproof were Zeltbahn tents in the reality of war? Leon Degrelle, in his memoir “Campaign in Russia,” offered his perspective.

Our tents were made of little triangular canvases, slit in the middle, which served individual troops as ponchos. To erect a tent, one had to combine four of these canvases, staking them over an area of about two by two meters. But four canvases meant four men, so we had to sleep four in a tent in a tiny space, as well as shelter a full kit there.

To complicate matters further, the tent had to be taken down during the day so that everyone could have his poncho back to cover himself.

We had neither straw nor dry leaves to stretch out on, nothing except the drenched soil. The storm howled the whole night. We were right at the summit of the mountain. The torrents of rain, hail and snow could carry off our habitations at any instant. The water streamed in, penetrating holes punctured at a dozen places in canvases that had seen a year and a half of service, drenching our faces. Men cried out against the tempest. Their tent-shelters bowled over, soaked to the skin, they struggled and swore.

Ten Rules for the Field Cook

The following is translated from “Die Feldküchengerichte” by Dr. W. Zieglmayer, 1941. These directions are for people assigned to cook food for military units, using field kitchens. Many of these basic principles apply to any kind of field cooking, or even making period recipes at home.

  1. Portion sizes indicated in the recipes are the maximum amount.
    Cook only the required amount!
    Be frugal with the amount of fat you use.
    Reason: Help to save!
  2. Make the most of all foodstuffs. Avoid excessive waste when cleaning vegetables and peeling potatoes. Vigorously boil down bones, tendons, woody vegetable parts and stems. Make skillful use of every remaining usable part.
    Reason: Fight against waste!
  3. Foodstuffs, whenever possible, should be kept whole, then immediately before preparation they should be quickly but thoroughly washed!
    Reason: Water leaches out nutrients!
  4. Whenever possible, fresh meat should be cooked in 2 to 3 kilogram pieces in the kettle until done, then stored in available containers (such as food carriers). Potatoes, vegetables etc. should then be cooked in the meat broth until done. Finally, cut the meat into portions on a cutting board, keep the cut portions warm in food carriers and serve the meat portions individually.
    Reason: The soldier wants to see meat!
  5. Dried foodstuffs (potatoes, vegetables, fruits) should be soaked in available containers for 3 hours, legumes for even longer! Don’t discard the soaking water, use it for cooking!
    Reason: Greater productivity, shorter cooking time, no loss of nutrients!
  6. In a tightly covered kettle, only cook until done, not longer!
    Reason: Tastier food, shorter cook time, no “boiled to death,” no “straw flavor”!
  7. Stir the kettle sparingly!
    Reason: Otherwise it’s always mush!
  8. Cook field meals thick, not soupy!
    Reason: A lot of water means it’s less filling!
  9. Cook meals together with fresh food (potatoes, vegetables, herbs), even in the smallest amounts from the field and garden!
    Reason: Fresh food promotes health!
  10. Cook with care and consideration! Season it well!
    Reason: Good meals promote the energy of the troops!

Rutabaga recipes from wartime Germany

The rutabaga is an interesting and often misunderstood food. It’s a natural cross between cabbage and turnip, cultivated in Europe since the 17th century. The role of this vegetable in 20th century history is sometimes clouded by issues of terminology. English-speaking history buffs may be familiar with the “Turnip Winter” of 1916-17, a time of great hunger and hardship for the German civilian population. And people may also have read that the first Halloween jack-o’-lanterns were turnips, carved to resemble faces, in parts of Ireland and Scotland. But I think many would be surprised to learn that the first jack-o’-lanterns were probably rutabagas rather than turnips, and that the crop that sustained the Germans during that terrible “turnip” winter was also the rutabaga.

Part of this confusion comes from the fact that rutabagas have different names in different parts of the English-speaking world. In many Commonwealth countries they are called swedes or turnips, but in Scotland they are called neeps. Rutabaga is said to be the most common term in the USA, though my family in Massachusetts always called them turnips, and the name yellow turnip is also used. My local supermarkets call them rutabagas or wax turnips. Even when they are labeled as rutabagas, the cash register rings them up as “Rutabaga (Turnip).”

Rutabagas at the supermarket

It also does not help that there are many regional German names for this vegetable. Steckrüben is the most common term for these, but they are also called Kohlrüben except in Austria where this word may be used for kohlrabi. Rutabagas can also be called by other names including Runkerüben and Wruken.

The rutabaga is an extremely versatile crop. It can be used for animal fodder or for human consumption. It can spend all winter in the ground, and can be harvested at any time from fall through the spring. In cold storage, rutabagas remain fresh for months. The greens of the plant are also edible, and can be eaten raw or cooked.

It was not only during WWI that this crop was relied on in a time of hunger. In the food shortages at the end of WWII, and later, many Germans turned to the rutabaga for nourishment; they were strategically planted during the war to feed people in difficult times. The rutabaga has been indelibly linked to famine and conflict in the twentieth century. And that is really a shame. Rutabagas are delicious, with a robust savory flavor that is balanced by a delicate sweetness. They are also very nutritious, high in antioxidants and vitamins.

Raw rutabaga, peeled, sliced and ready to cook

Let’s look at some wartime German recipes for rutabaga. In early October, 1941, the 281. Sicherungs-Division distributed a list of tested and approved recipes for preparing vegetables that were widely available in their area of operations (the northern sector of the Eastern Front). The recipes were for corn, pumpkins, and rutabaga. These recipes were intended to be used by the units and kitchens of the Division. Here are the rutabaga recipes.

Rutabaga as a vegetable dish

The rutabagas are to be peeled, washed, chopped and boiled in salt water, then mixed with a roux, and seasoned with pepper. This is sufficient as a vegetable side dish for all meat dishes.

Rutabaga as a stew

The rutabagas are to be peeled, briefly washed, chopped, and boiled in broth or water with beef or pork. This is to be thickened with a roux, or by stirring in flour, or, alternatively, with potatoes. At the end, season them with salt or pepper.

Salted rutabaga

This recipe, which is completely new and largely unknown to the troops, is intended for the troops particularly in the winter months, during which most cases of vitamin deficiency arise. The units can prepare from this large supplies for the winter time. For mobile and fighting troops, this may not always be possible due to time constraints and transportation difficulties. As a result, this preparation style should predominantly be considered during rest periods. The rutabagas are to be peeled and washed, and using a vegetable slicer, finely shredded, and then salted in casks, just as cabbage is salted to make sauerkraut. After 6-8 weeks the distribution and use of this vegetable can begin.

Schmorbraten with rutabaga

“Die Feldküchengerichte” (The Field Kitchen Recipes) was a book of field kitchen style recipes that were adapted from the 1941 German Army cookbook for use on the home front. This book contains suggestions as well as recipes for cooking rutabagas. Rutabagas are said to be particularly well suited for use in stews, and also as a vegetable dish on their own. Boiled or steamed, they can be used in salads. Caraway seeds are good with rutabaga, and should be added at the start of the cook time. Basil, too, can be used, though this should be added to the dish when it is almost ready. It is noted that rutabaga can be included in a diet to reach requirements for Vitamin C intake.

A basic vegetable stew recipe from the book is as follows: Place fresh, pickled, or smoked meat in boiling water. To this, add 600 grams of fresh vegetables or 30 grams dried vegetables, and 750 grams of fresh potatoes or 75 grams of dried potatoes, and cook until done. Season this with salt, onions cooked together with the stew, and fresh herbs, chopped, and added to the finished dish. Two variations of this basic recipe are given that use rutabaga. To make rutabaga and potato stew, use 800 grams of rutabaga and 500 grams of potatoes, and cook this together with marjoram. To make a stew with rutabaga, noodles and pickles, use 600 grams of rutabaga and 75 grams of noodles. Cook and rinse the noodles, then add them to the rutabagas, and mix chopped pickles in at the end.

The “Tornisterlexikon für Frontsoldaten” says that turnips and rutabagas can simply be peeled, chopped, and boiled in water with a little salt for about 2 hours, until soft, and that this recipe is good with fatty meat.

Bratklopfe with rutabaga as a side dish

It’s my experience that the delicious and nutritious rutabaga is extremely well-suited to simple, hearty meals of the type often prepared for soldiers in WWII. It can be used together with, or in place of, other root vegetables, in virtually any dish. Generally, the rutabagas available at American supermarkets are coated with a food-safe wax that keeps them from drying out. They will last a very long time in the fridge and they are easy to transport and store in field settings as well. I regard rutabaga as a severely underrated food.

Original photos of Zeltbahn tents and shelters

The Zeltbahn was the individual shelter quarter used by German military and paramilitary organizations prior to and during WWII. It was a canvas panel that could be buttoned to others to construct various kinds of tents and shelters, and it could also be worn as a poncho. These unpublished private snapshot photos show various configurations of shelters made with the Zeltbahn. These photos are rich with detail, not only regarding the tents but also specifics of uniform, camp furniture, footwear, and camouflage, as well as rations and other aspects of daily life in the field. These photos range from the 1930s through WWII, and show personnel of Wehrmacht branches and also the Reichsarbeitsdienst. The photos in this gallery are from the collection of Chris Pittman and Günther Baumann and have been scanned and posted at a high resolution to enable study of the various details. The captions, in cases where there are captions, are from inscriptions on the backs of the original photos.

Wehrpass of Schütze Willy Krinscher, Sicherungs-Regiment 113

This man’s name was Willy Krinscher.

This was his Wehrpass.

He was born in 1904 in the north German town of Burg, near Magdeburg. He was married.

He was drafted in June, 1942, when he was 37, he was drafted. His initial training was in Landesschützen-Ersatz-Bataillon 11, in Hildesheim. He swore an oath of allegiance to Adolf Hitler, as was mandatory for all servicemen in the German armed forces.

He was trained on the Gewehr 98 rifle.

This page in Krinscher’s Wehrpass shows the military units to which he was assigned during WWII.

Krinscher’s initial training lasted almost exactly two months. He was then assigned to a field replacement unit, during which time he was transported to his first field unit. On August 31, 1942, Krinscher was assigned to 1. Kompanie, Sicherungs-Regiment 113. This unit was at this time assigned to the 285. Sicherungs-Division, engaged in anti-partisan activities in the northern sector of occupied Russia, in the rear area of Army Group North. In October, 1942, Krinscher’s bataillon was redesignated as III. Bataillon, Sicherungs-Regiment 113, and he would remain in this unit, in Russia until the beginning of February 1943.

During Krinscher’s time in Russia with the 285. Sicherungs-Division, the unit was extremely active in combating the Soviet partisan movement. The war diary of the 285. Sich. Div. is not extremely specific about the day-to-day activities of Krinscher’s particular Kompanie during the time he was there, but enough information was recorded to give an idea of his activities. For example, in September 1942, the area of the Division was threatened by multiple partisan bands that ranged in strength from 100 to 300 men. The important railway lines in the sector were being blown up almost daily by enemy parachutists with explosives. The Division was ordered to destroy these partisan units starting on September 15. As part of this action, the 1. Kompanie, Sich, Btl. 972, of which Krinscher was a part, and based at that time in Lsi, was tasked with performing reconnaissance on the road between Nikolajewo and Malyy Utorgosch, in order to establish the location of partisans that had used this road to move to the northeast. Some parts of the Kompanie were to be deployed to the area of Lug, to prevent partisans from escaping into the swamps north of Swad. Following this action, on September 24, Krinscher’s Kompanie was assigned to Feldkommandantur 189, to be used as needed. Feldkommandantur 189 was at this time itself subject to a constant series of partisan attacks, and was organizing countermeasures. In the five days between September 26 and September 30, Feldkommandantur 189 dispatched 3 large detachments tasked with pursuing and destroying partisan bands that were said to number between 30 and 100 men each. Three attempts to blow up railway lines were prevented in this time, with explosives being captured; one such incident resulted in a brief firefight, after which the partisans fled into the woods. Four locals, of whom three were women, were executed in this period for aiding partisans.

On October 26, 1942, Krinscher’s Bataillon was redesignated, becoming the III. Bataillon of Sicherungs-Regiment 113, still active in Russia. He remained with Sich. Rgt. 113 until the beginning of February, 1943, at which time he was sent back to Germany, to Landesschützen Ersatz und Ausbildings Bataillon 6. An entry in the Wehrpass notes that Krinscher had participated in the “Campaign Against Soviet Russia” from August 31, 1942 to February 1, 1943. He earned no awards and never got any rank promotions.

It’s not clear why Krinscher was sent back to Germany. The units he was with after December 1942 don’t seem to have made the standard entries in the Wehrpass, which is not unusual. It’s likely that he had become sick in the bitter winter of northern Russia. In September 1942, Krinscher was discharged from the Wehrmacht for medical reasons. He had issues with both lungs, and was no longer deemed fit for medical service. He had spent about 15 months in the German Army, had been deployed for five months, and never did get any rank promotion.

Basic kit issue to one soldier, as recorded in the Soldbuch

The items that a soldier was issued are listed in the Soldbuch. Generally speaking, basic clothing and equipment items are recorded on pages 6 and 7 and special equipment such as weapons and gas protection equipment are recorded on pages 8a-8d.

Scans of Soldbücher for nearly any unit (or at least unit type) can be readily found online, including on this very web site. If you can read these words, you can find this documentation online. There is no need to speculate about what a soldier was issued, what kind of boots he might have had or how many of each item, etc. The documentation for this is readily available and may be surprising as it often contradicts reenactor myth. The Soldbuch will not list what exact model of tunic or field cap was issued but educated guesses can be made based on other extant documentation.

One of the units that we portray for living history is Sicherungs-Regiment 195. An entry in a Soldbuch from this Regiment shows the following issue of basic clothing and equipment on pages 6-7, dated June 1943:

1 helmet
1 field cap
1 field blouse
1 sweater
1 pair of trousers
2 collar binds
2 pairs of underwear
2 shirts
3 pairs of socks
2 pairs of low boots
1 clothing bag
3 greatcoat straps
2 ammunition pouches
1 ID disk
2 hand towels
3 handkerchiefs
1 folding fork/spoon
1 pair suspenders
1 wool blanket
1 pair of gloves
1 toque
1 sewing bag
2 mess kit accessories (illegible)
1 greatcoat
1 Tornister
1 mess kit
1 Zeltbahn with accessories
1 belt
1 bread bag with strap
1 canteen
1 HBT uniform
1 pair gaiters

This photo shows this full scale of issue (minus the illegible entry). I’m not sure what an issue sewing bag might have looked like so I included a private purchase type “Kameradenhilfe” sewing kit. The relevant Soldbuch pages are also shown. This soldier also had a gas mask, and a French rifle and bayonet, recorded on pages 8a-8d. He had a Soldbuch too, of course, which is the source for this information.

Shoe care during the rainy season

From “Taschenbuch für den Winterkrieg,” 1942

  1. The troops are to be instructed that well-maintained and well-cared-for footwear in the wet period is important for good health.
    Boot inspections are to be conducted as often as possible, as far as the battle situation allows, to check that expert shoe care is being carried out.
  2. Water from melted snow soaks quickly through shoe leather and attacks the leather and particularly the thread at the seams of the footwear. Because leather is not quite waterproof, it needs to be treated in such a way that a level of water resistance can be achieved. For this reason, thorough care of footwear is particularly important during the snow melt. The following guidelines are to be observed.

I. Leather footwear

  1. Small damages are to be fixed as soon as possible, as damages in leather soaked with snow melt water will soon become bigger.
  2. Worn-out hobnails should not be removed, because the resulting holes will make the soles water-permeable. Nail new hobnails next to the old ones.
  3. Soles are not to be worn so much, that the long sole is damaged.
  4. Wet footwear is to be changed as soon as possible (put on low boots!), wipe out the interior of footwear with rags, stuff with paper, straw or other moisture-absorbent materials. Footwear is to be allowed to gently dry in a slightly warm place only. The wetter the shoe, the greater the danger of making the leather brittle by drying it out quickly in a hot place, by an oven or open fire.
  5. Clean footwear of dirt daily with brushes or rags. Lightly grease the upper to the ankle level, then vigorously rub in the leather fat with a rag or, even better, with the heel of your hand. Warmed fat soaks better into the leather. But never use too much fat, so that it soaks through the leather and soils your socks and feet. However, you need to generously spread fat into the crease between the upper and the sole, to make this waterproof. (See illustration)
  6. Once a week thoroughly clean footwear of dirt and any adhered dried leather fat or other shoe care product, by washing it with lukewarm water, allowing it to dry and treating the upper as described above. Greasing the shaft of the boot once a week is sufficient.
  7. Using leather fat keeps shoe leather soft. Shoe cream alone makes upper leather hard and brittle, and clogs the pores of the leather, trapping the moisture created by the feet inside the boot, promoting frostbite.
  8. Material for impregnating the soles, as long as it can be delivered, makes the soles waterproof and more durable.
    How to use: clean the soles, then apply the substance and let dry. Repeat this process until the sole will not absorb any more of the substance. Do this once or twice per month. This sole impregnation material is only for leather soles, never for rubber soles or upper leather.

II. Rubber boots

  1. Rubber boots and rubber overboots have to be treated particularly well, in light of the raw material situation. They are not to be worn on road marches.
  2. Clean with a soft rag and with cold or lukewarm water, never with hot water, oil or gasoline. Don’t use anything sharp to scrape off dirt! To dry, hang somewhere with slight heat, never on or over a stove.
  3. Fix damaged areas by gluing on rubber patches with rubber cement.

III. Felt boots

  1. Felt boots can no longer be worn, when the snow becomes watery. Wet felt boots no longer offer any insulation to the feet. The evaporation of the moisture in the felt in the upper part of the boot will strip the feet of their warmth many times, which can cause frostbite even in mildly cold temperatures.
    In consideration of the leather parts and leather or rubber soles, dry felt boots only in a slightly warm place!