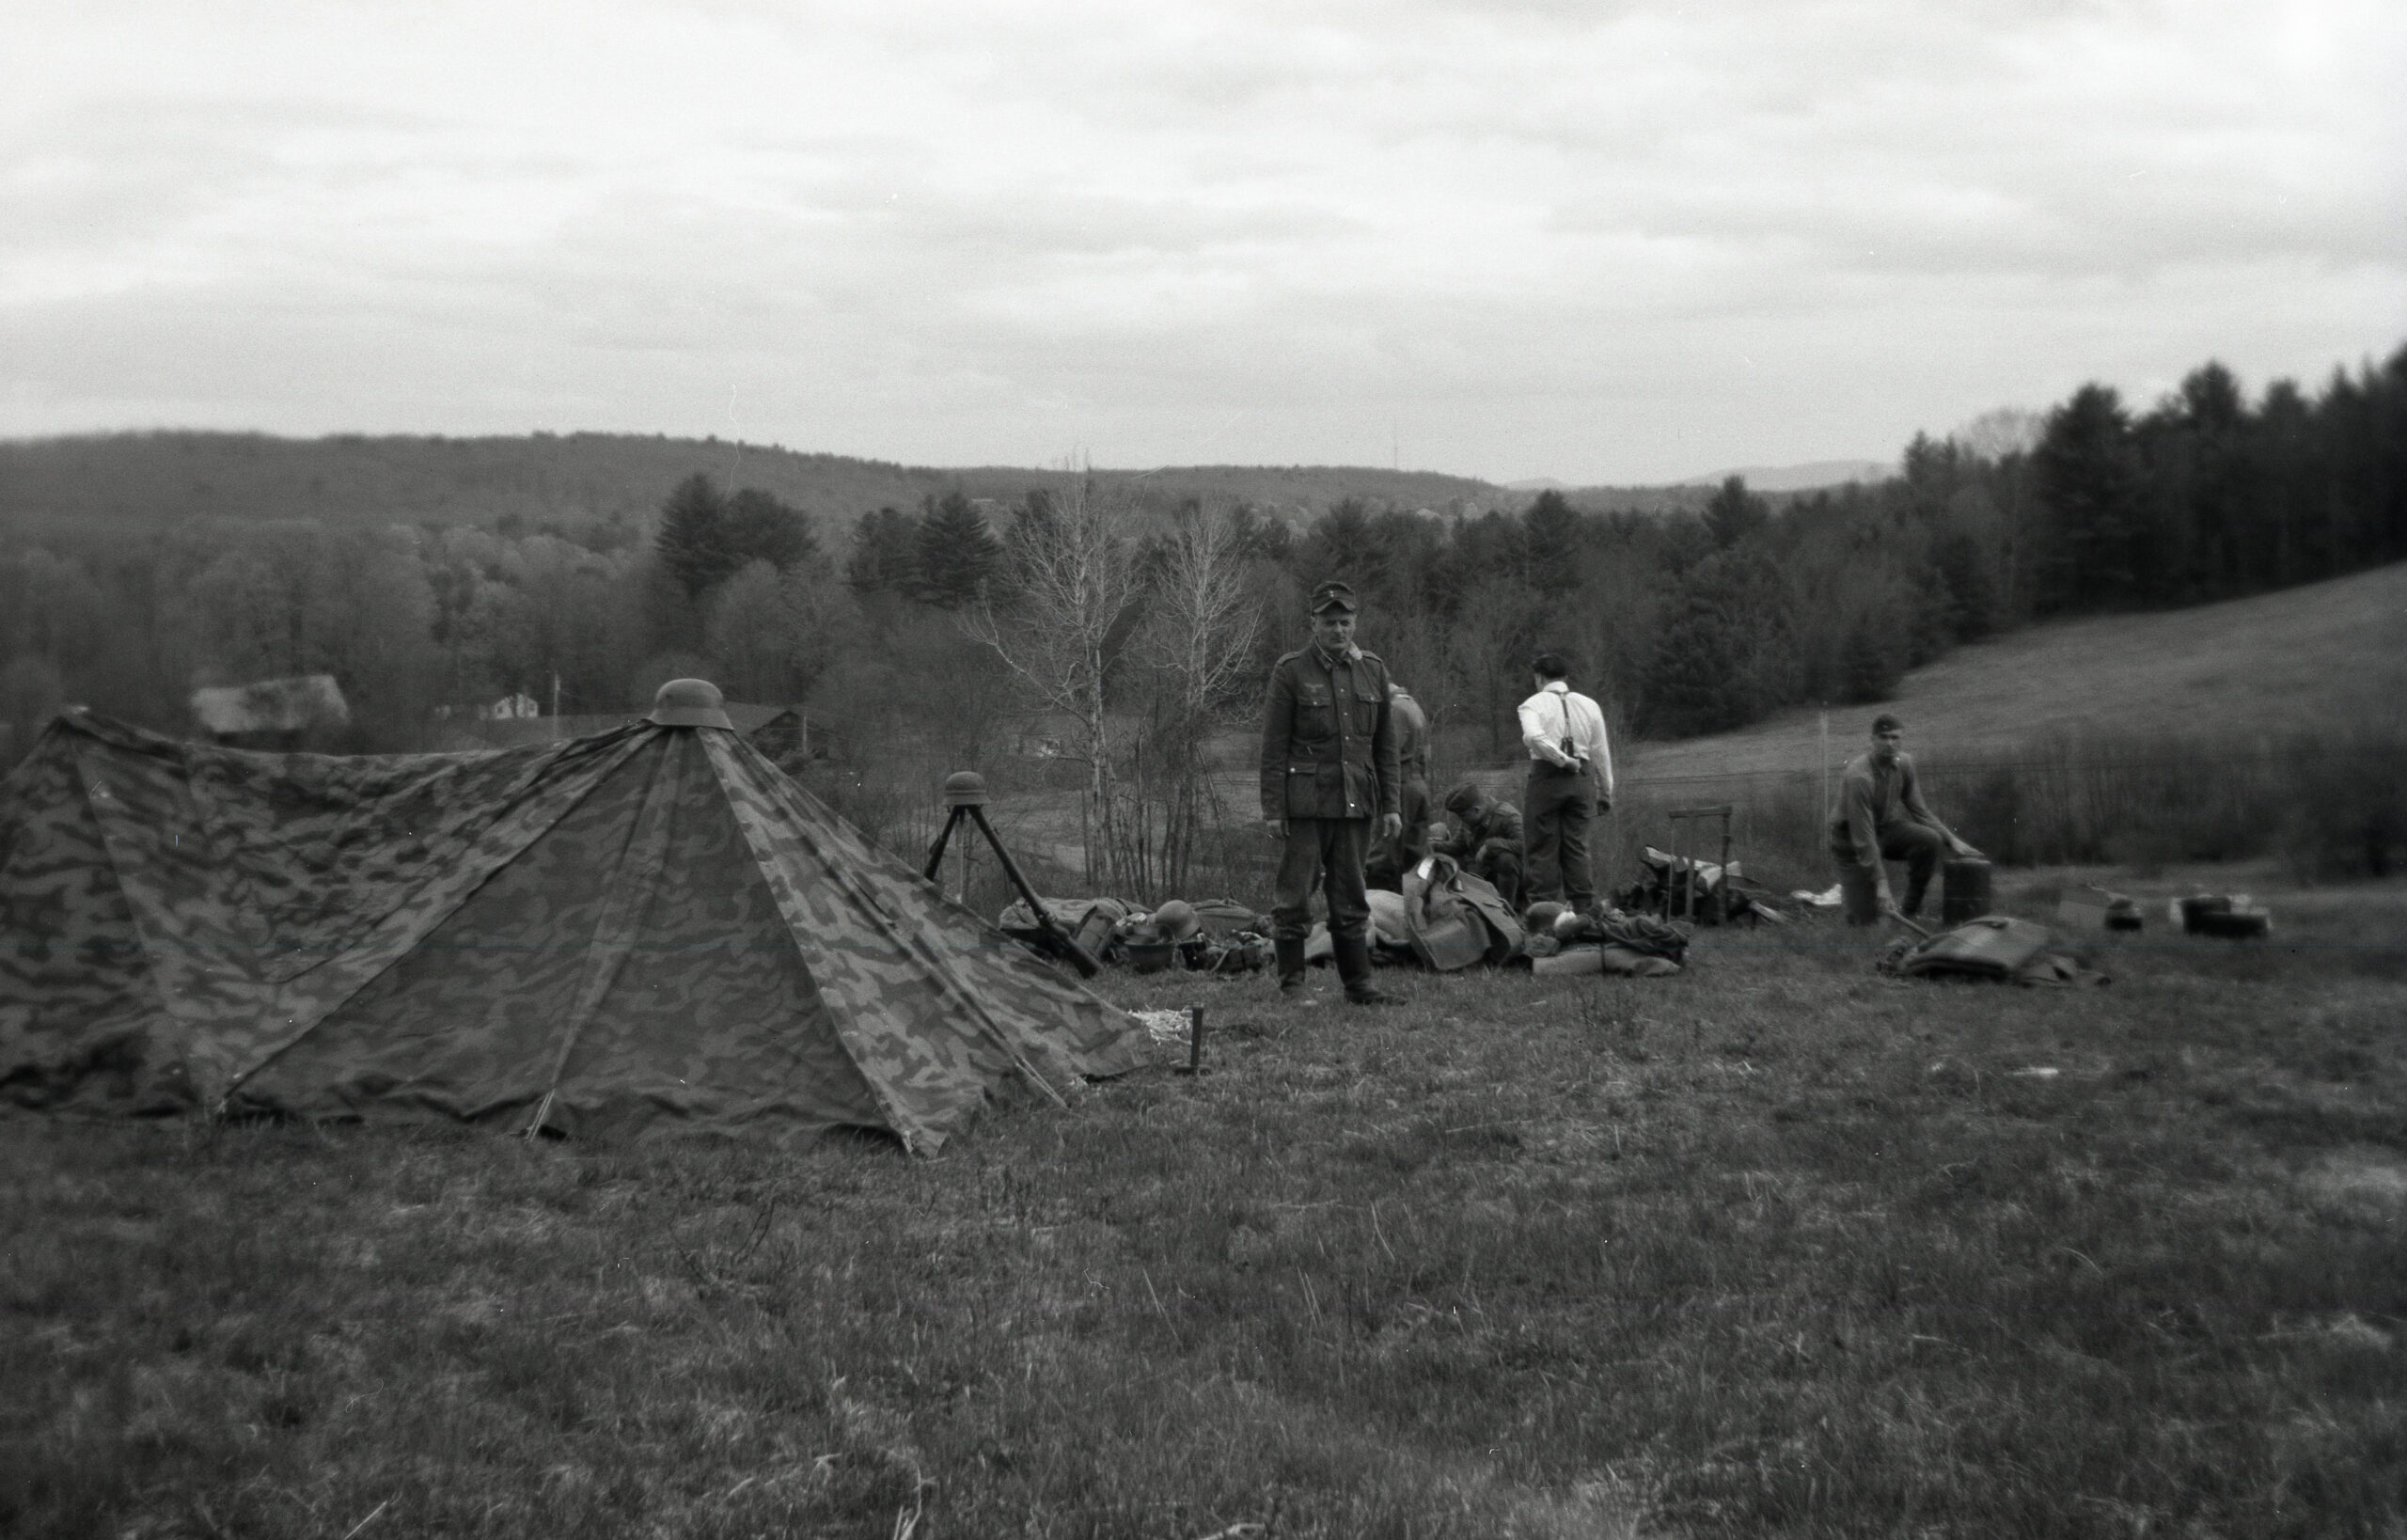
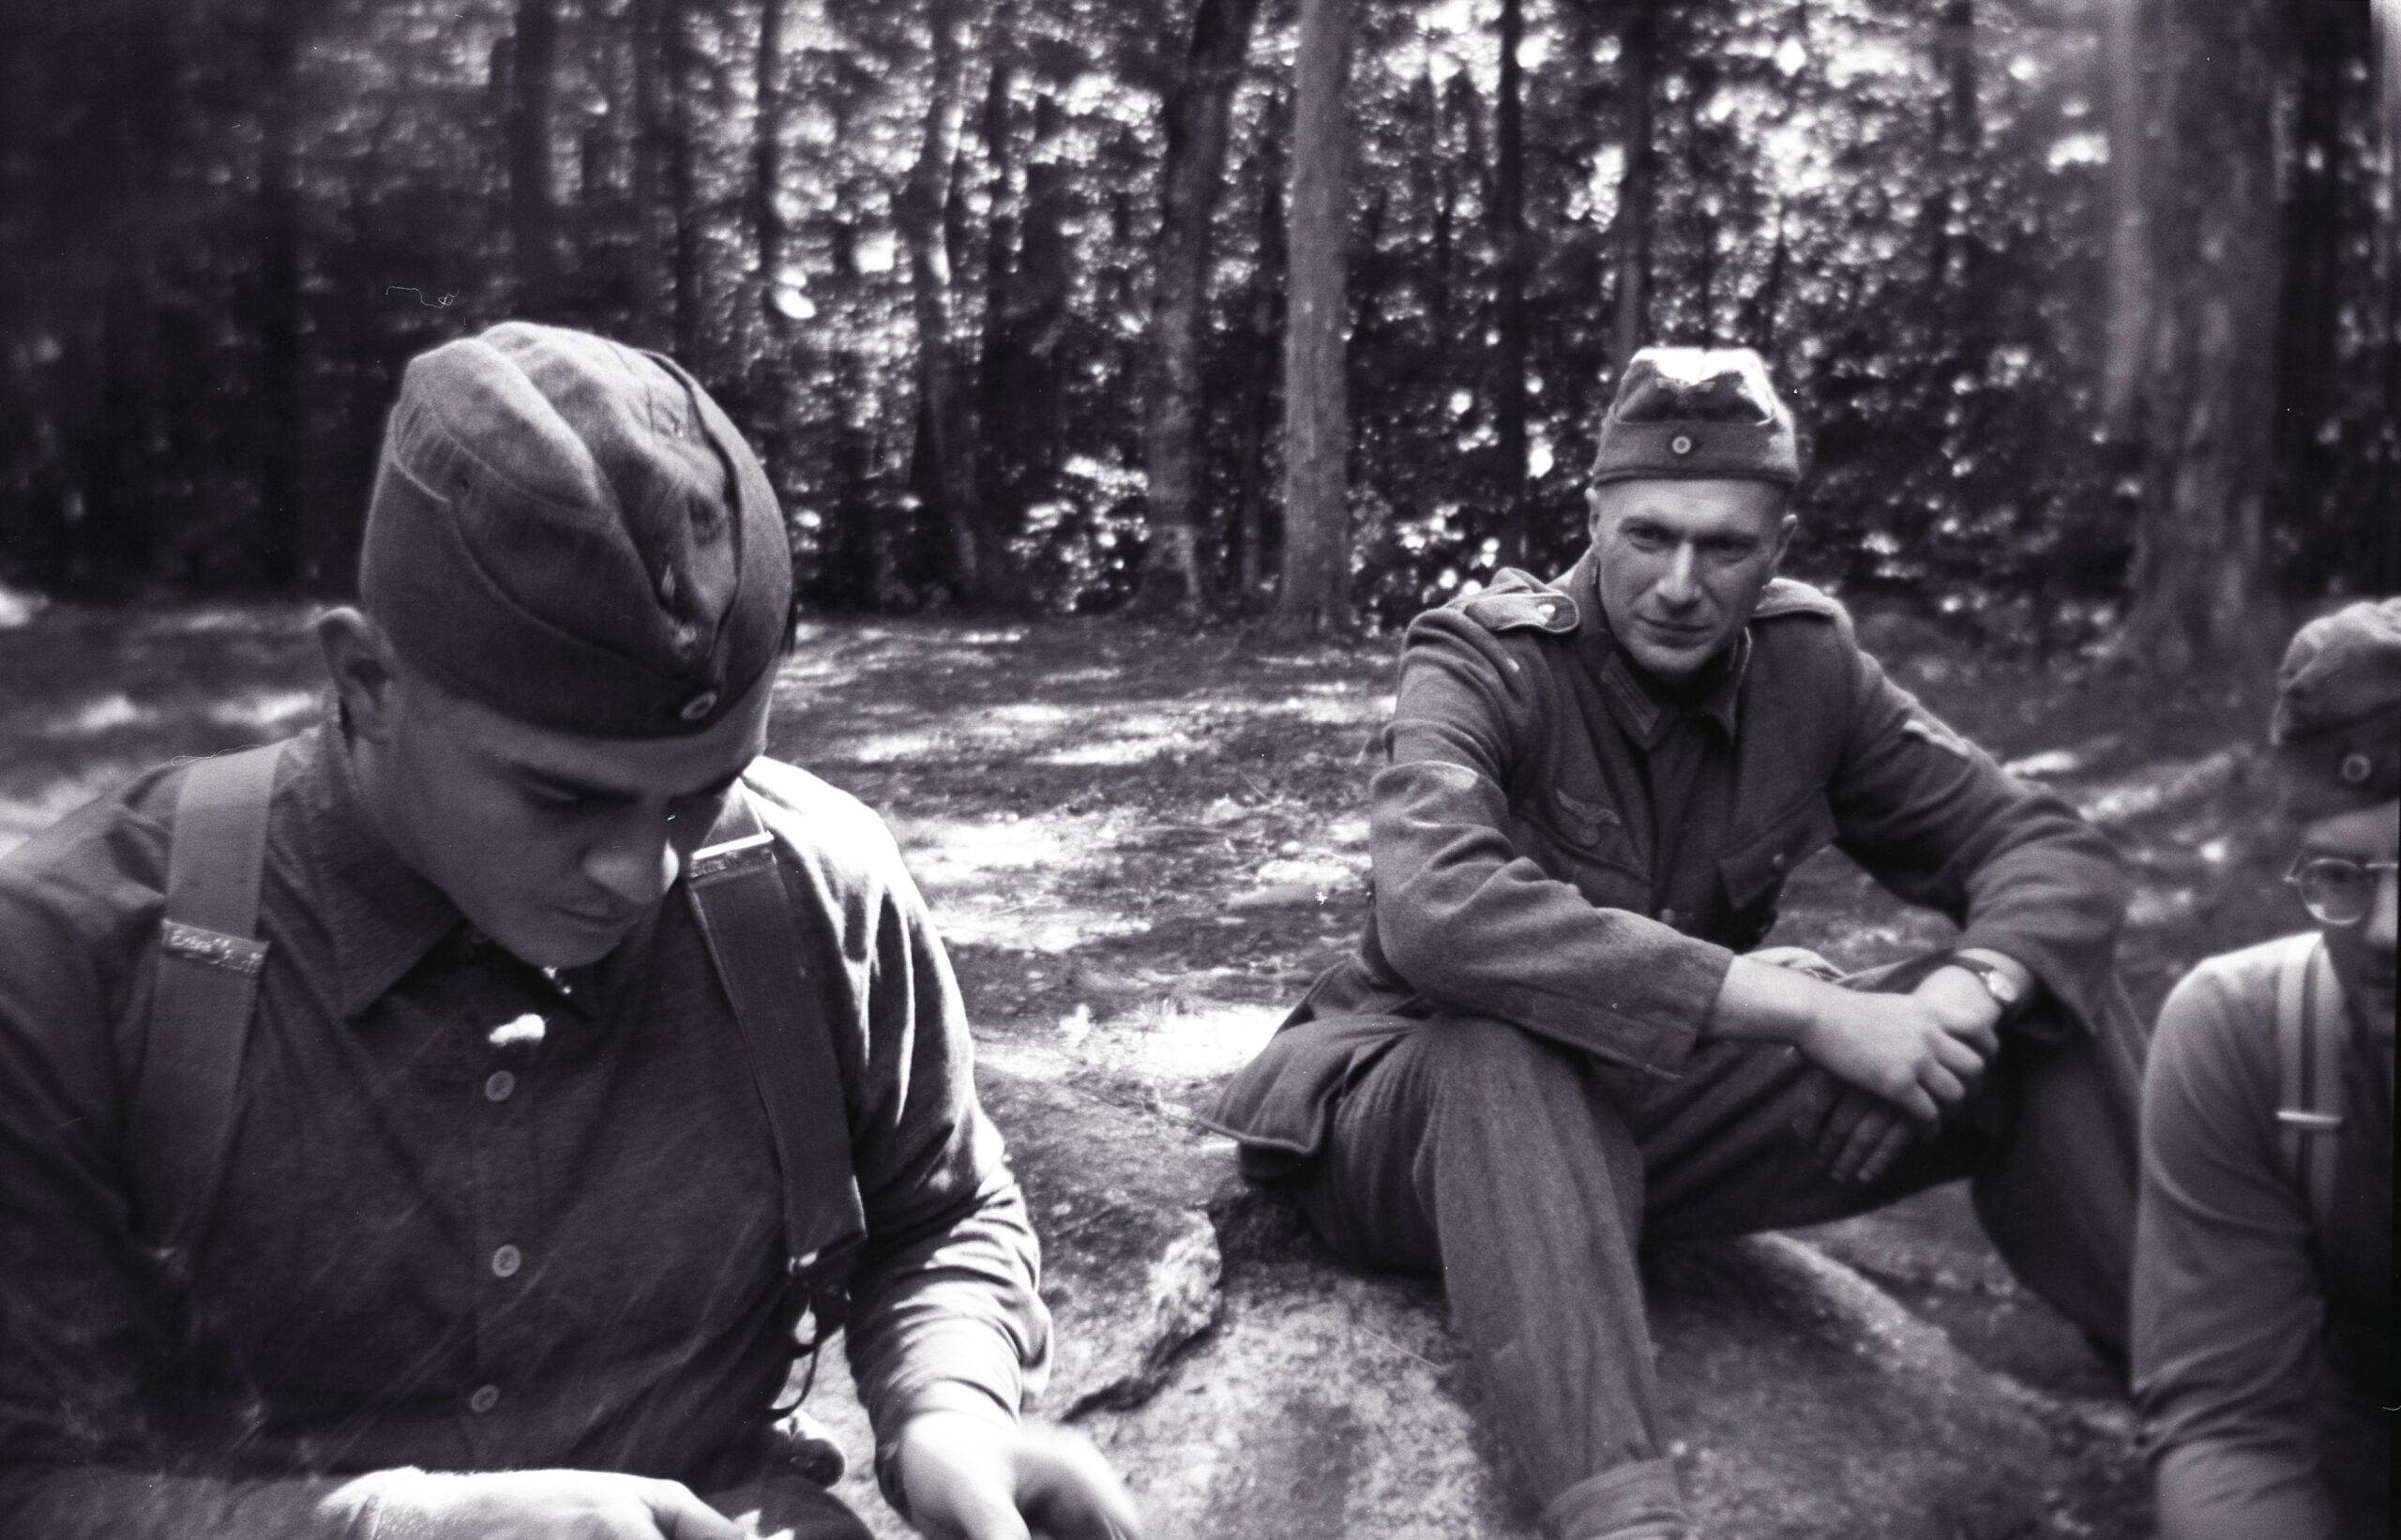
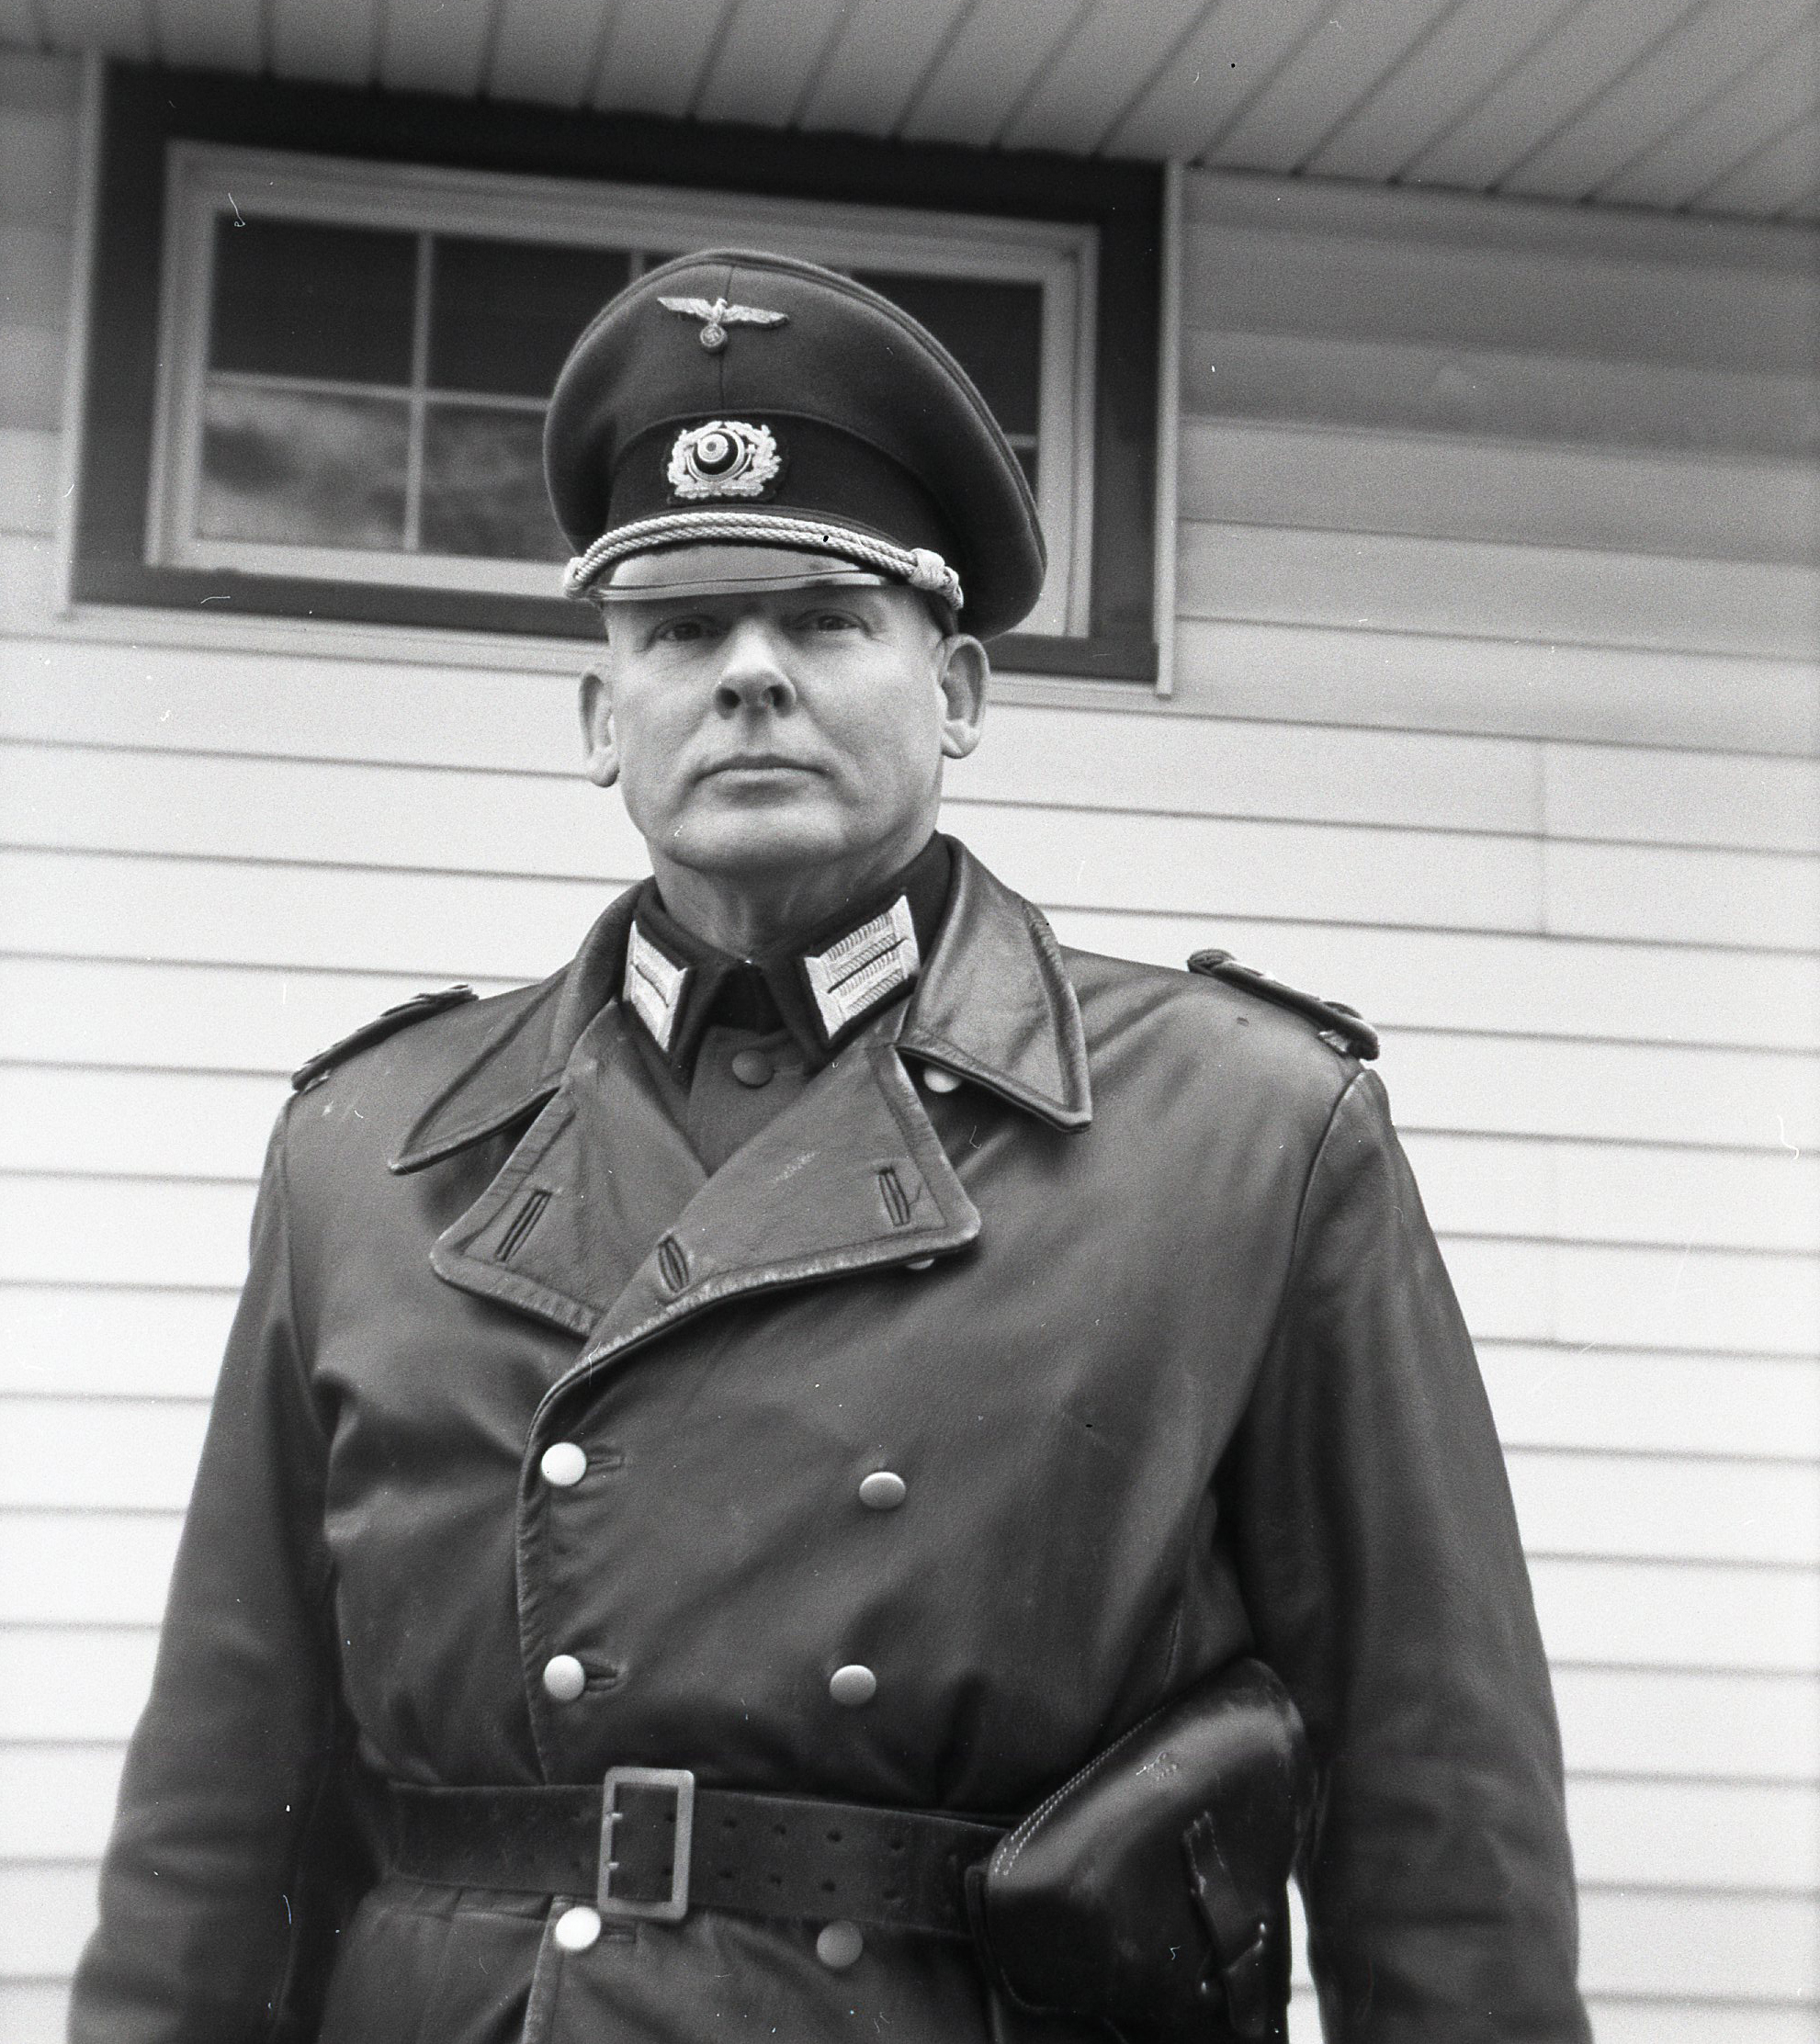
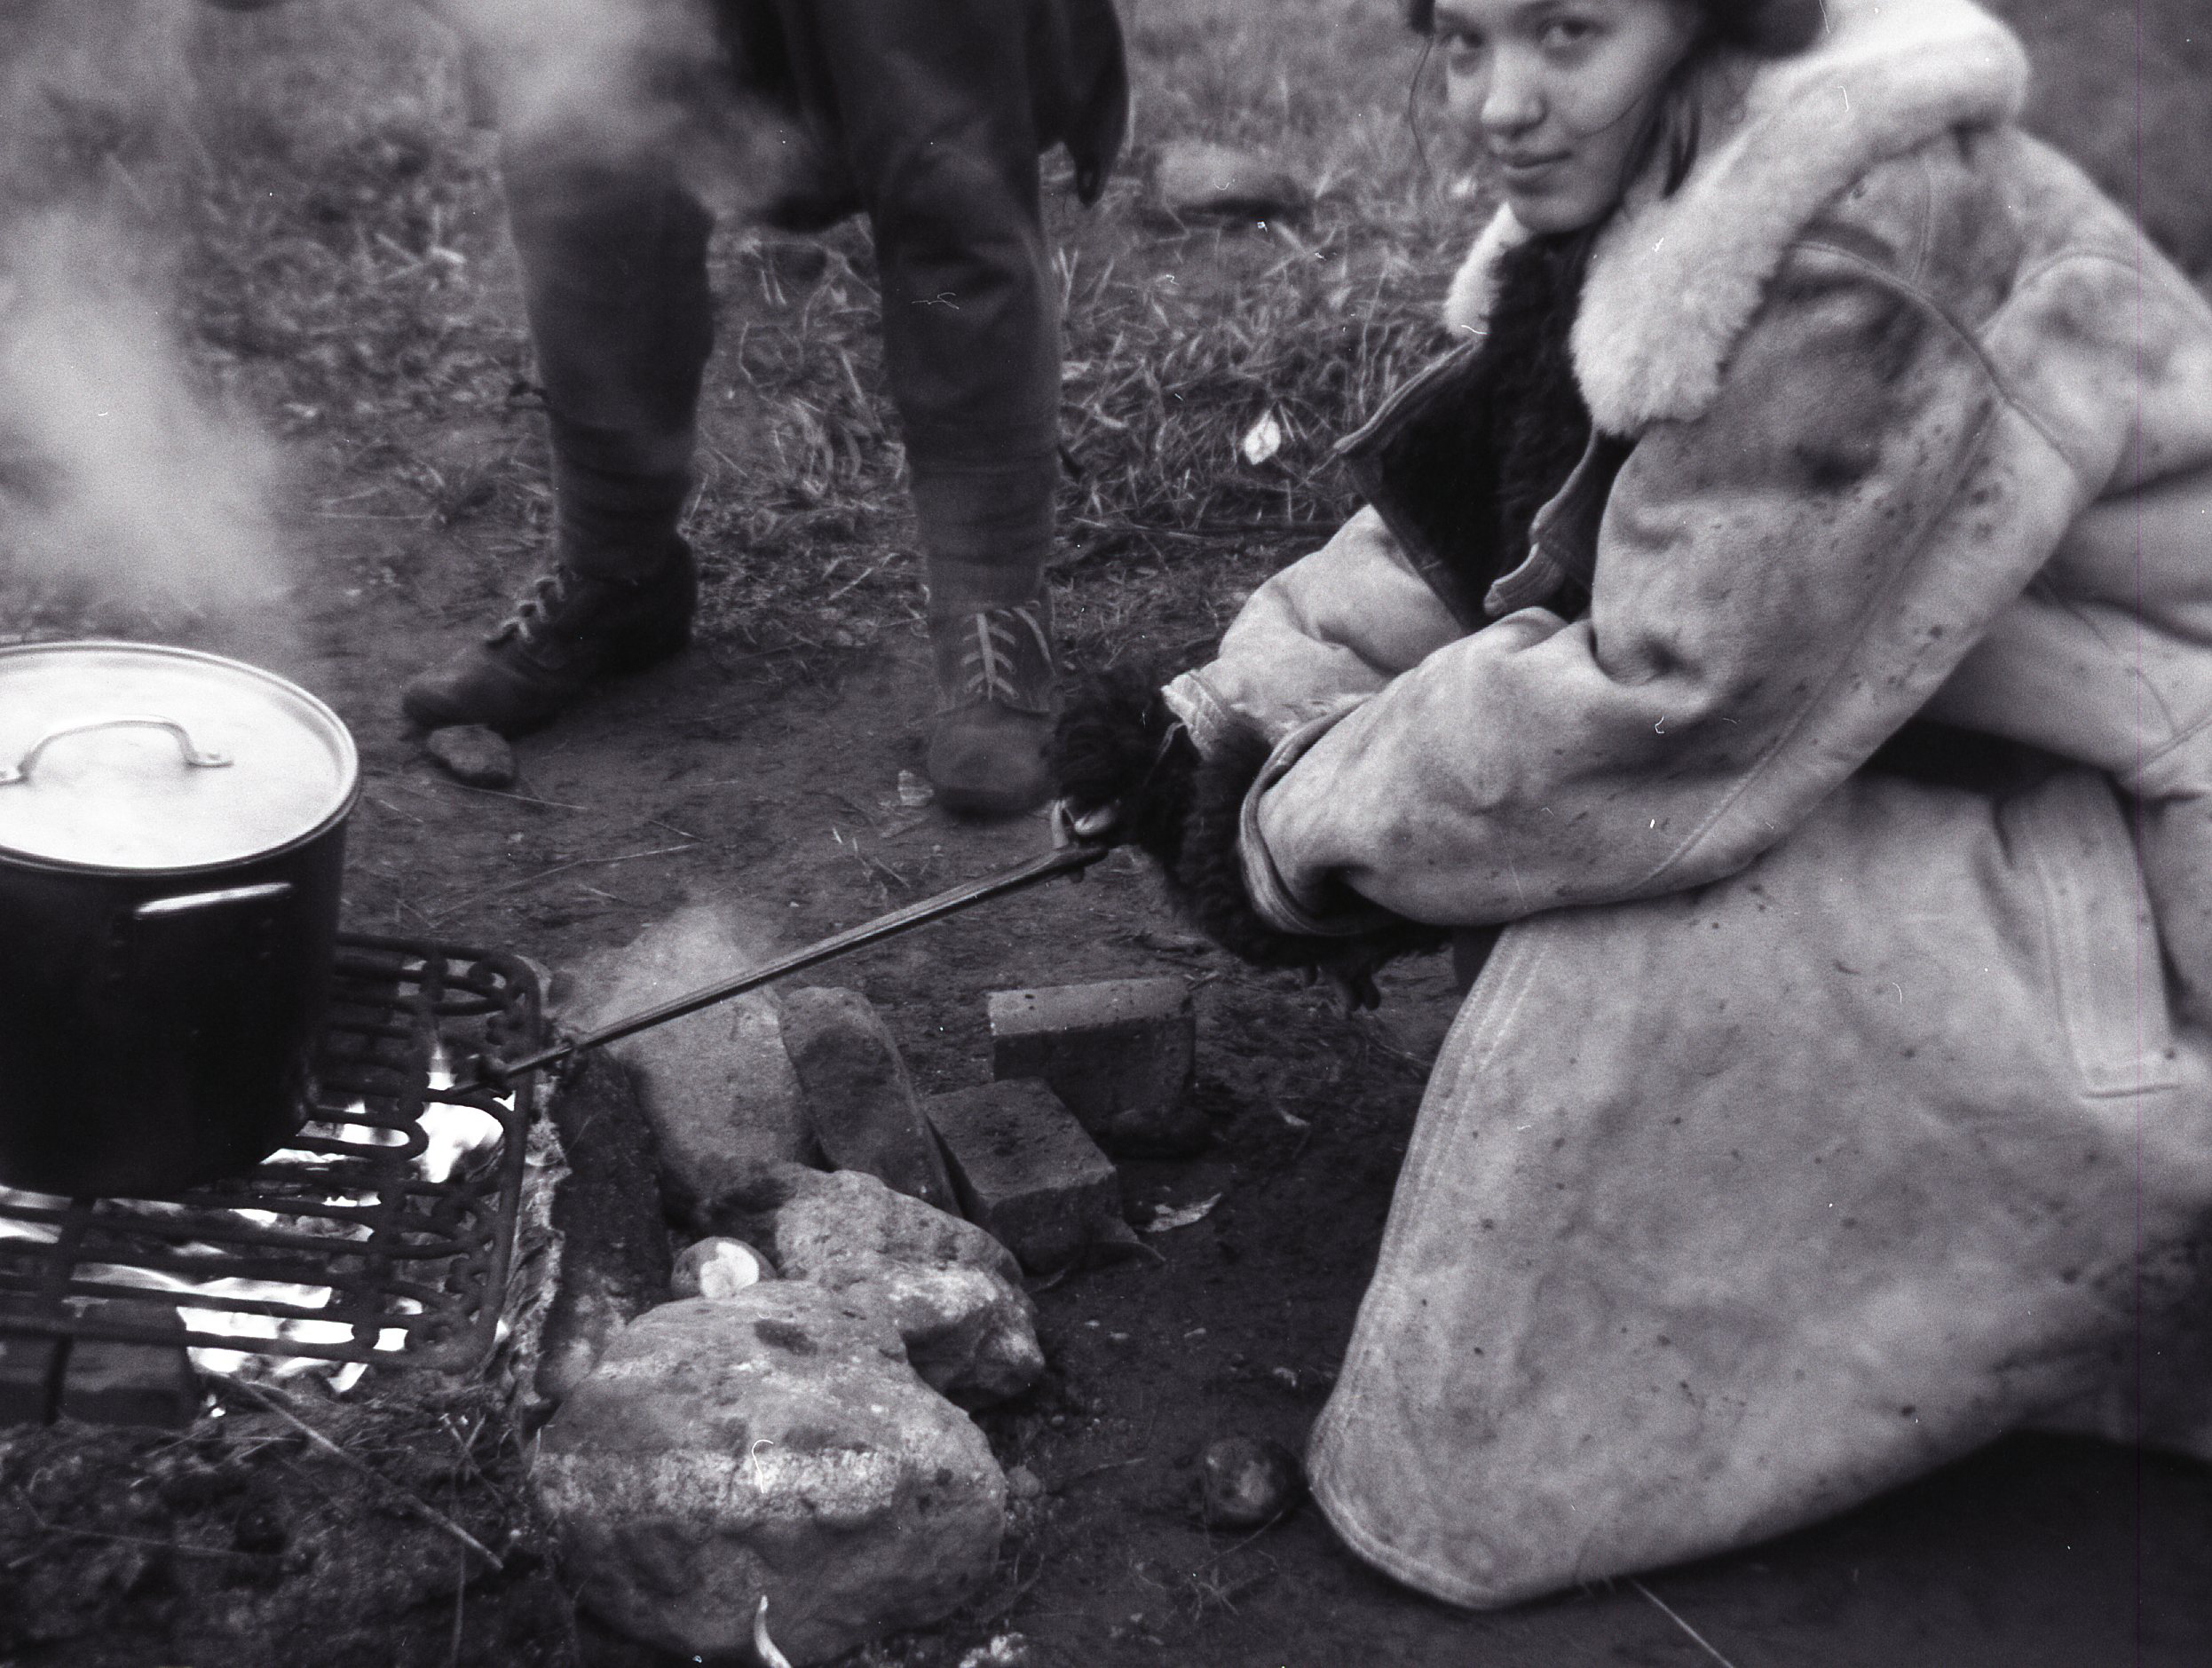
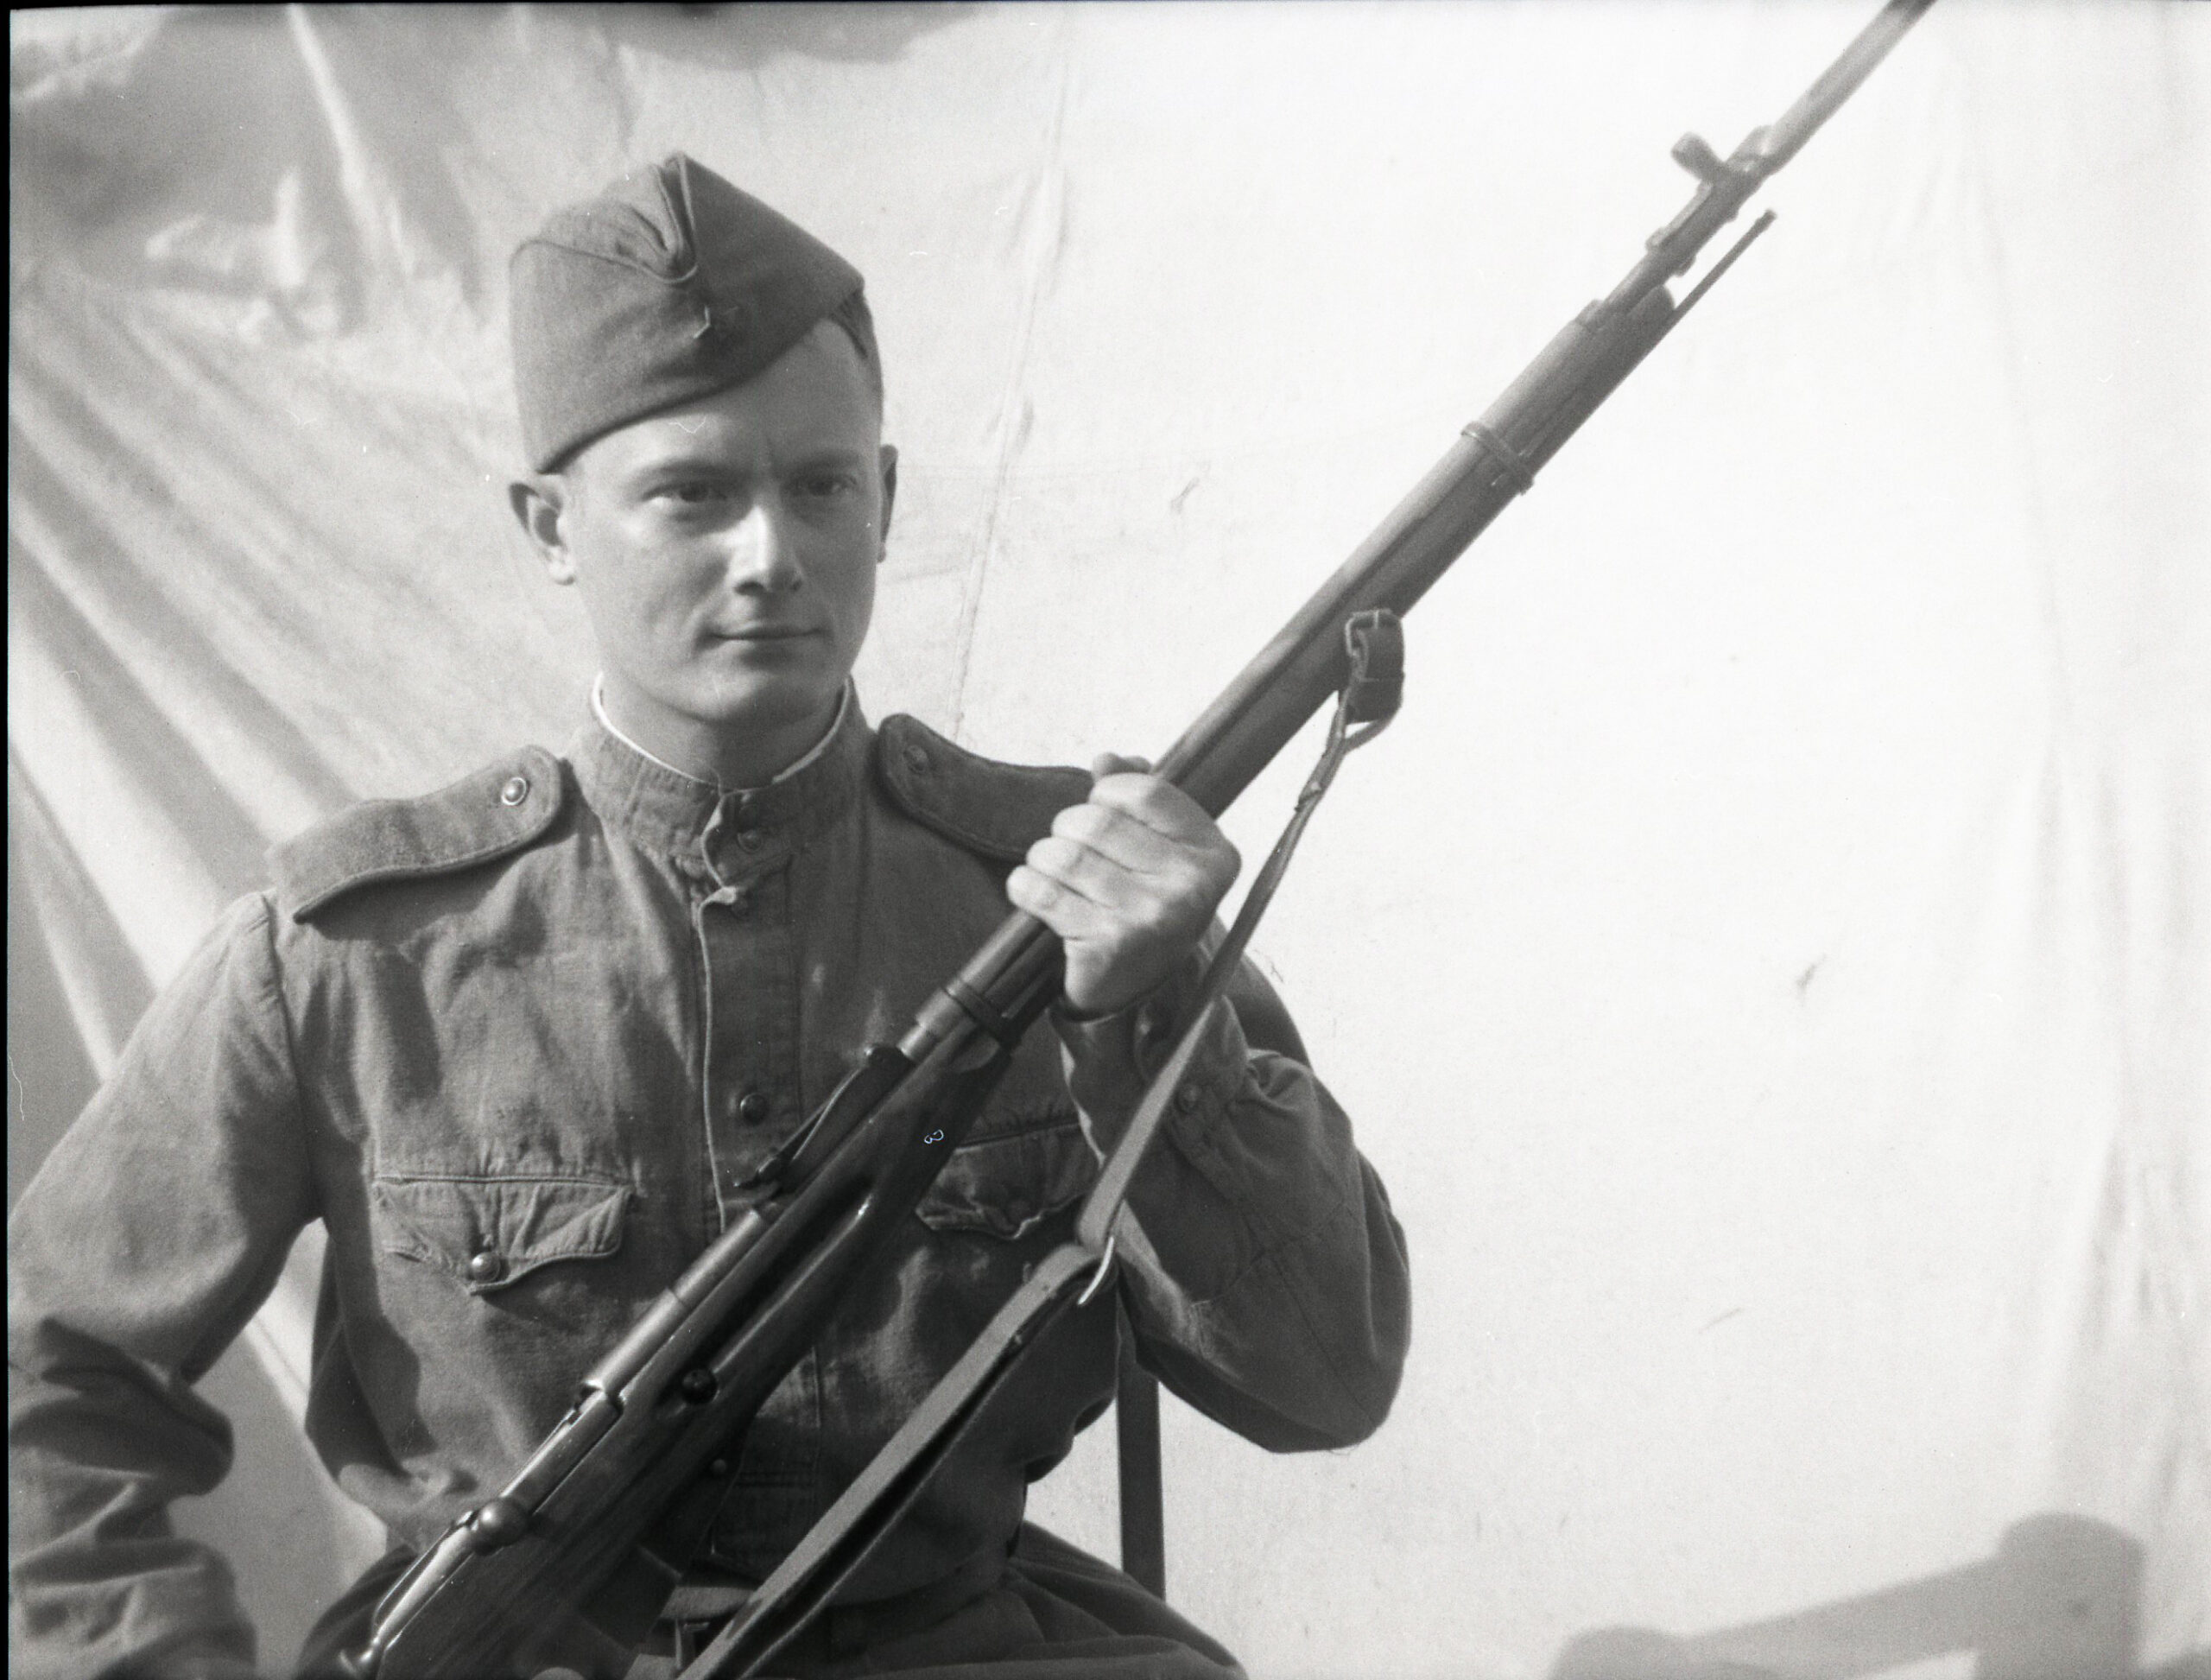
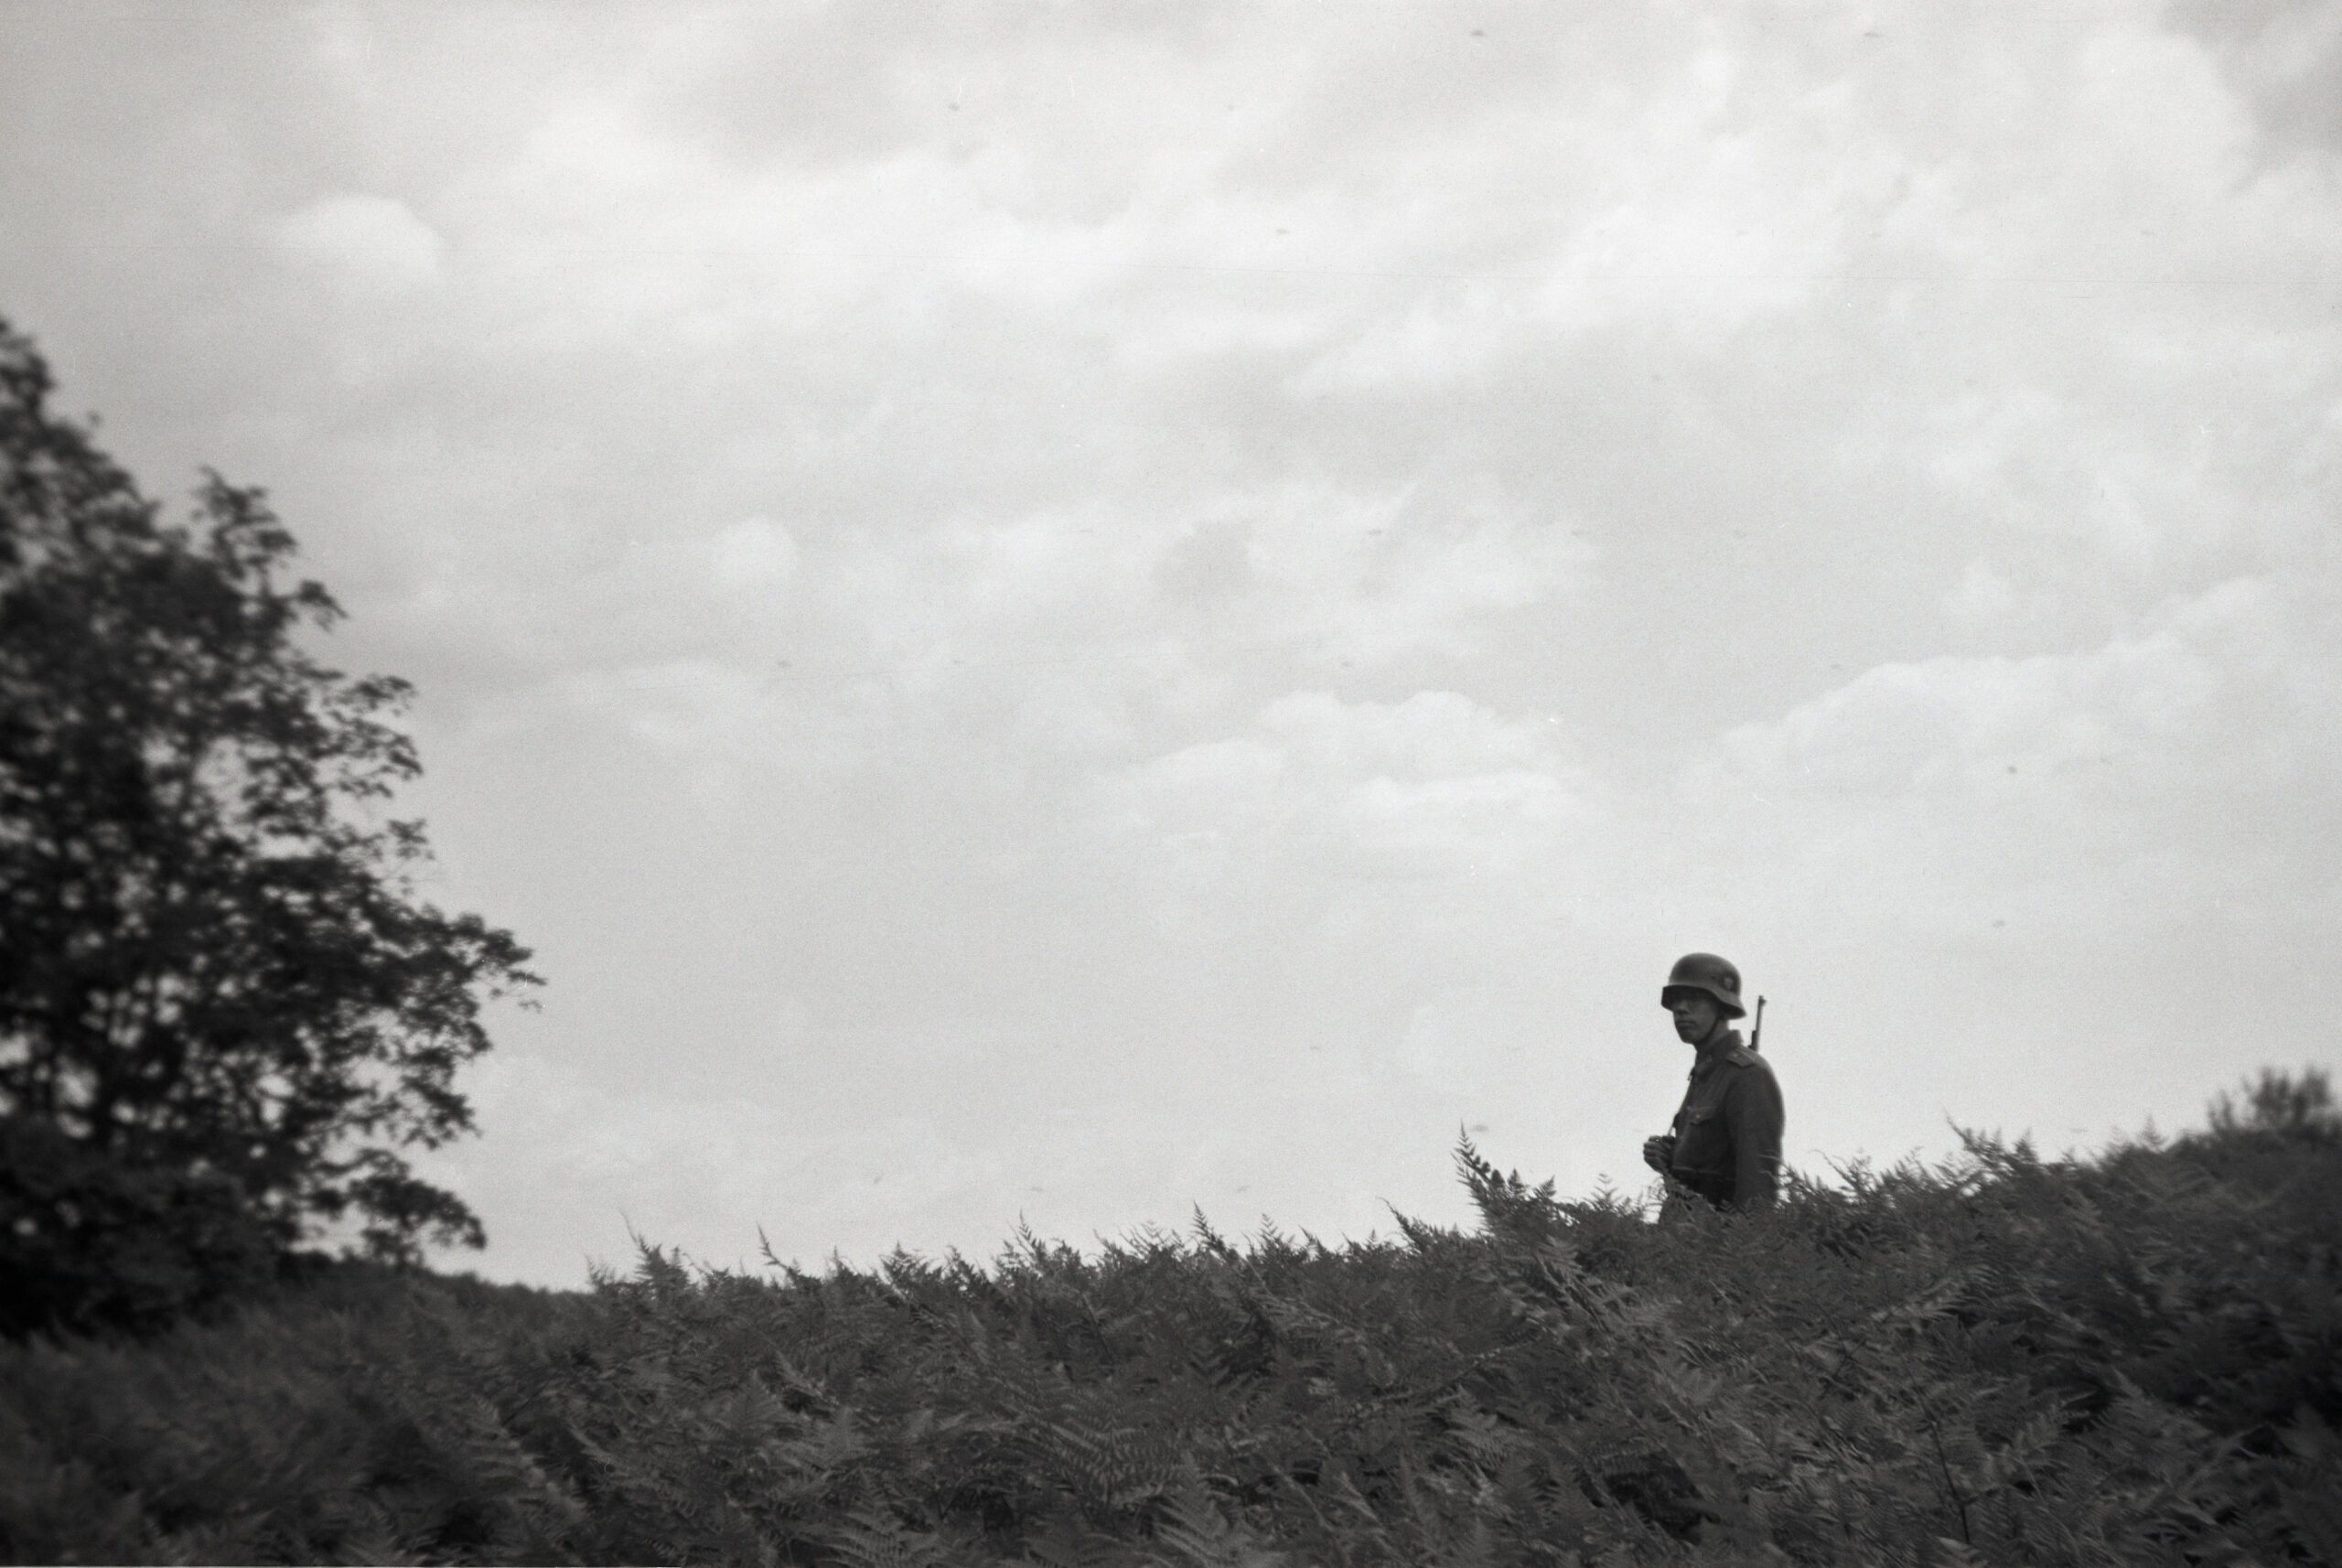
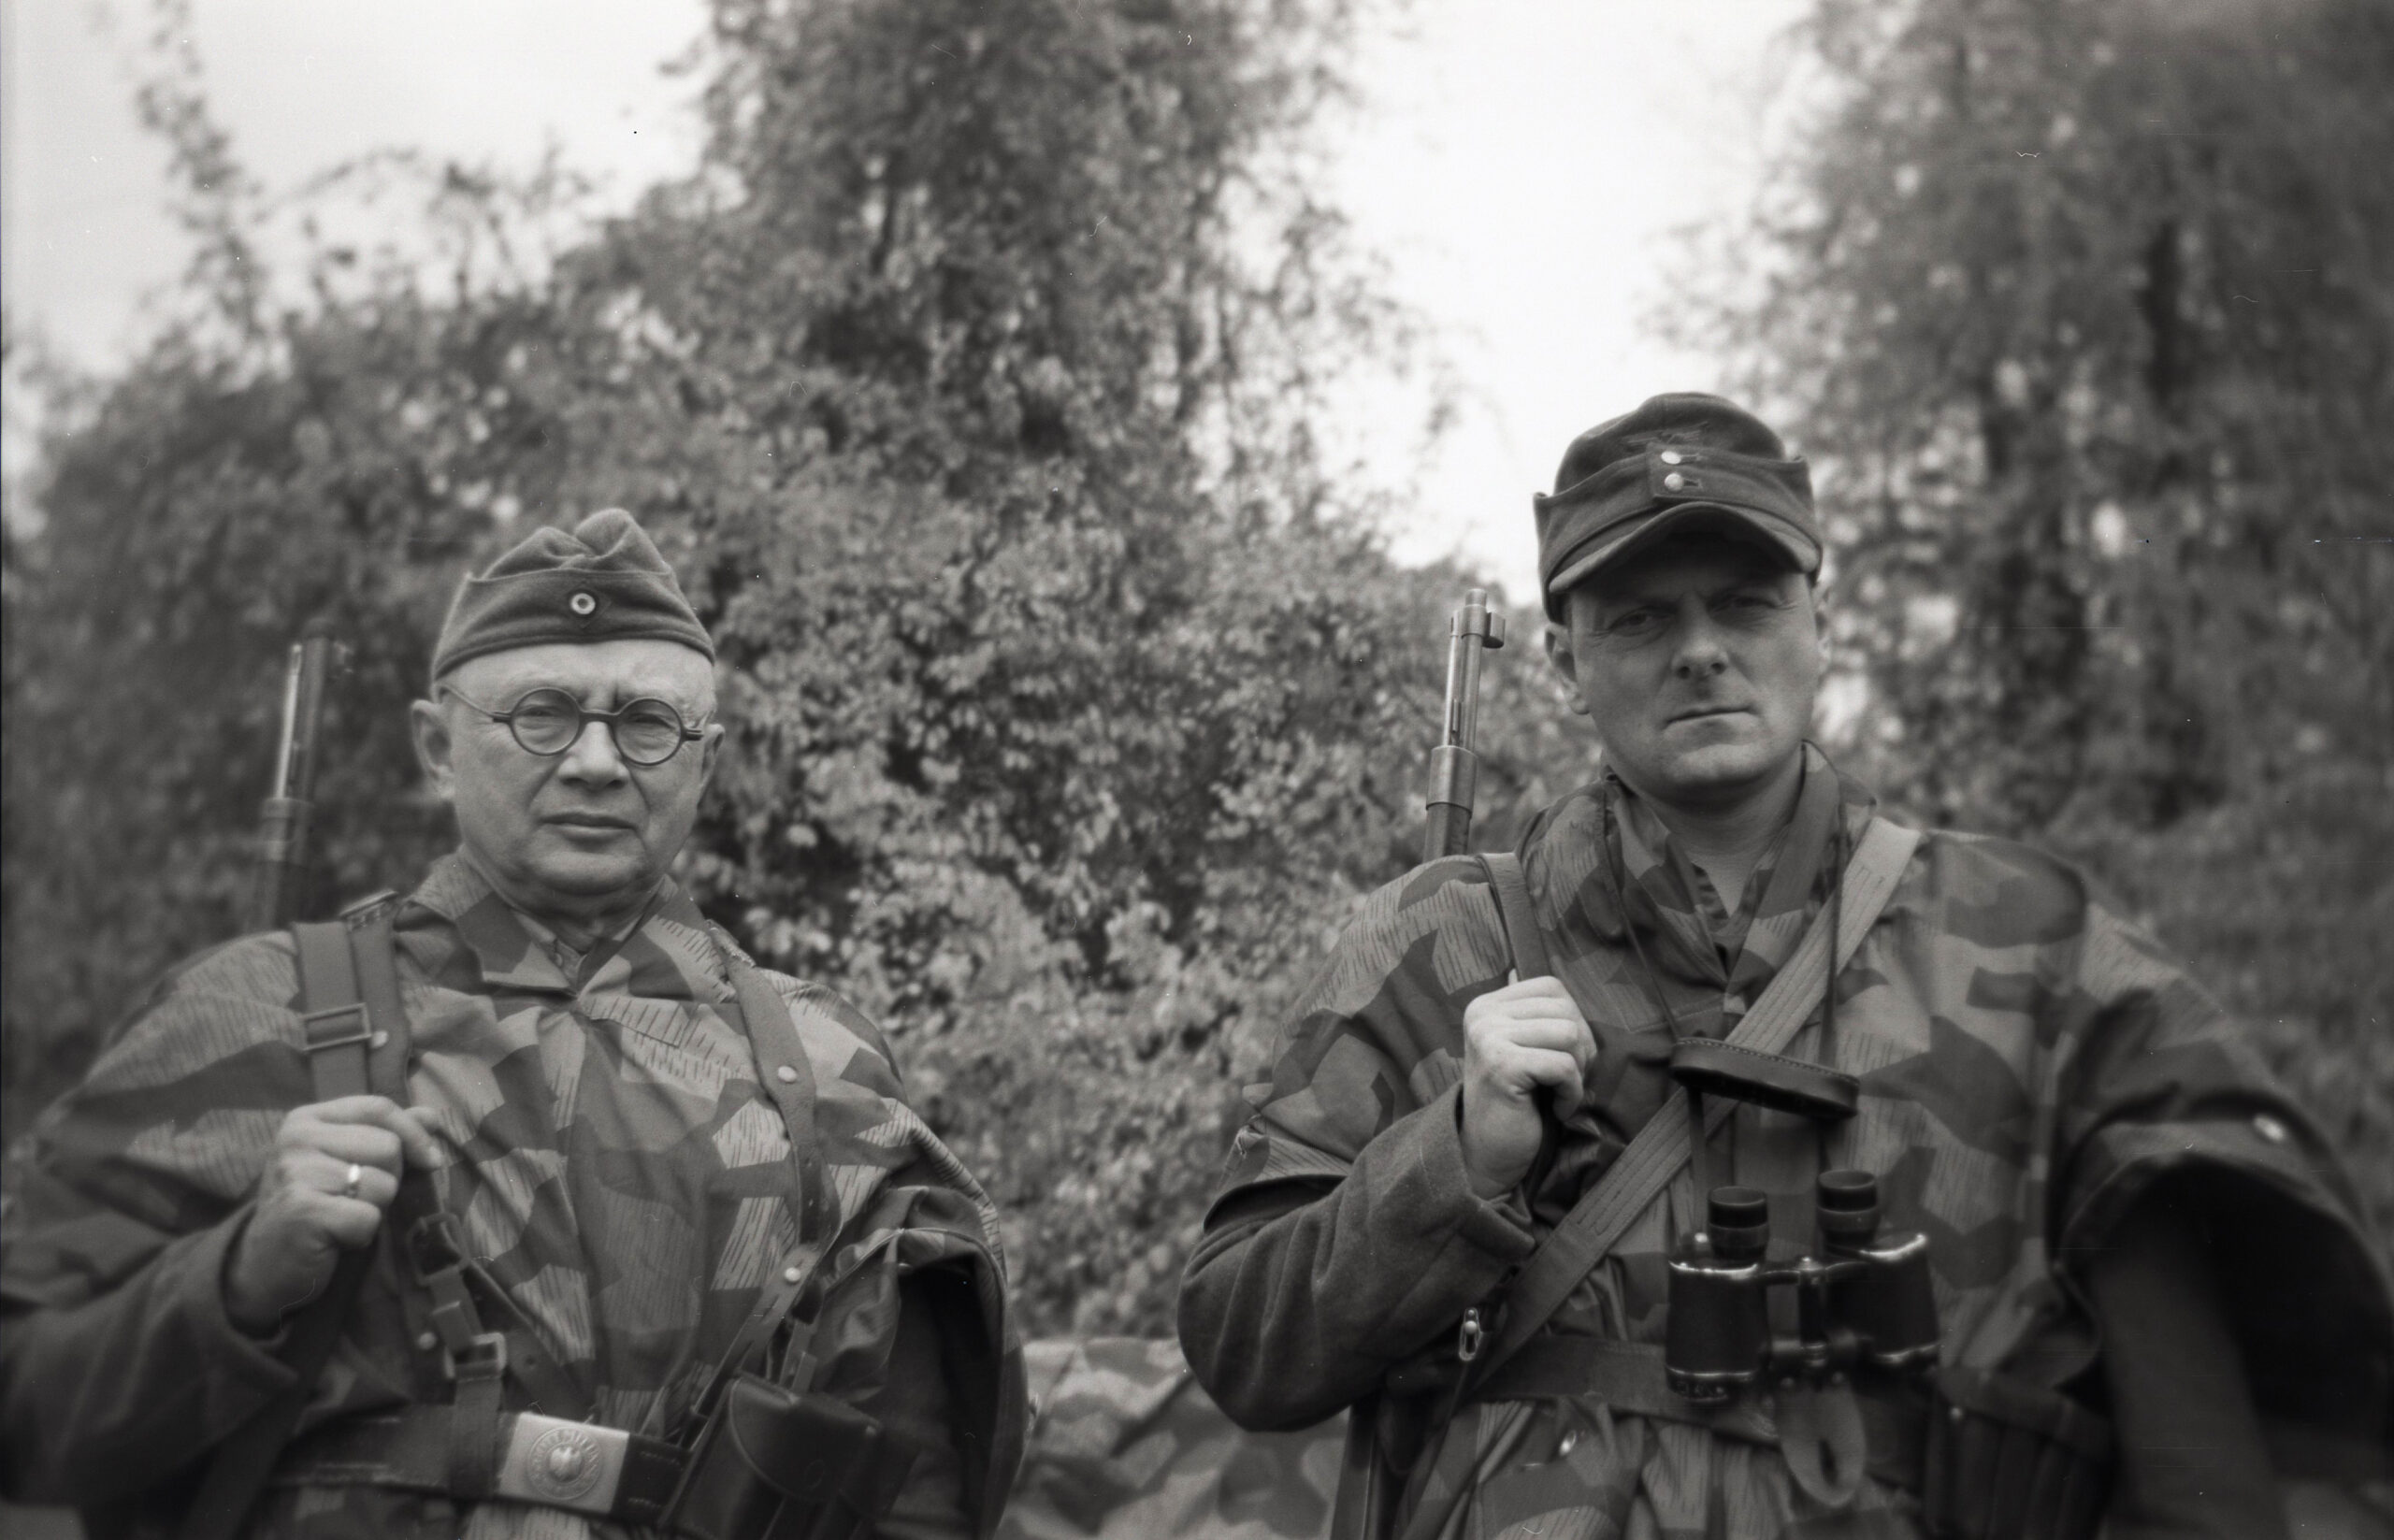
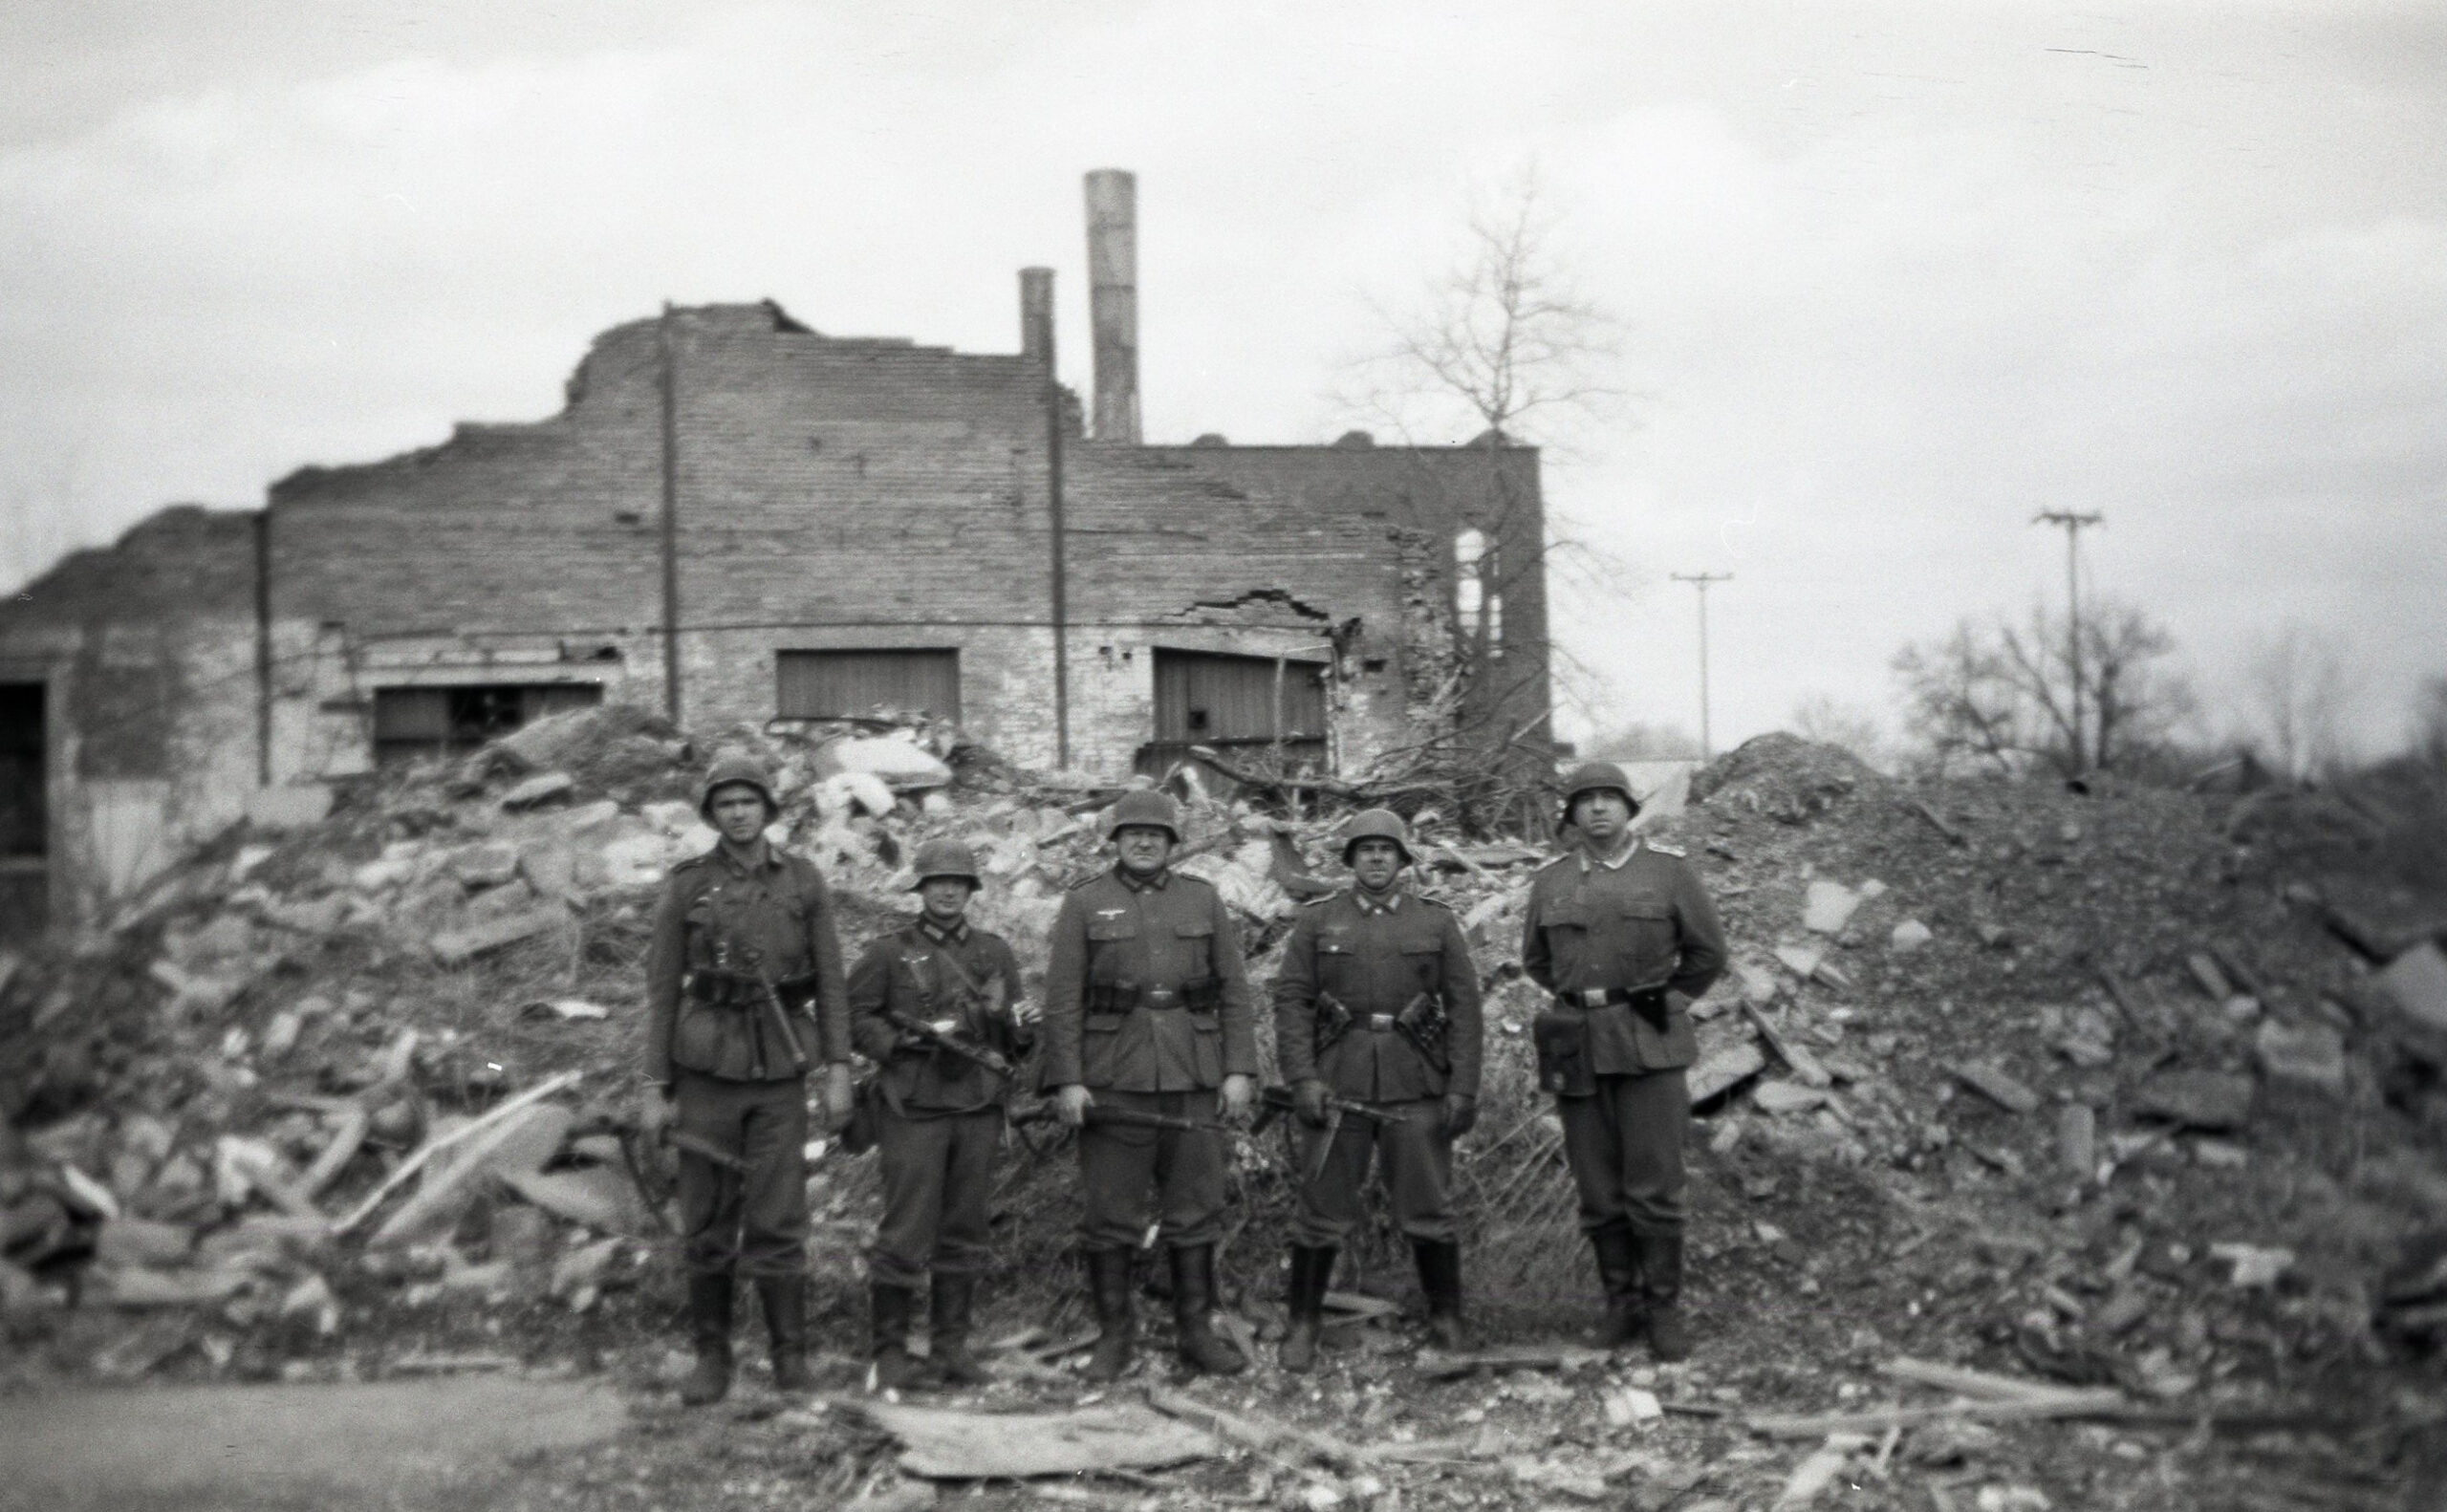
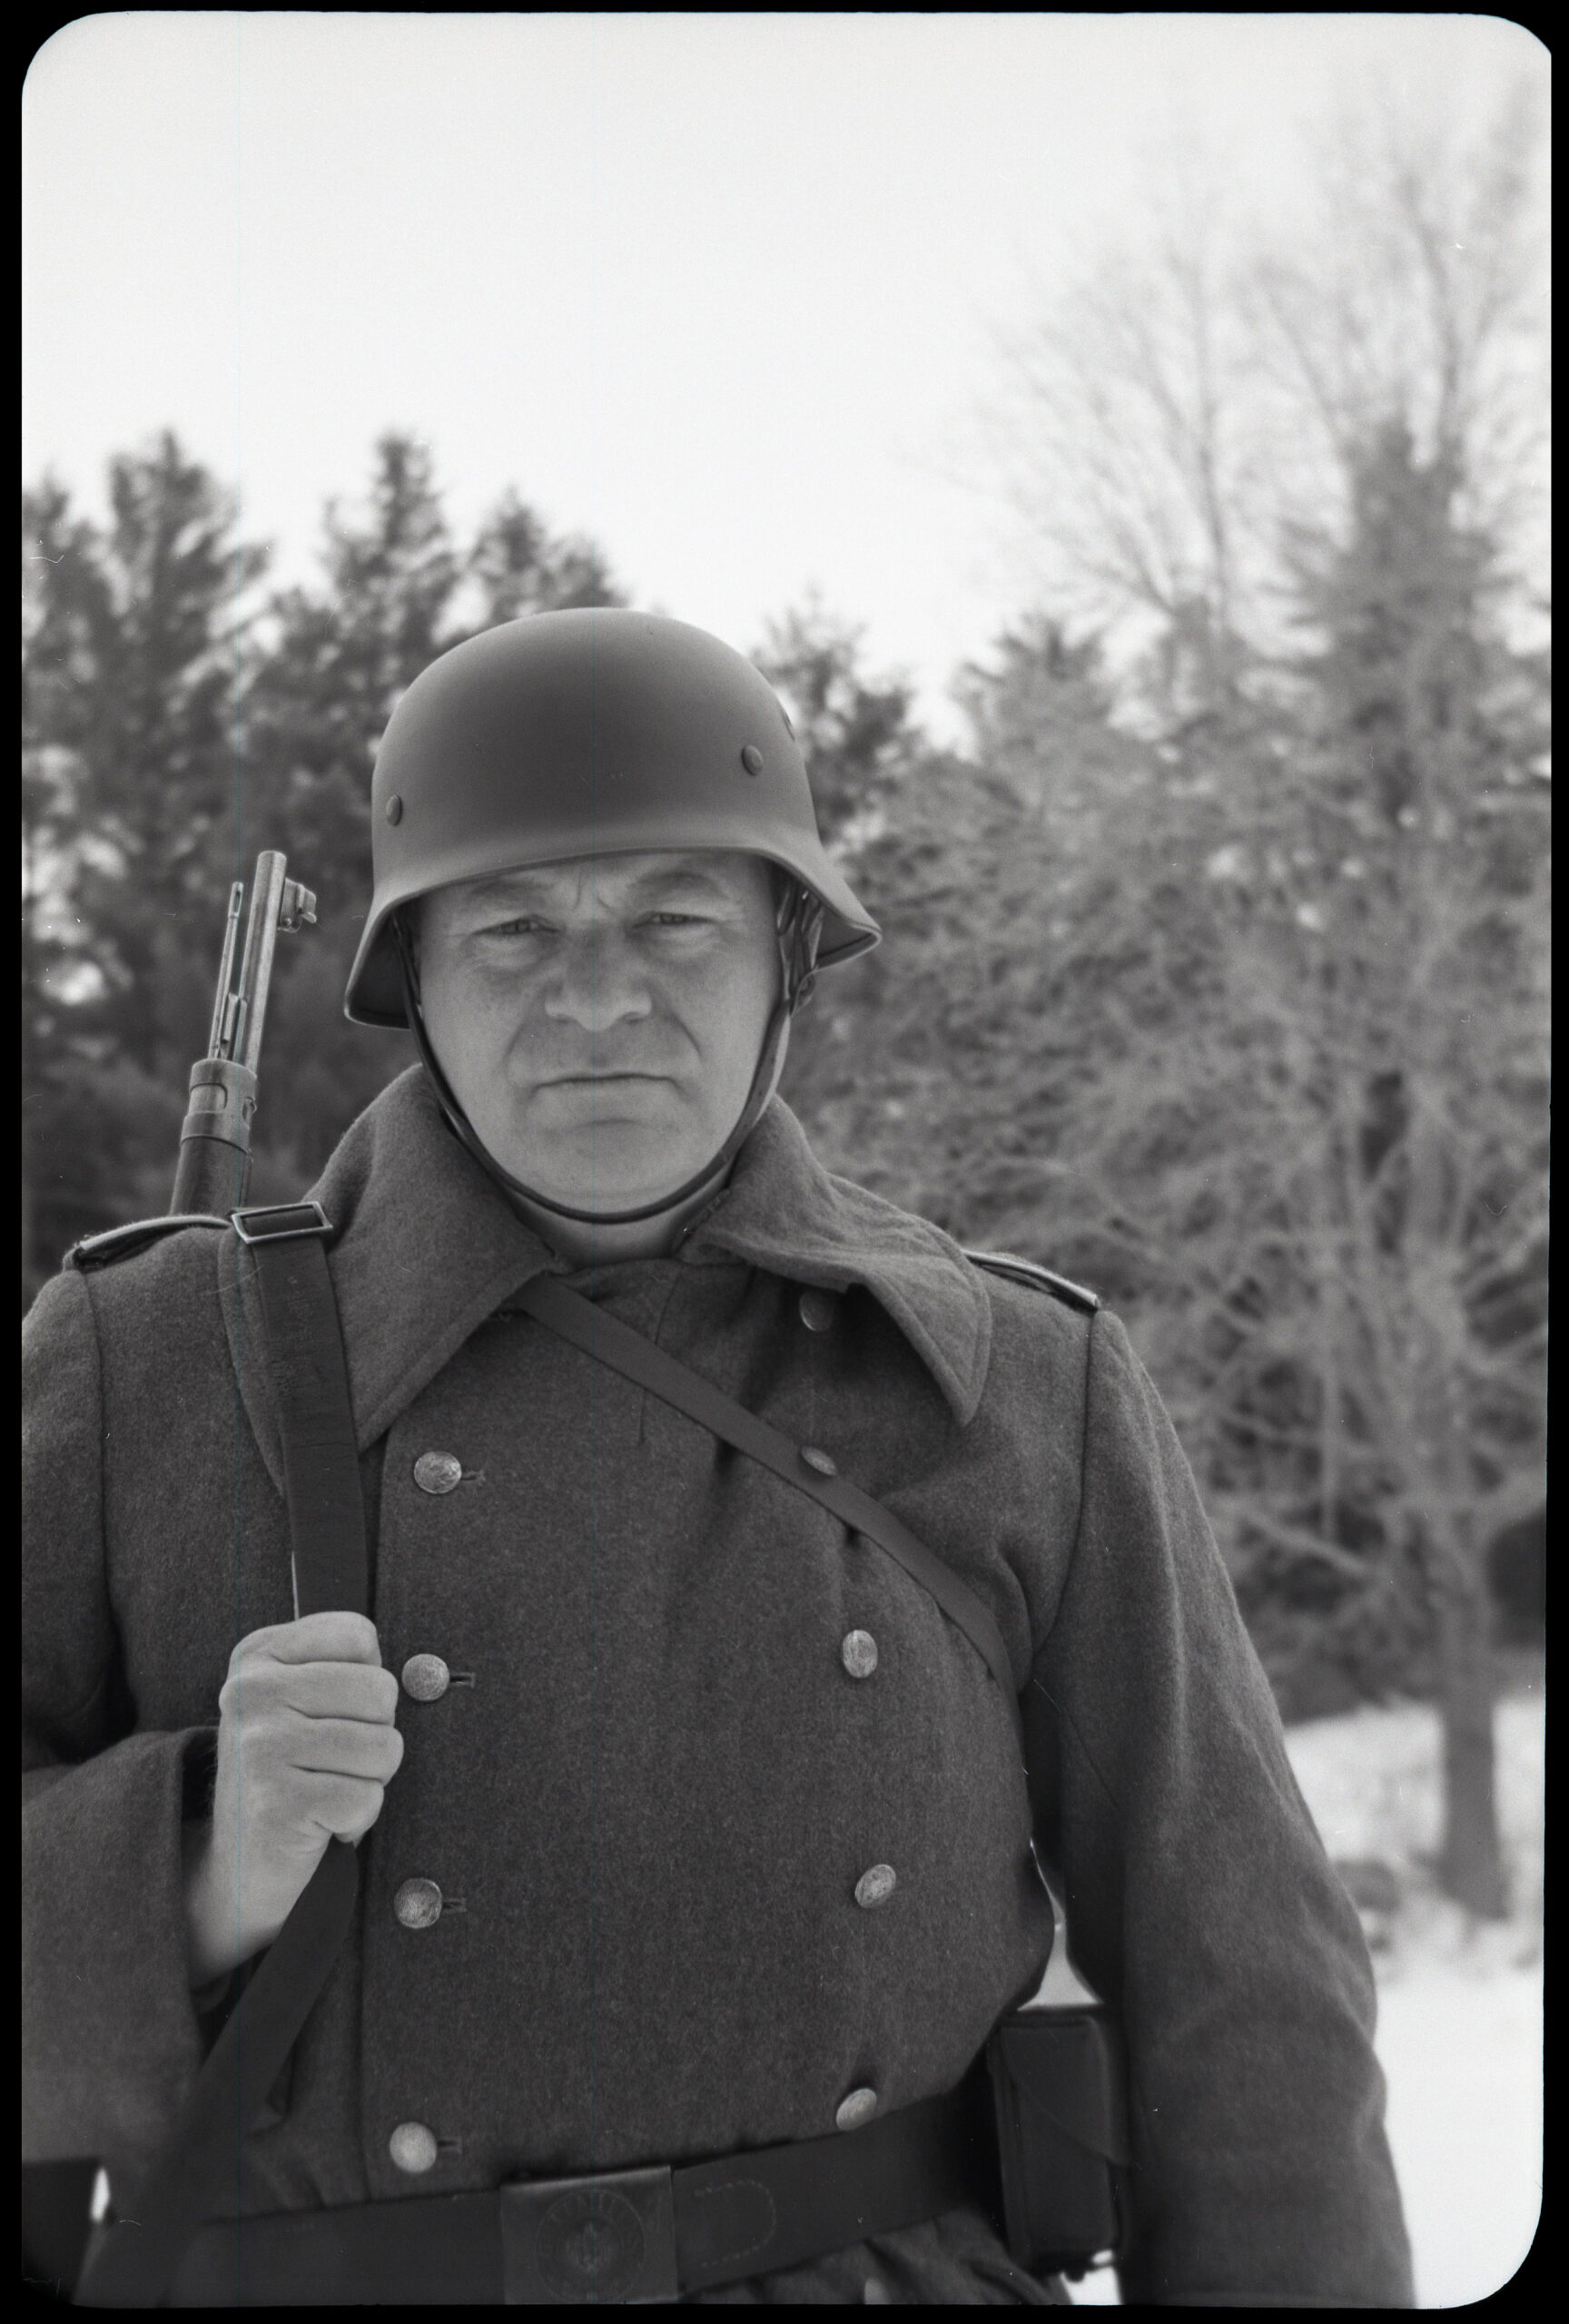
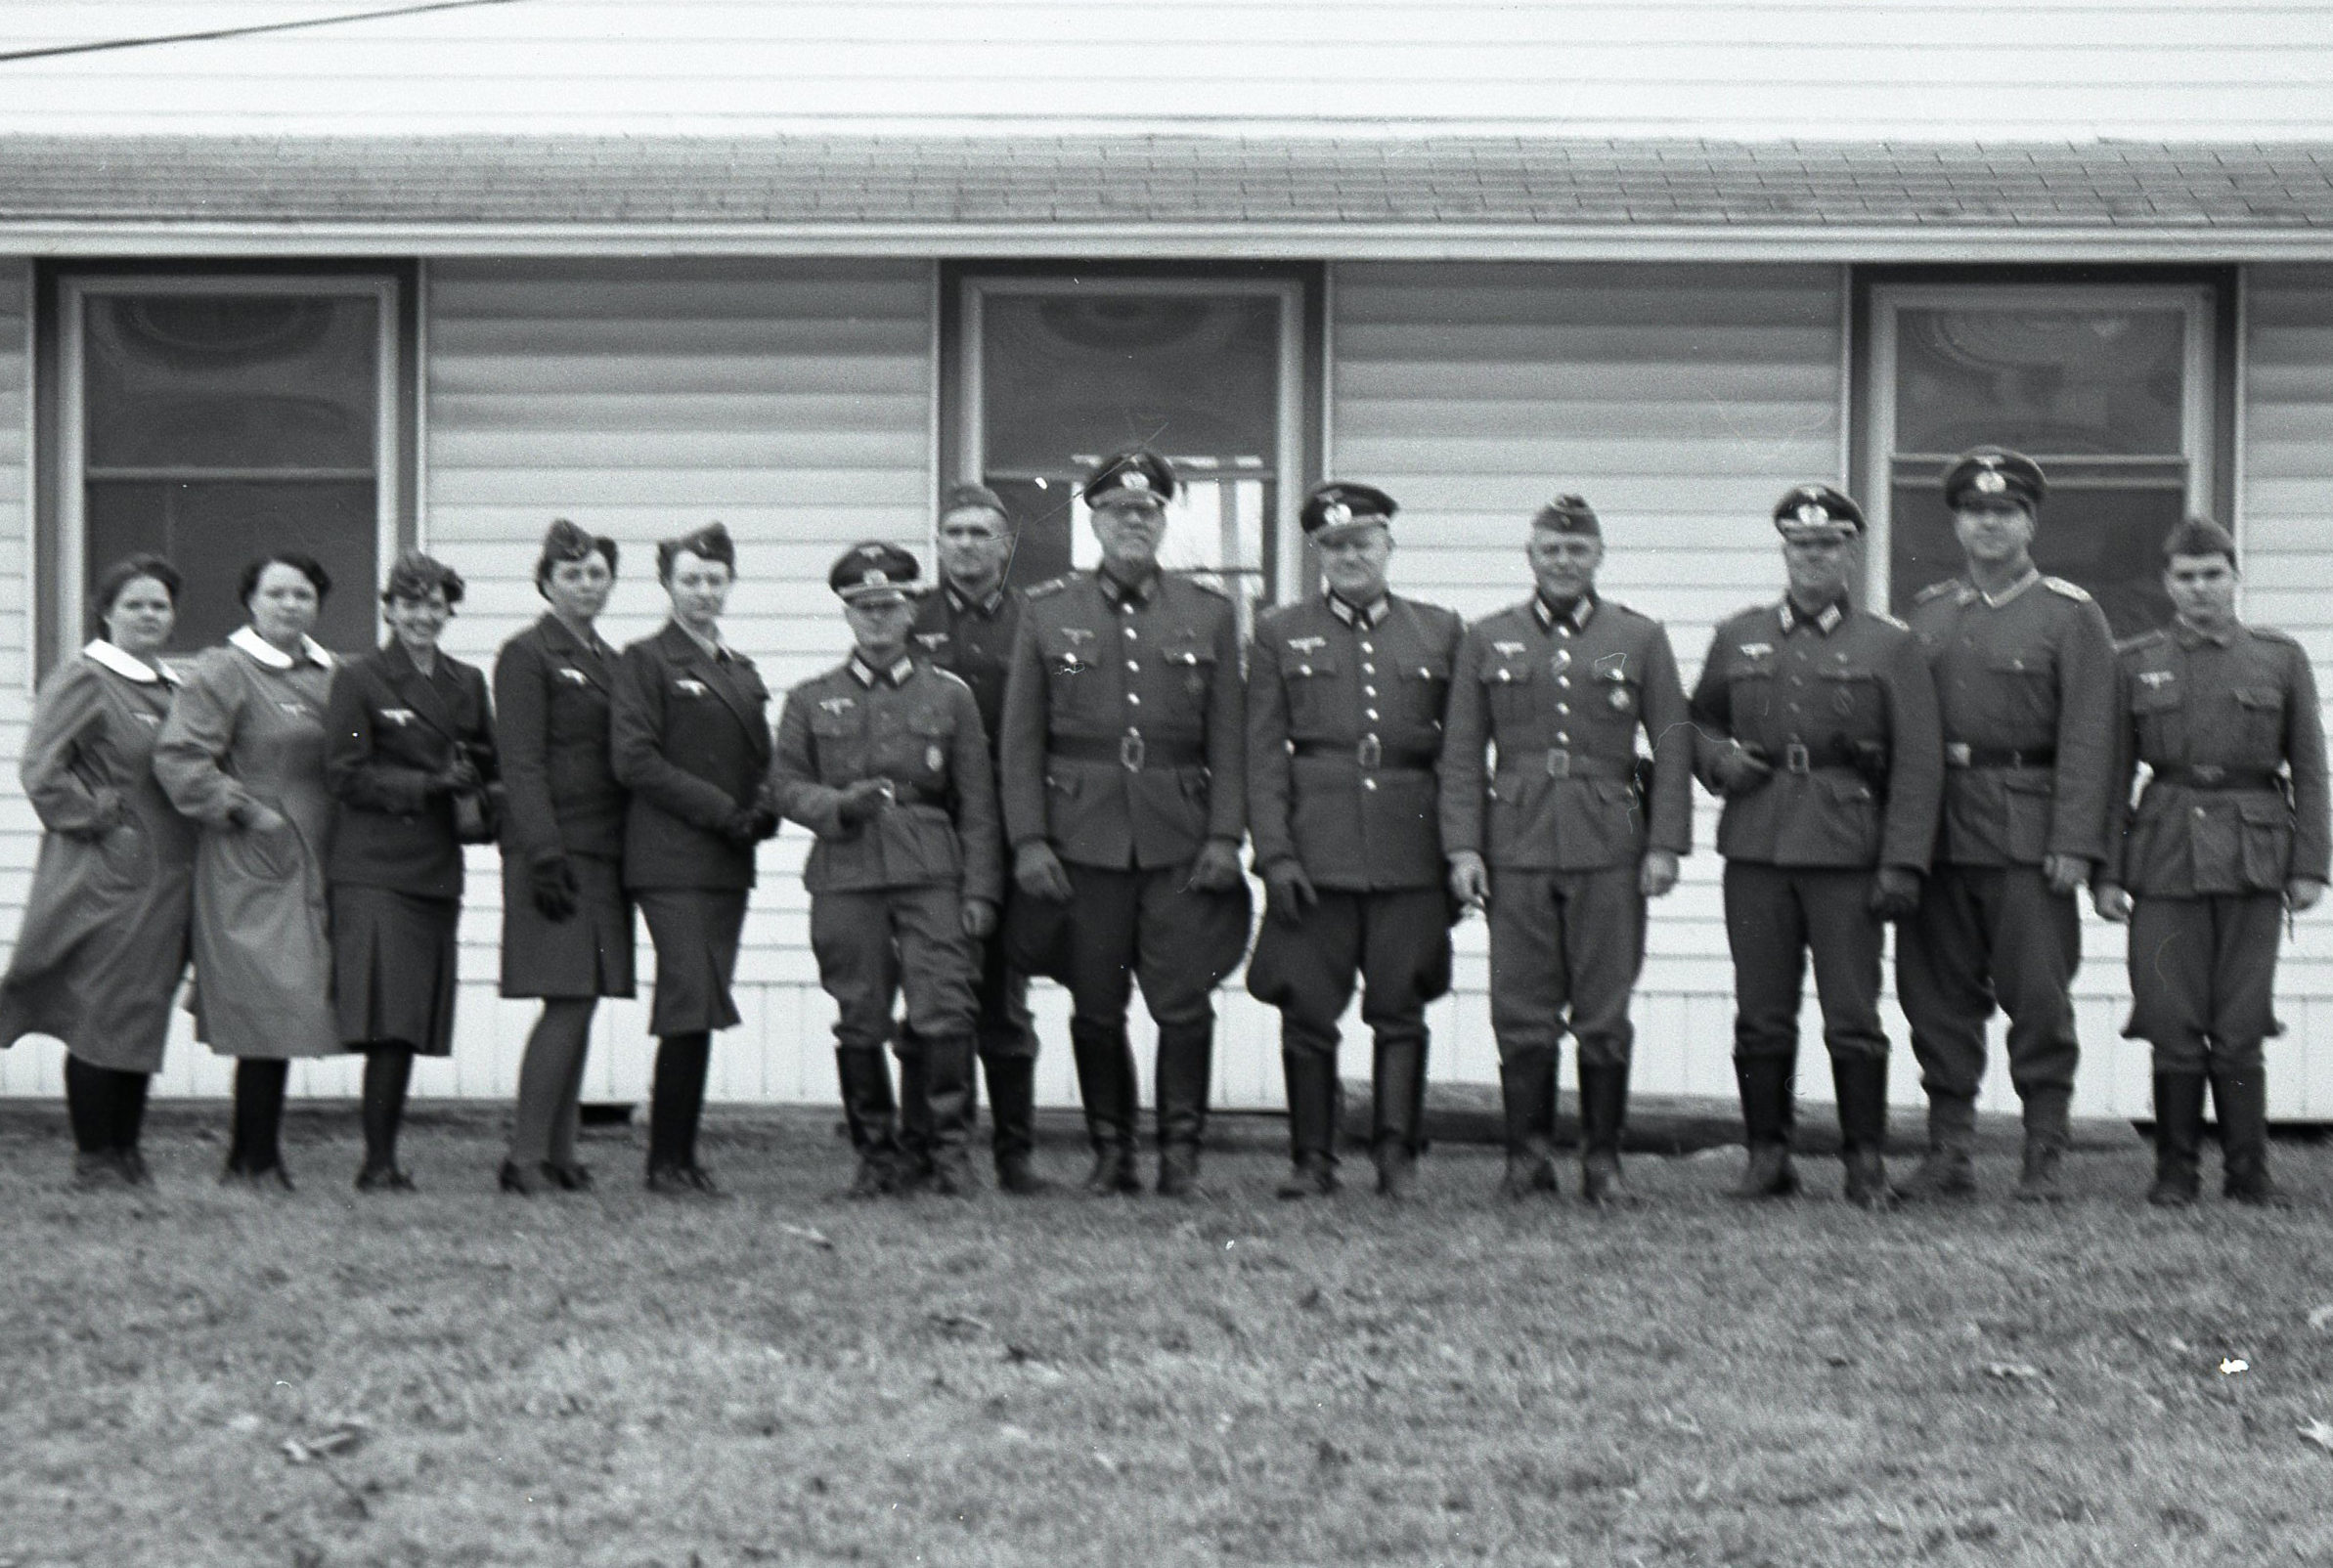
The purpose of this post is to share my process for taking reenactment photos using prewar box cameras and 120 film. It is my opinion that no digital reenactment photo can compare to the realism of a photo taken on film, especially a photo taken with an original camera.
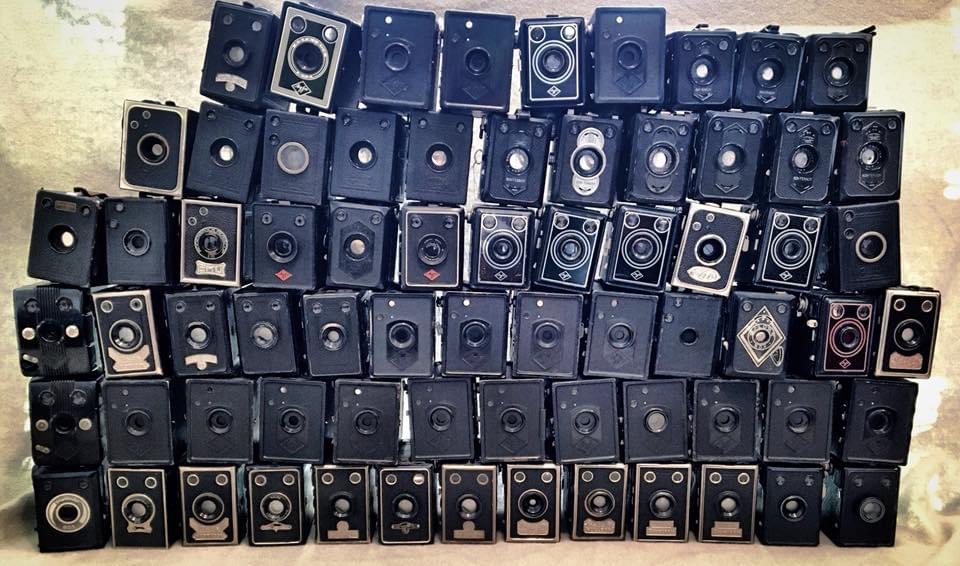
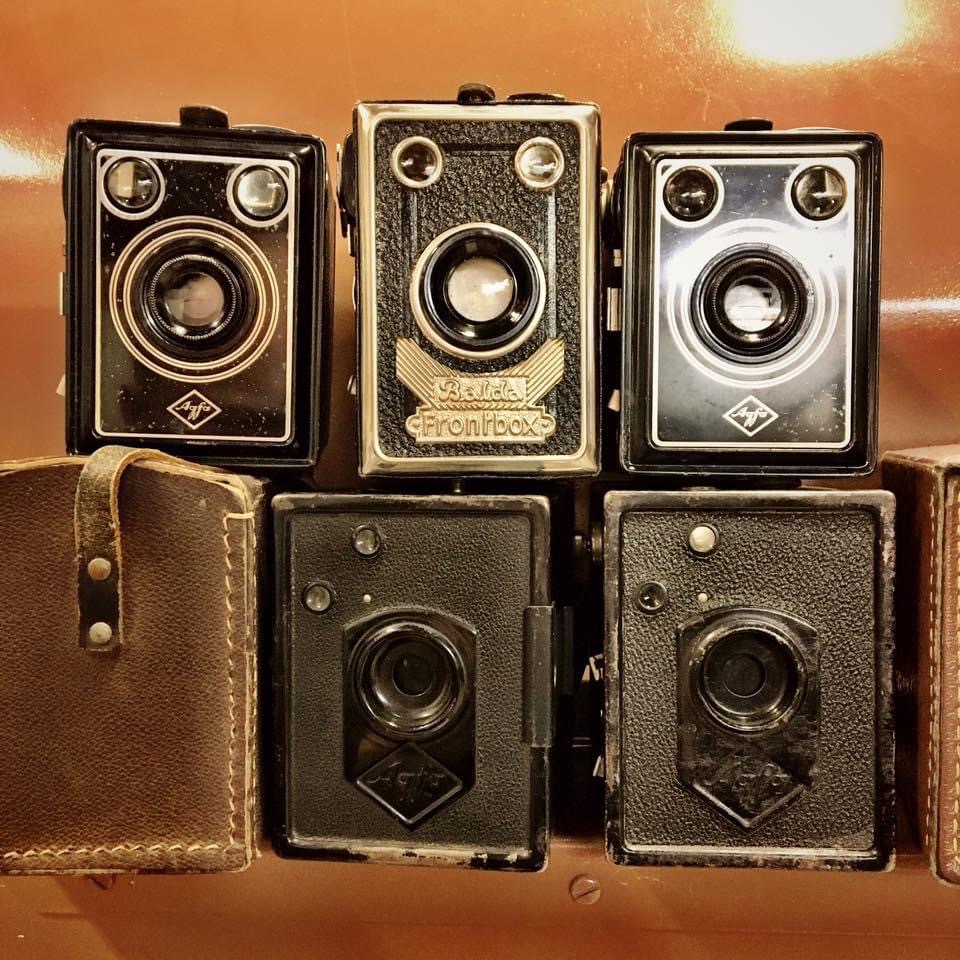
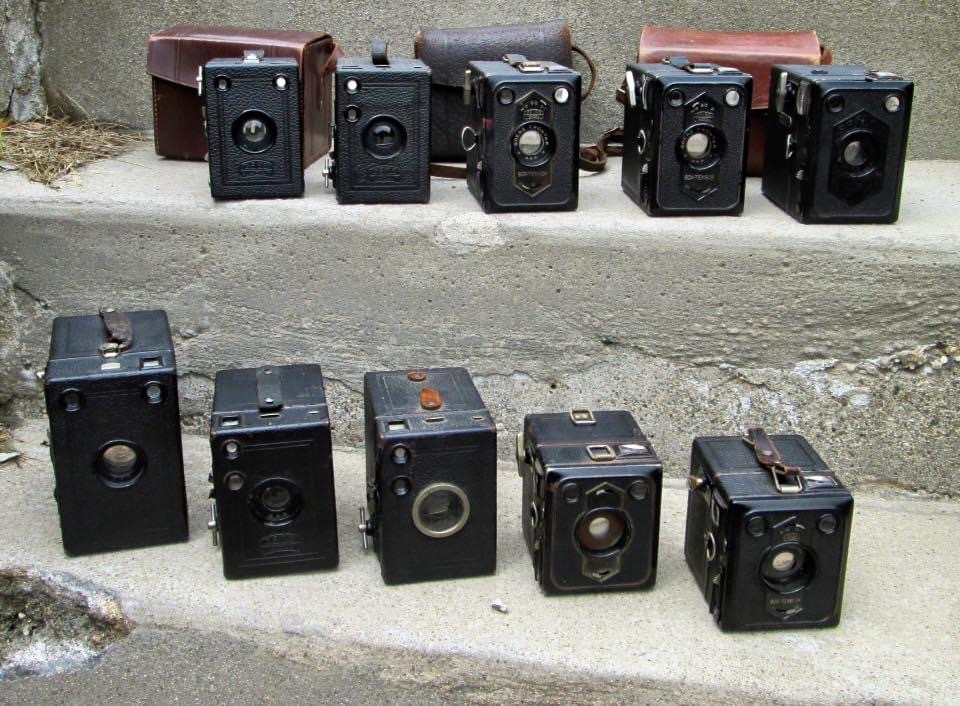
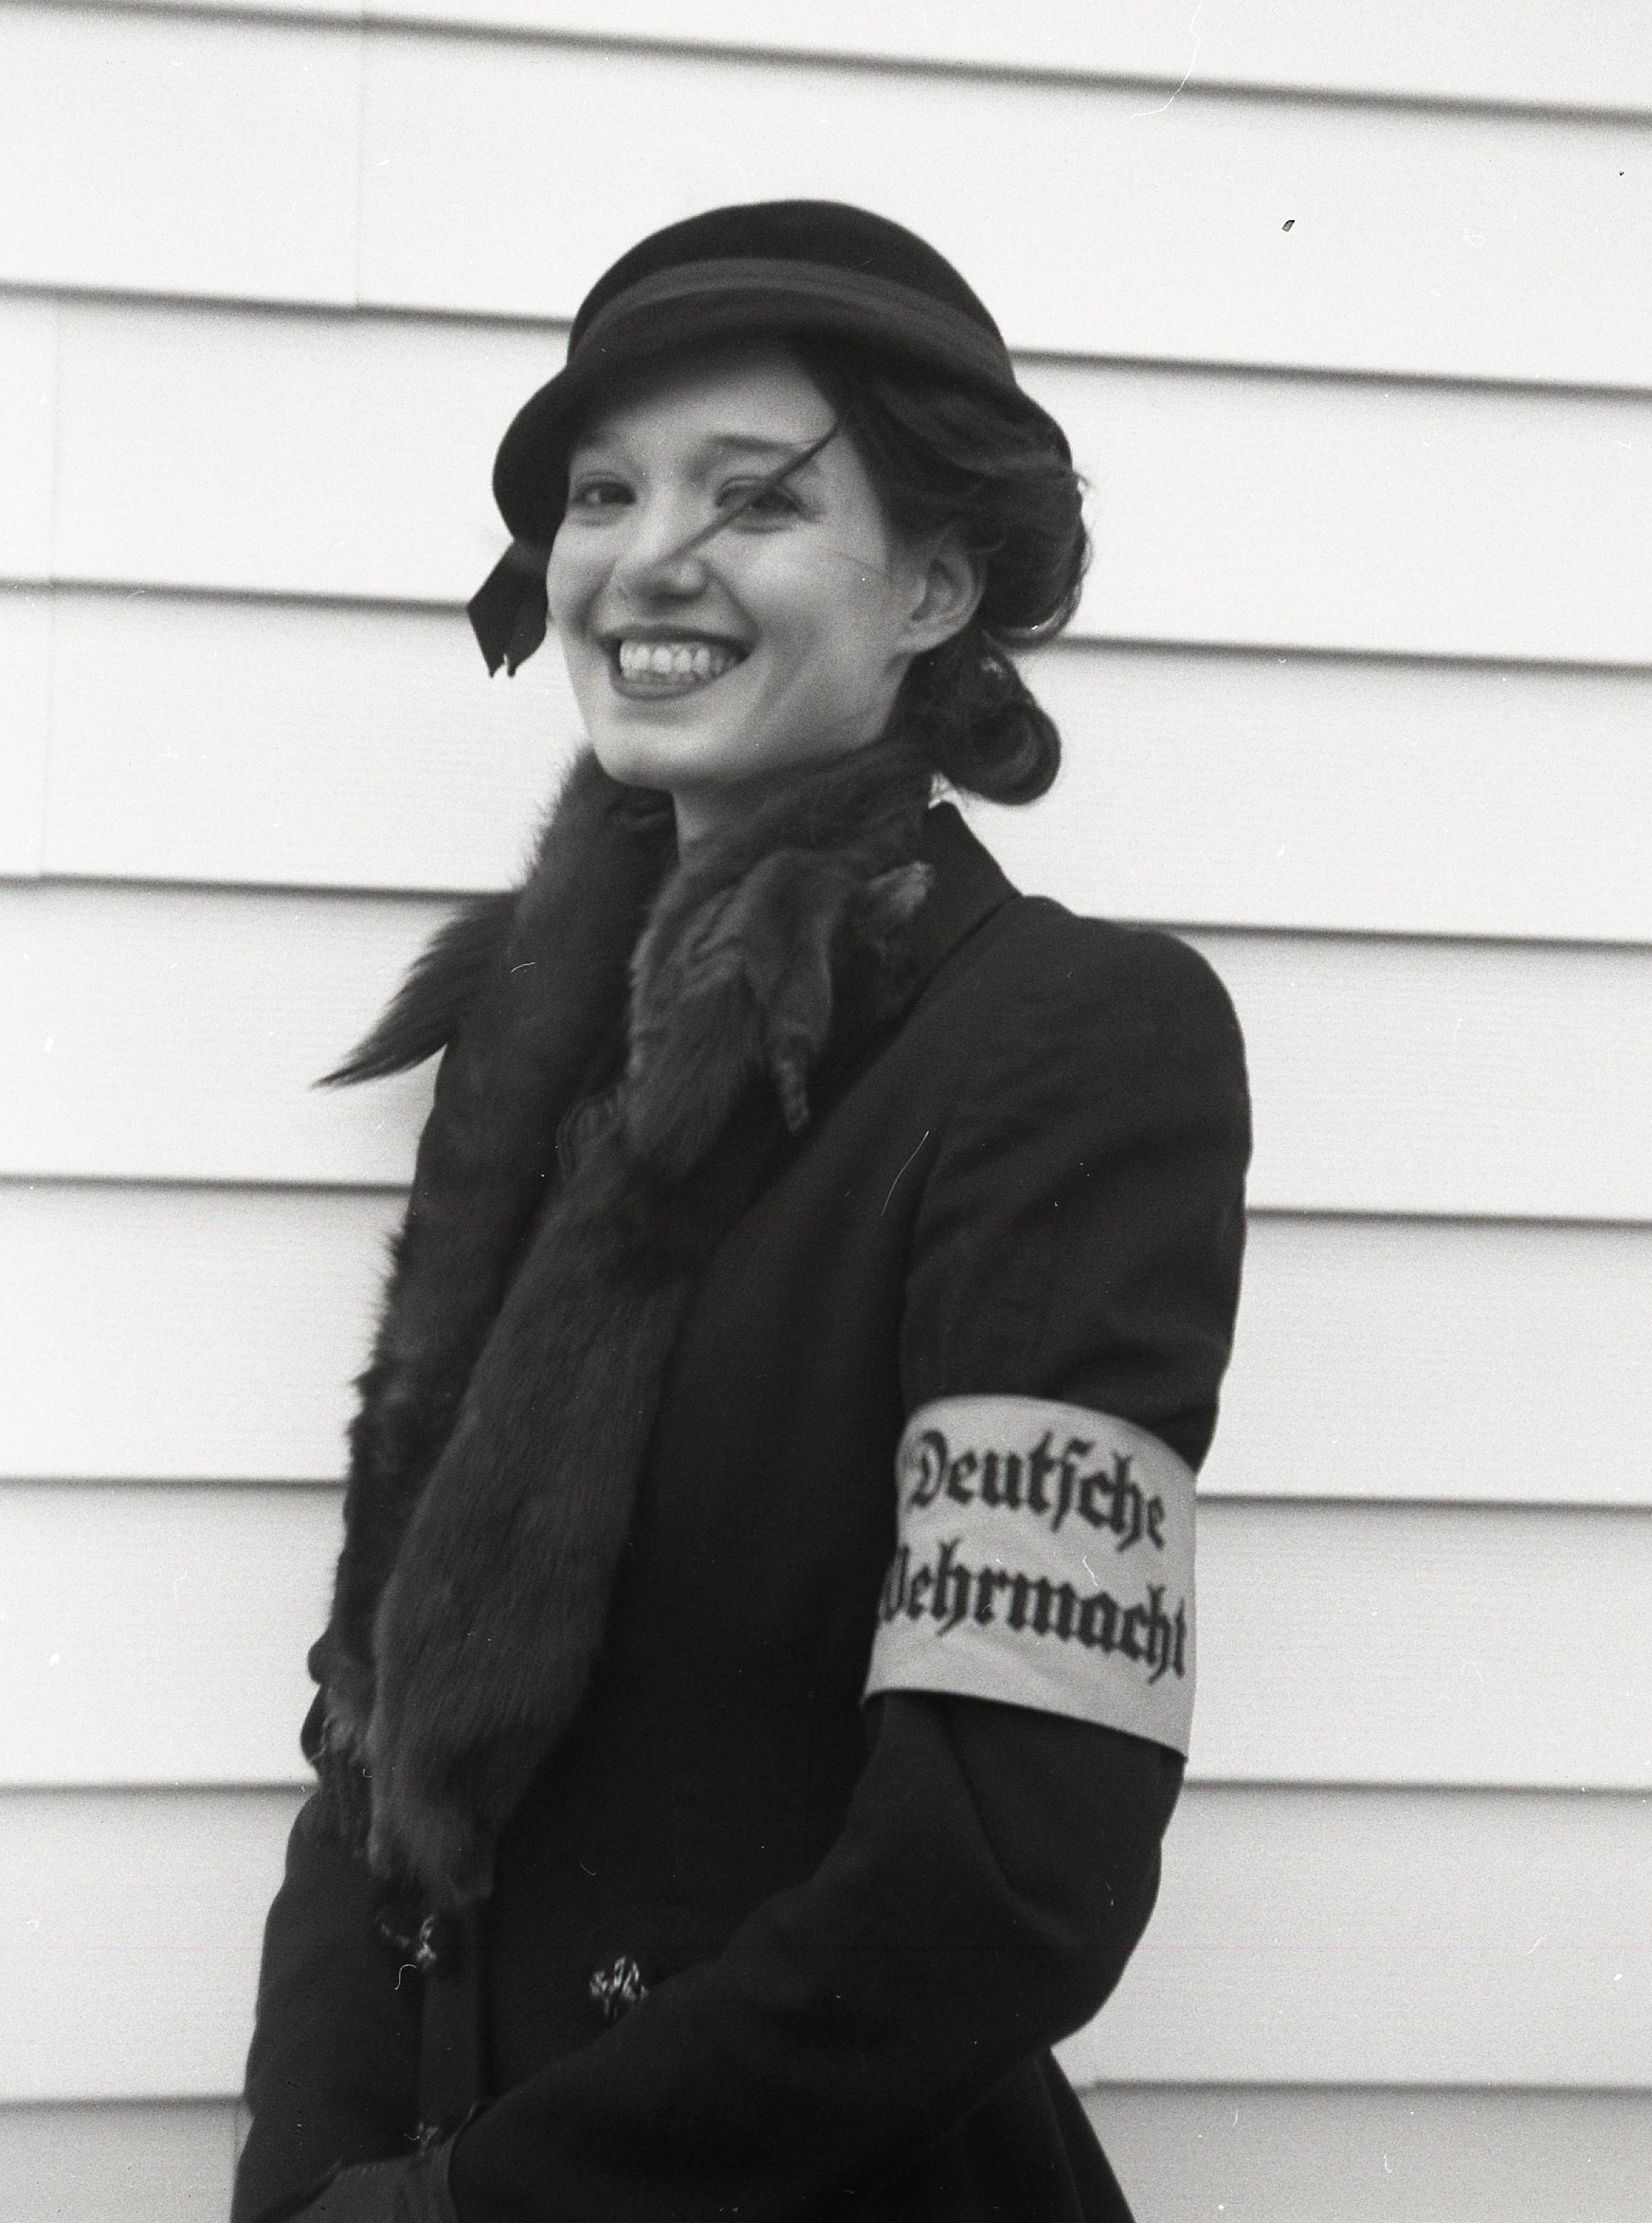
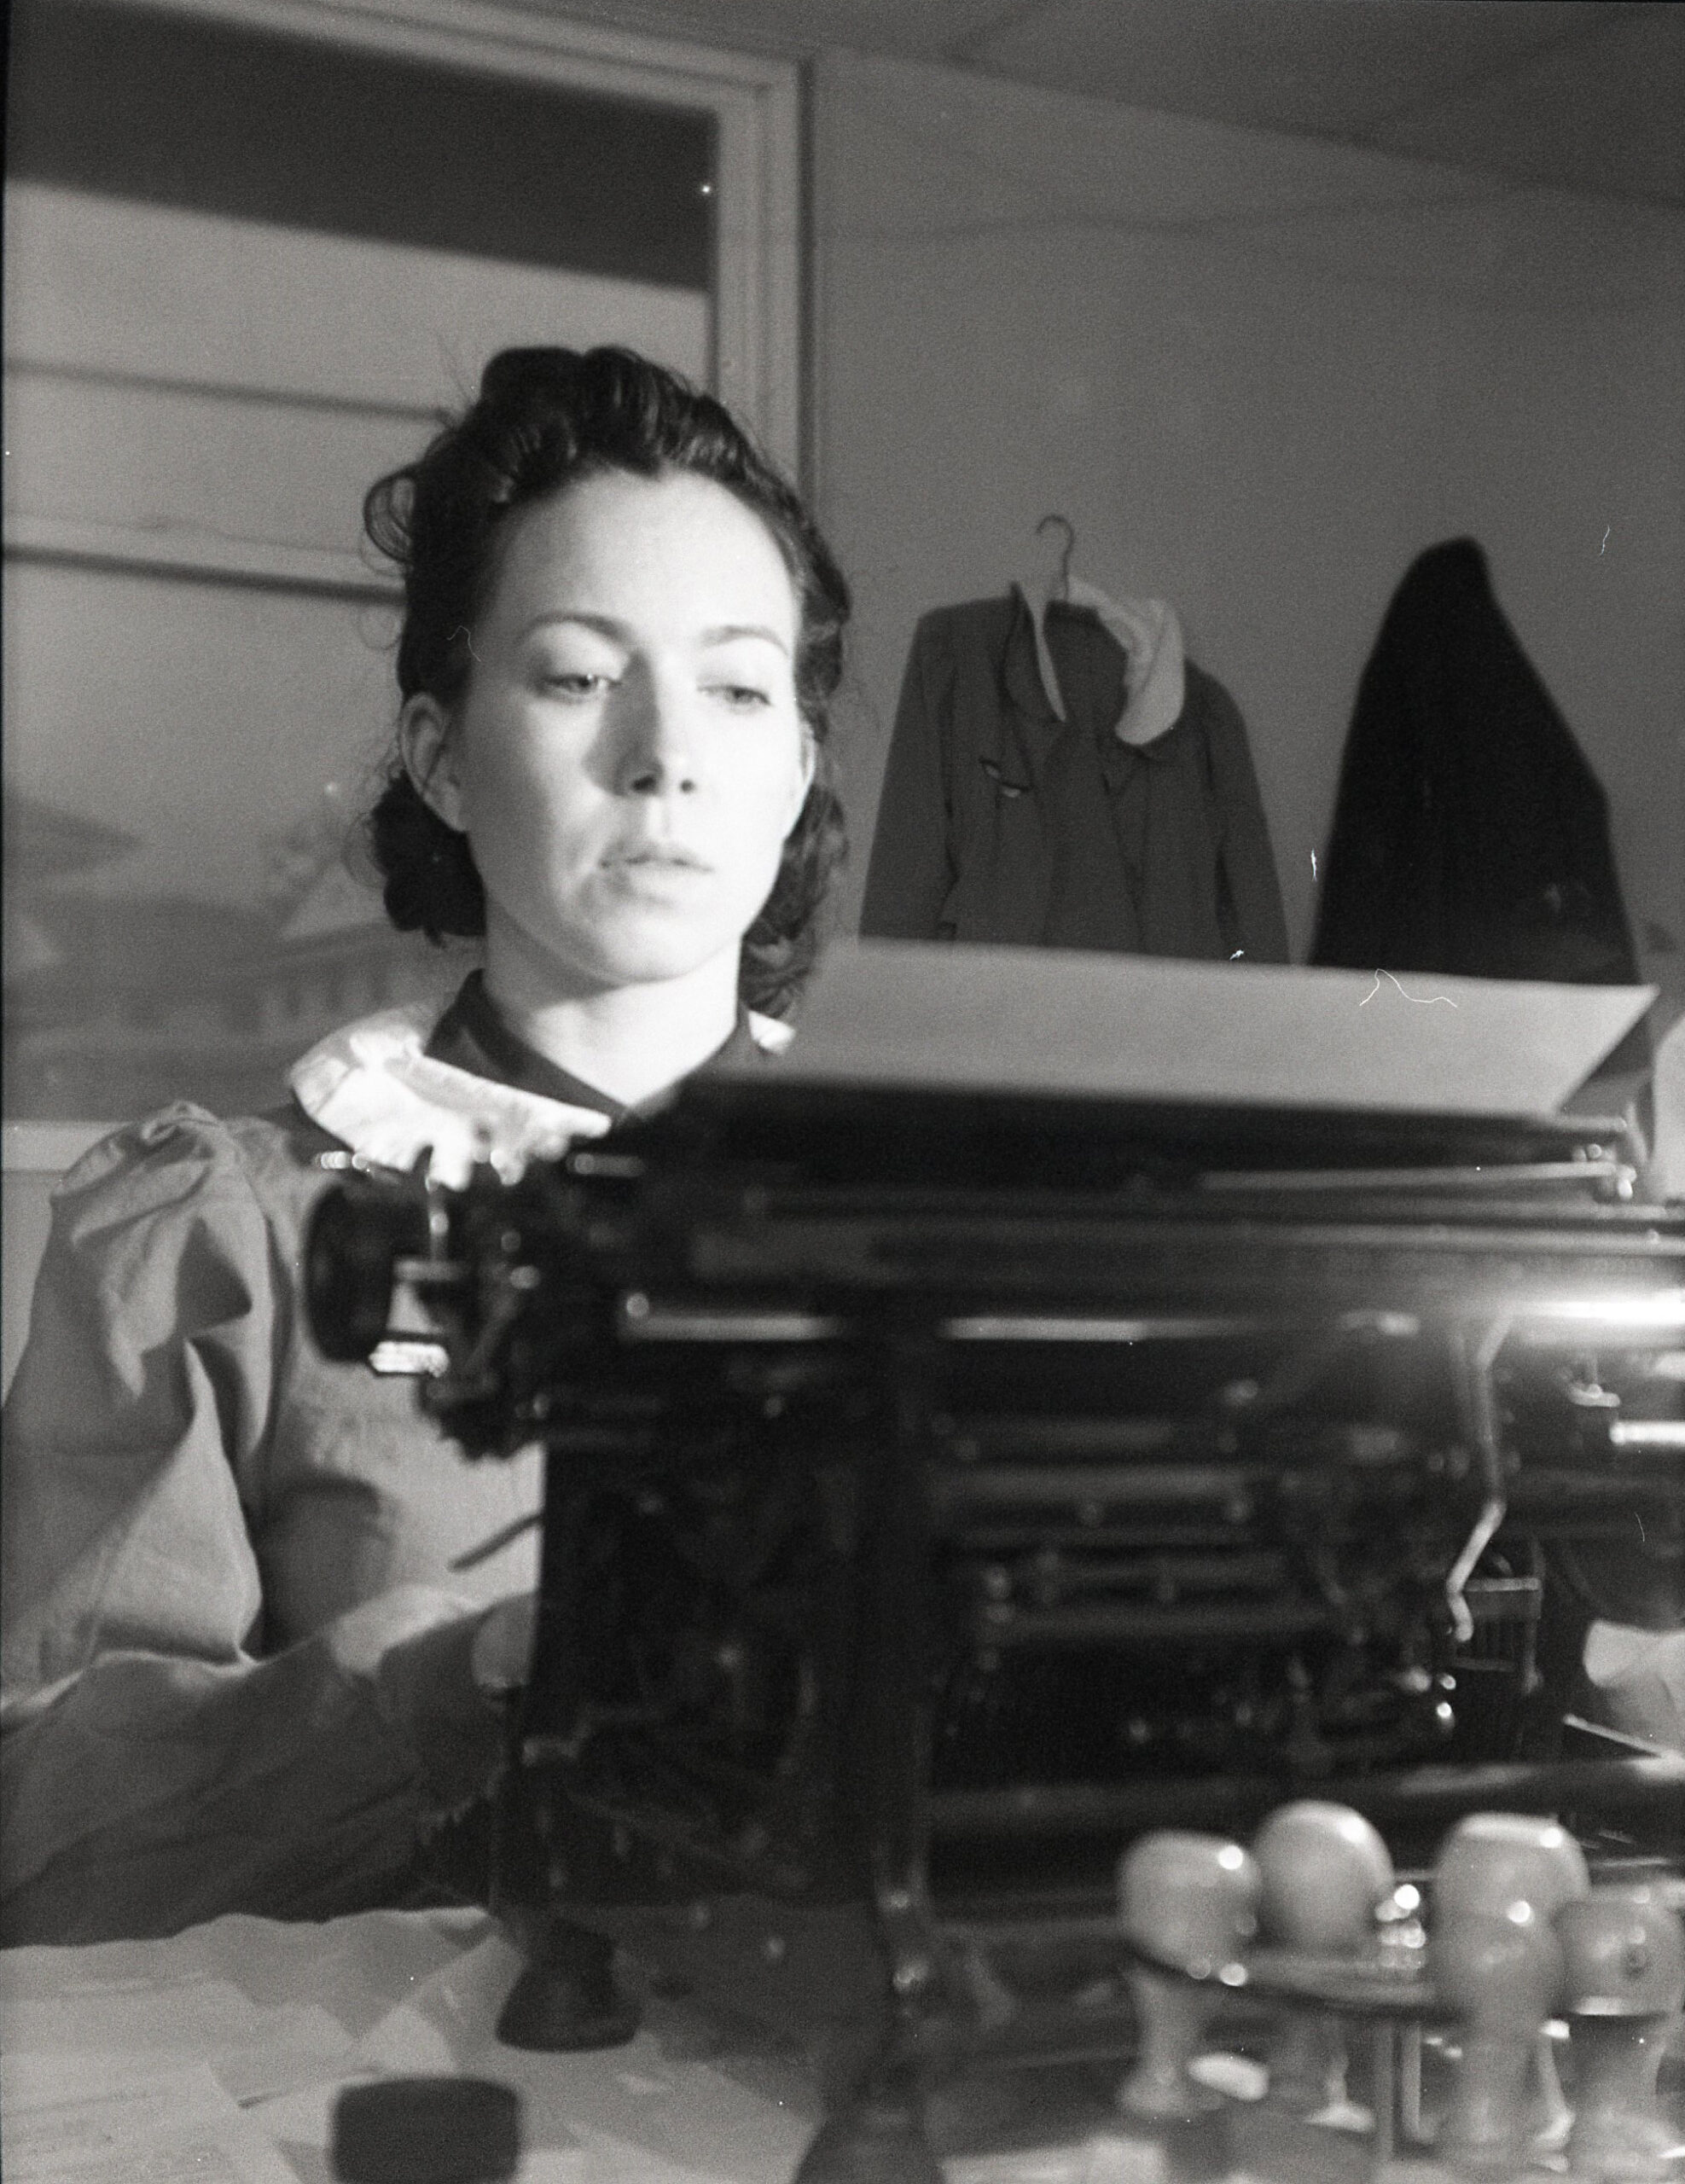
I choose to use box cameras for a number of reasons. Box cameras were perhaps the most common cameras in prewar Germany, as they were the only cameras that could be had for less than a day’s pay for an average worker. Millions were made. Folding cameras that used 120 film were also common in that era, but these cameras can be more difficult to use today, as they are prone to light leaks in the fragile old bellows, and the lenses can be difficult to access for cleaning. Rangefinder cameras that used 35mm film, such as Leicas, were very expensive and mostly used by professional photographers. The simplicity and ease of use of box cameras is part of their appeal for me. Most box cameras from that era had simple, uncoated meniscus lenses. These simple lenses often resulted in soft focus at the edges of the frame, and this focus vignetting is an instantly recognizable feature of many wartime and prewar private snapshot type photos. Some box cameras did have better lenses and more features, allowing for somewhat more sophisticated photography as well. While better cameras are more appropriate for people portraying military photographers, and may be better at reproducing propaganda type photos, it’s my experience that box cameras cannot be beat when it comes to replicating the look of private snapshots from WWII. All of the reenactment photos used on this page were taken with box cameras.
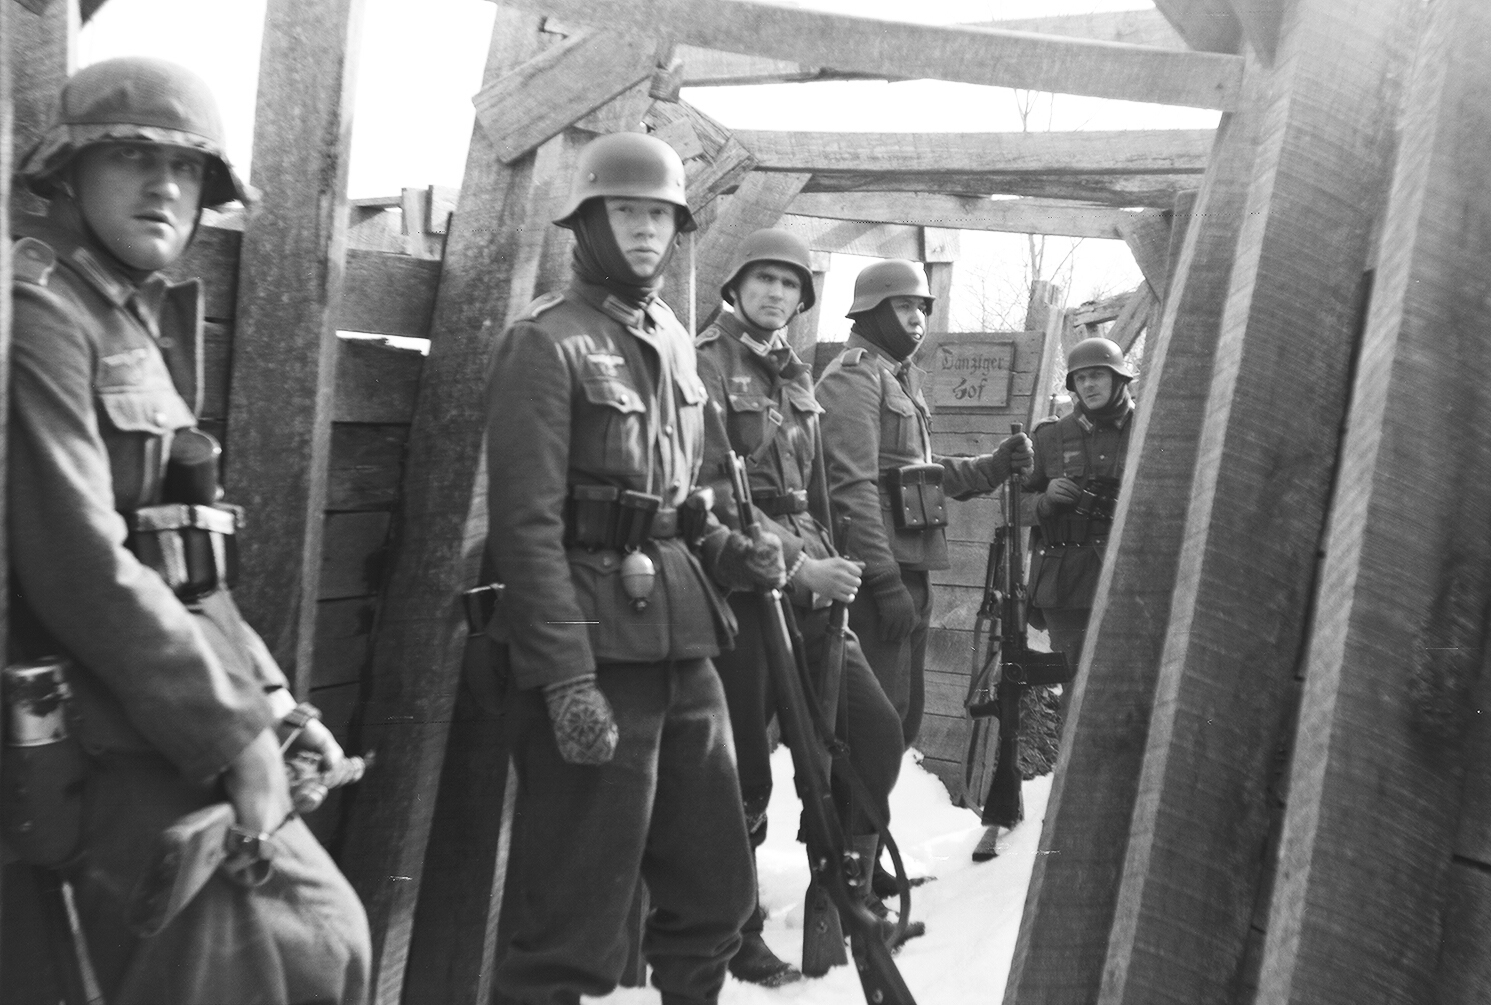

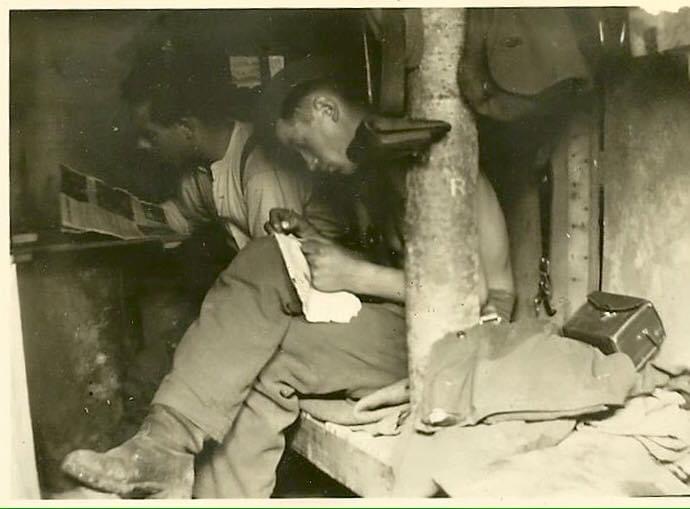
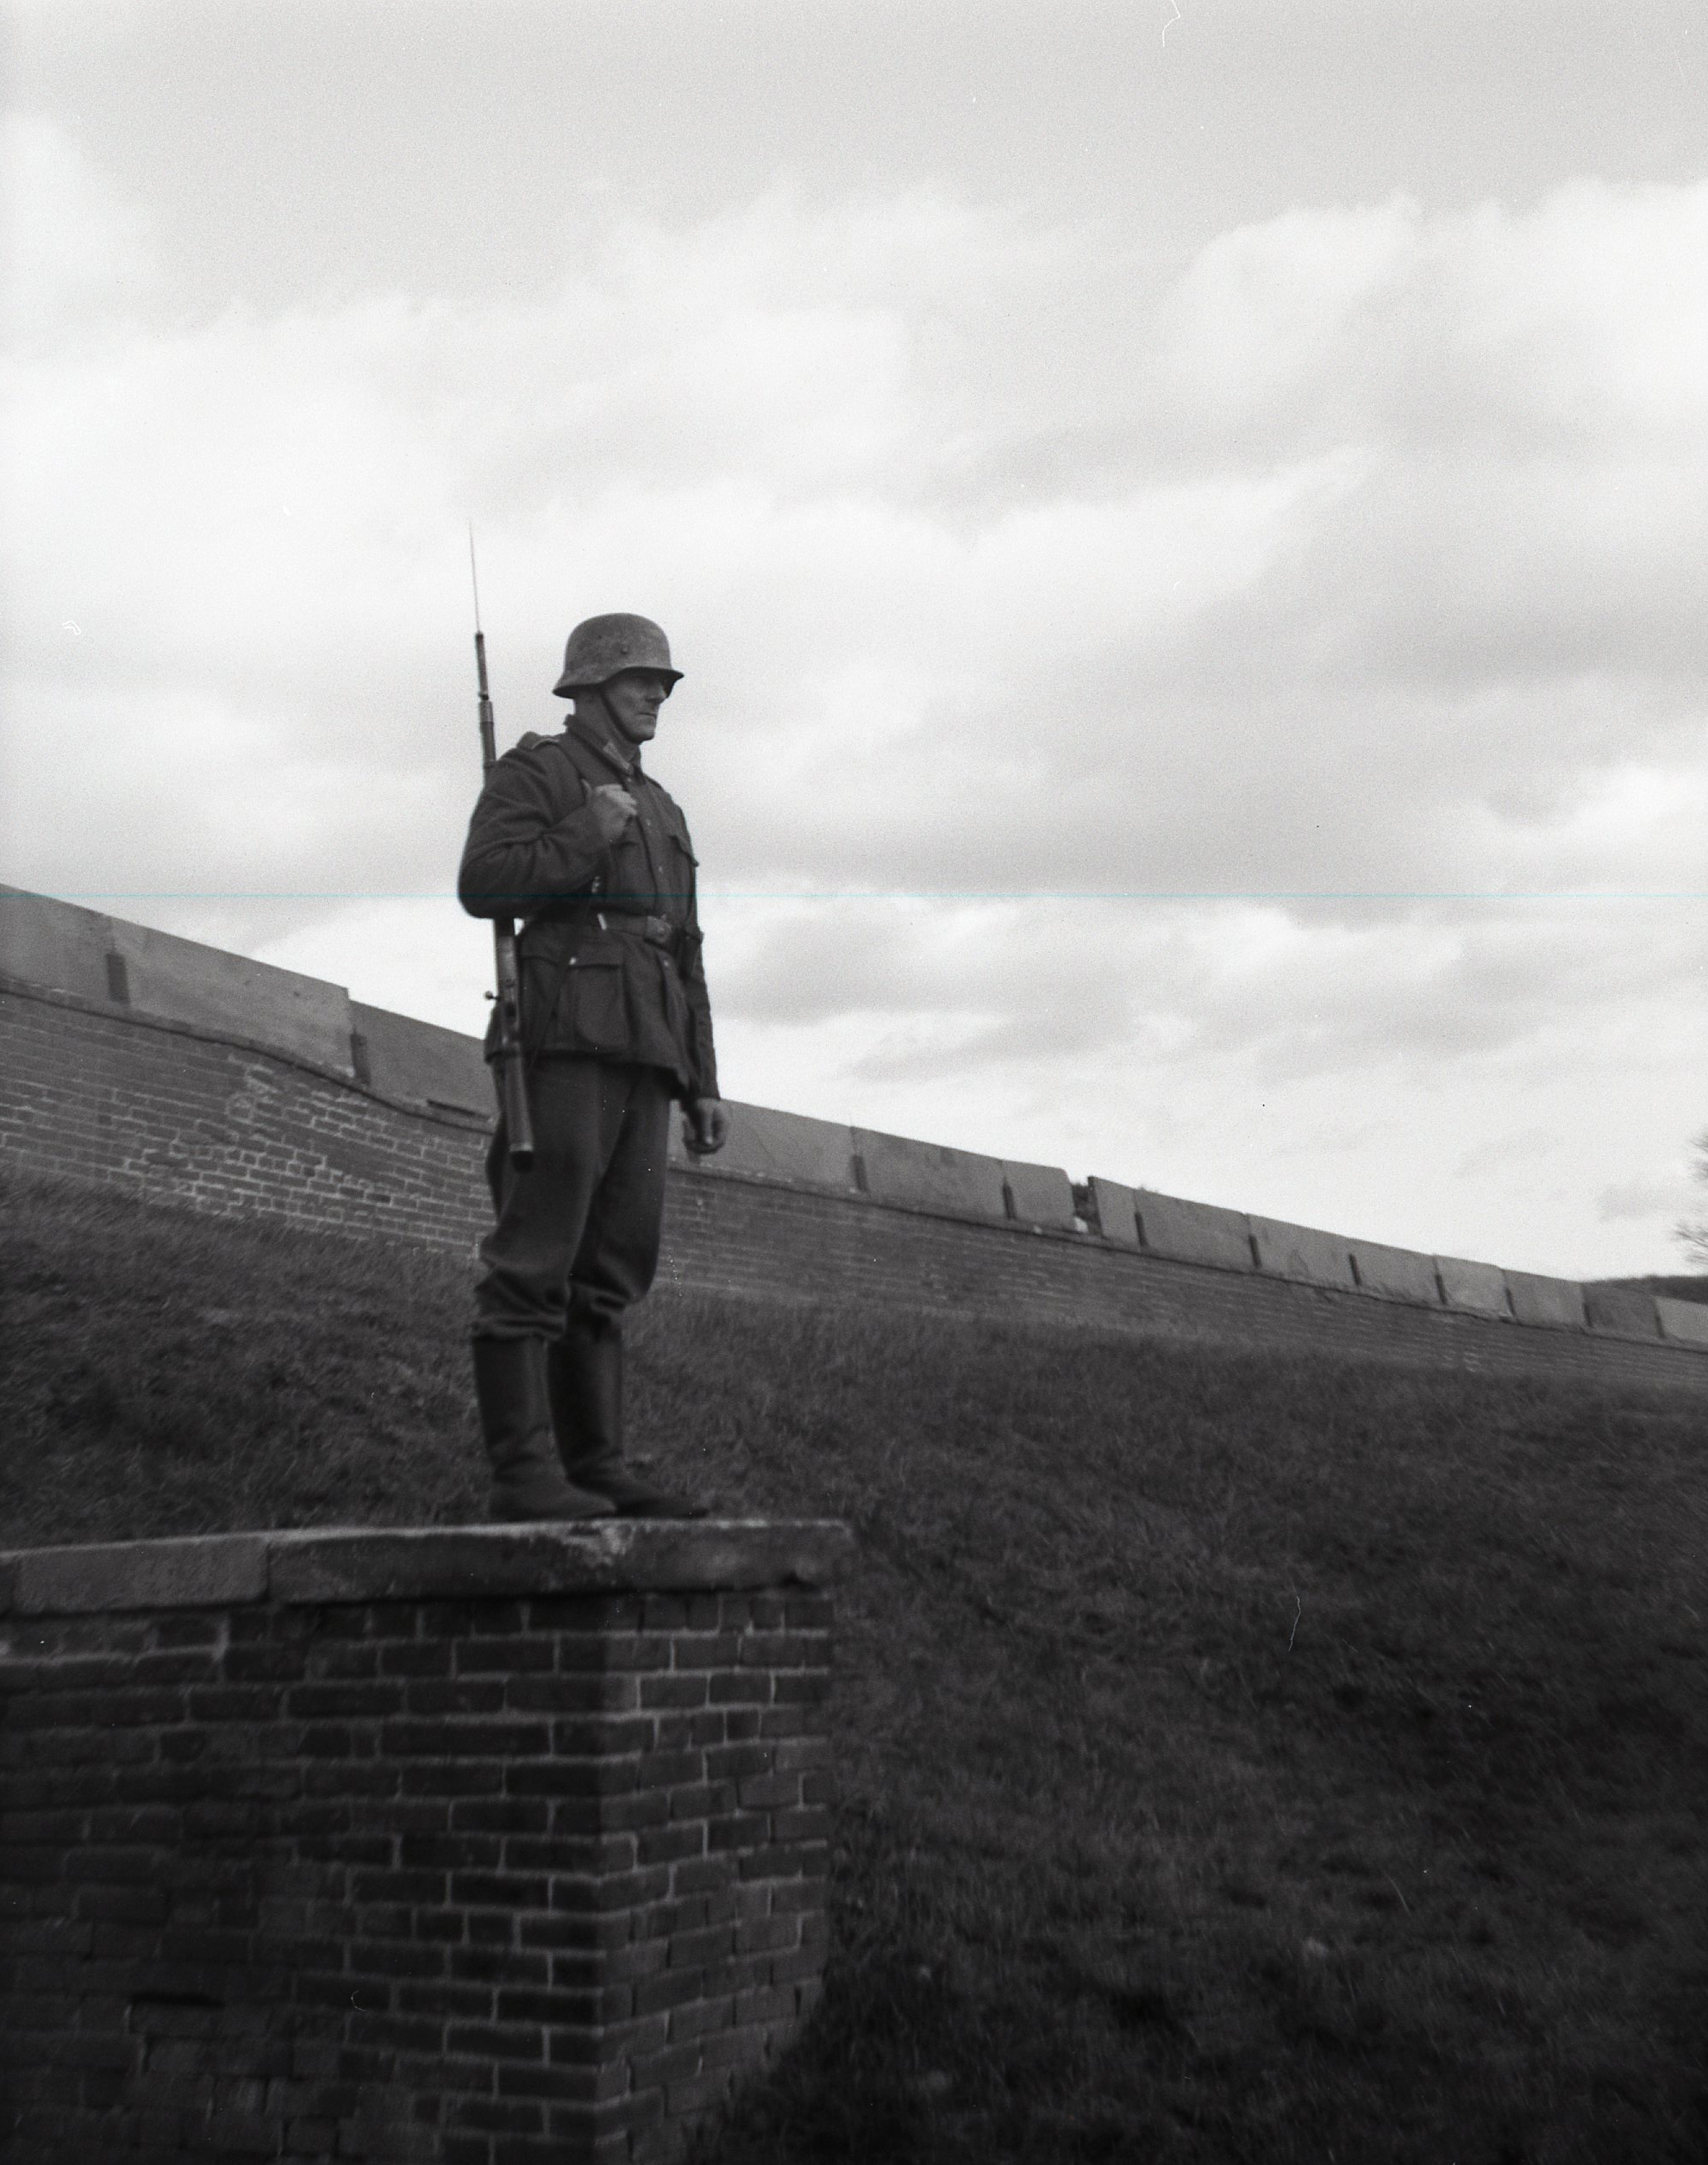
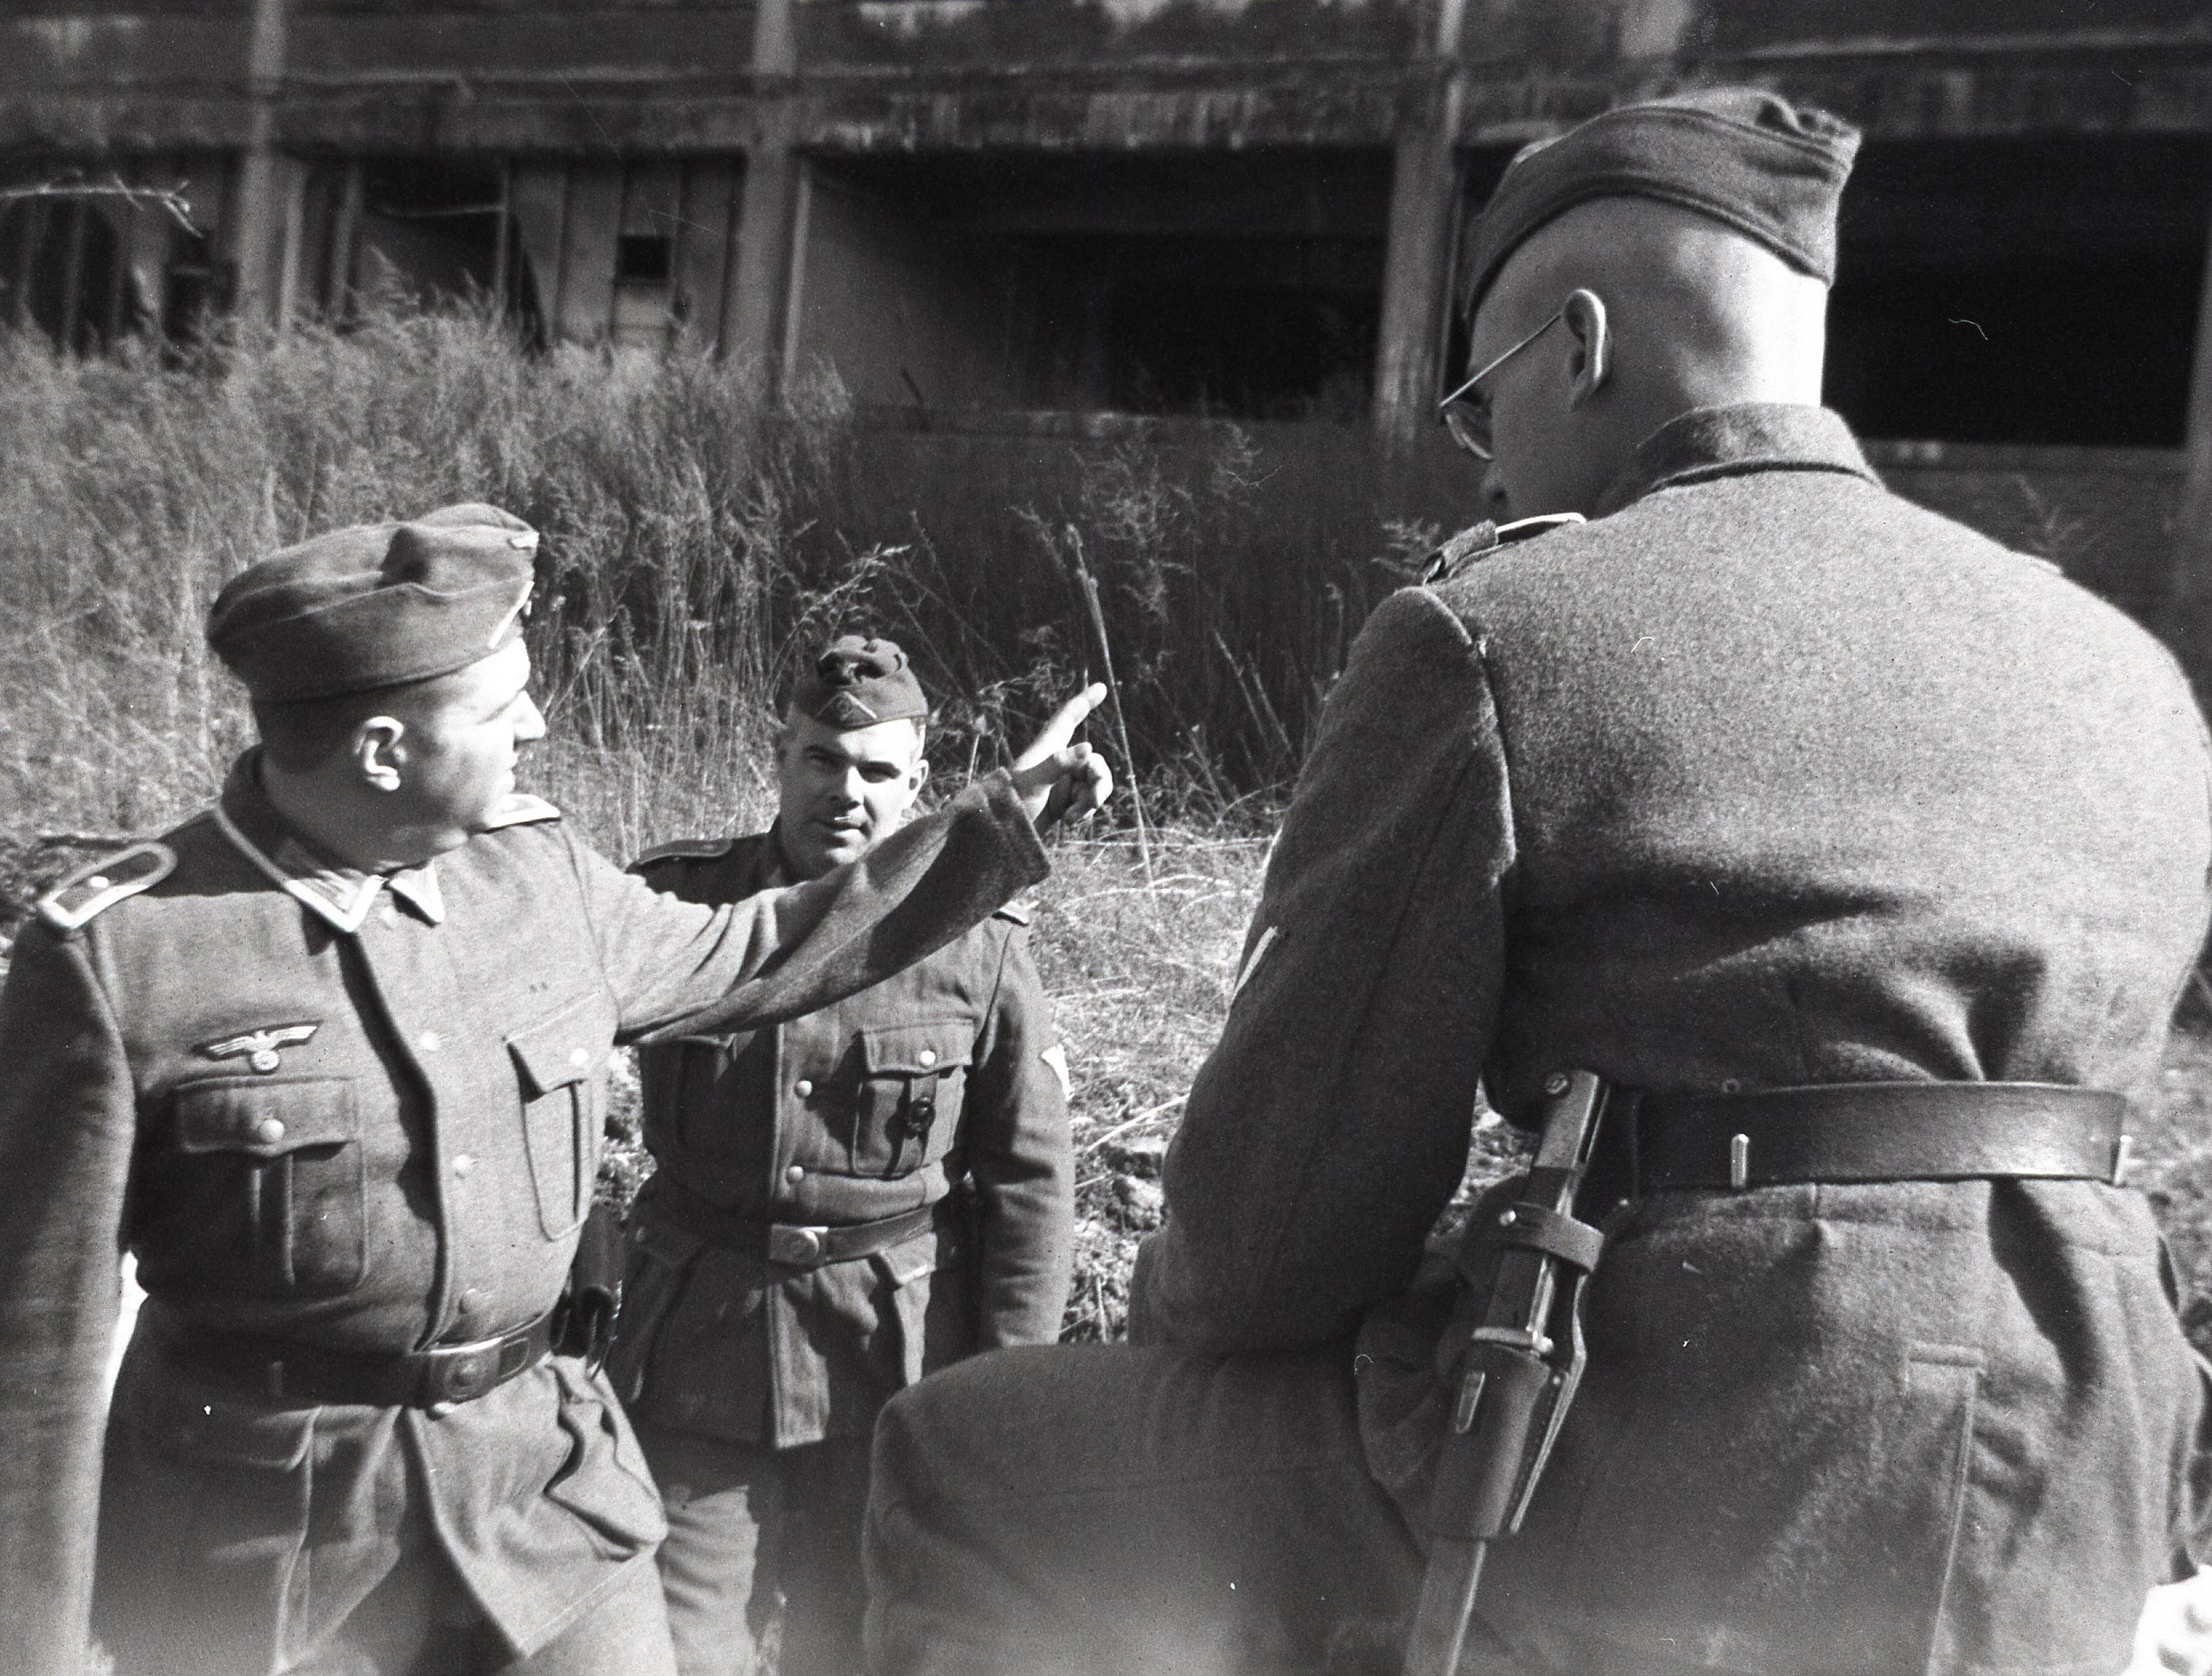
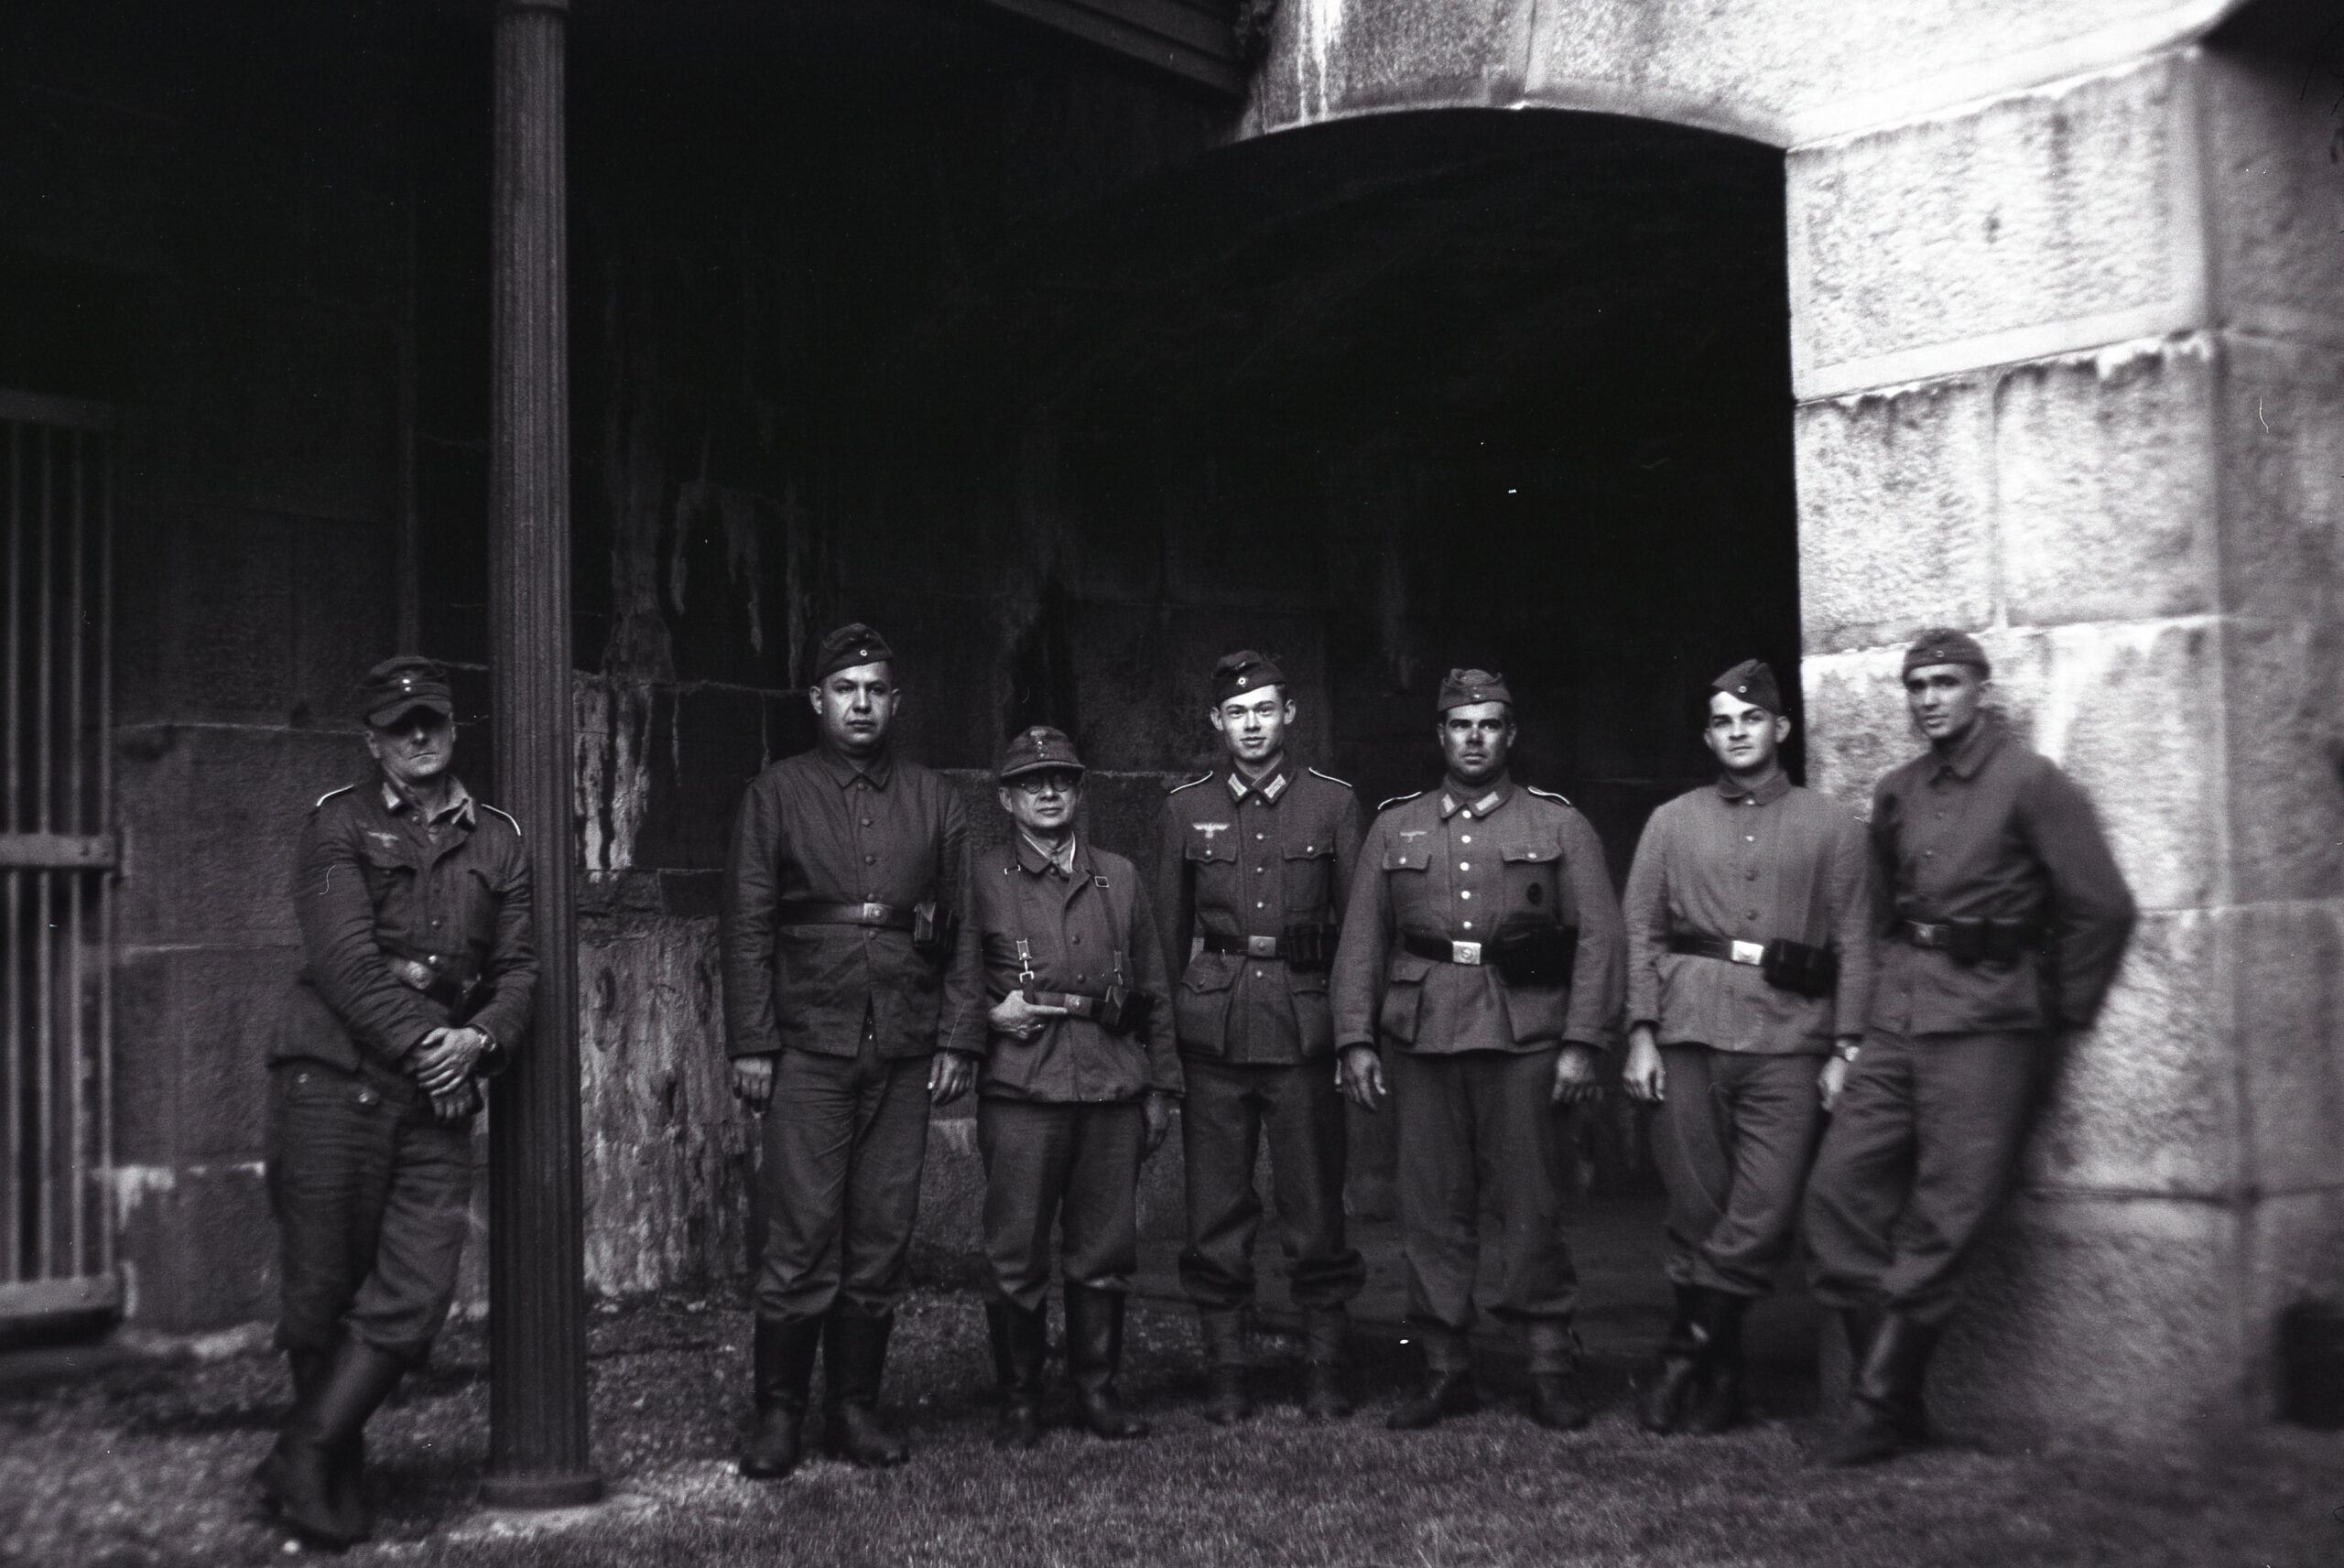
There are drawbacks to using box cameras. They are bulky, too big to carry in a uniform pocket. Soldiers in the field would likely have found it difficult to carry and store box cameras, and use of these cameras in a wartime combat setting can of course be ruled out. Despite this, there is documentation that some Wehrmacht soldiers did carry and use box cameras during the war. In his memoir “Condemned to Live,” Panzer artillery soldier Franz Fritsch recounts using a Kodak box camera to take the wartime snapshots used to illustrate the book. And this wartime bunker photo shows the leather case of a box camera, perhaps the very camera used to take this private snapshot.
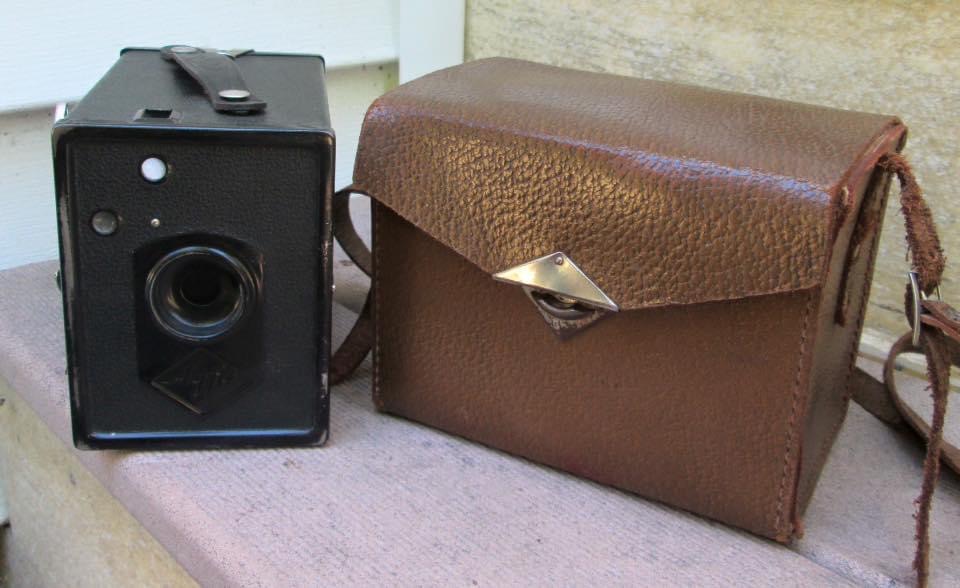
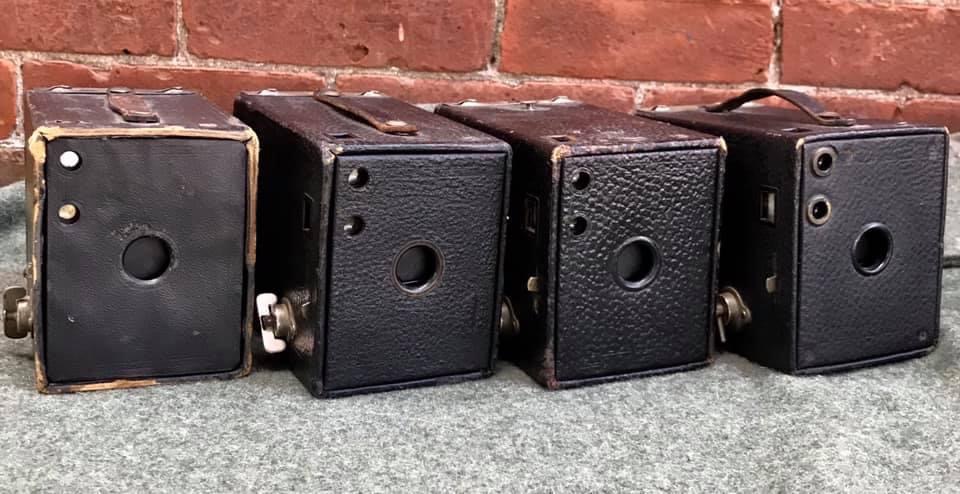
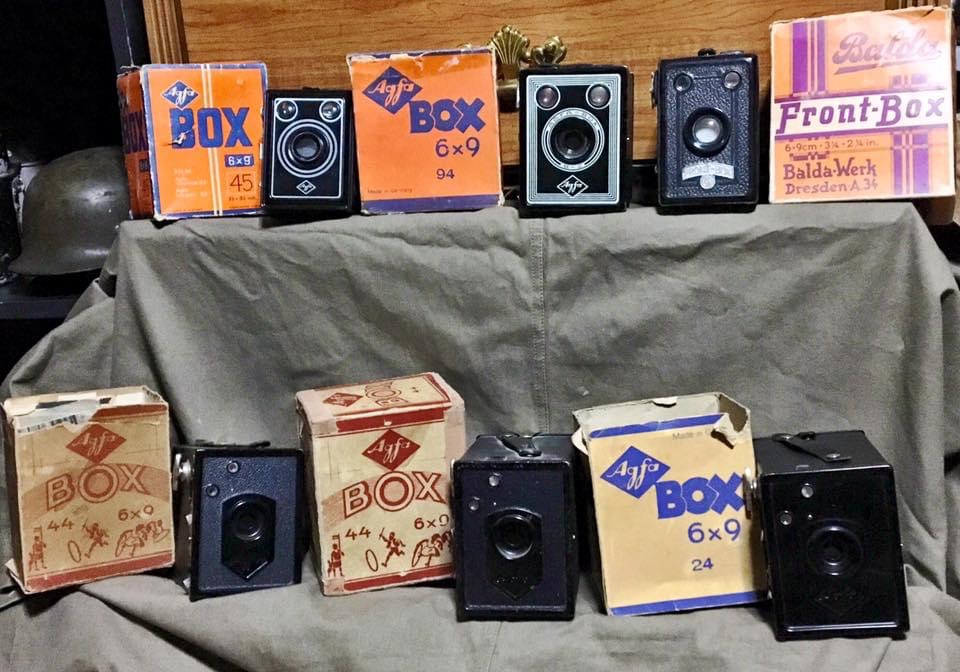
There were many manufacturers of box cameras in prewar Germany. Before WWI, most cameras sold in Germany were Kodak cameras, made in the USA. Kodak had its own dealer network in Germany before 1914. Kodak returned to the German market in 1924, eventually selling cameras including the Brownie No. 2 and Hawk-Eye No. 2 Model C box camera models, but now they were facing competition from some German manufacturers. By 1931, German firms including Agfa, Zeiss-Ikon, Balda, and a number of smaller companies were making cameras (including boxes) for the domestic market. In 1932, Agfa introduced the Box 44, a simple box that sold for the unheard-of low price of 4 Marks (by comparison, the cheapest Kodak box cost 10 Marks in 1926). The Agfa Box 44 was a huge success, that popularized amateur photography in Germany.
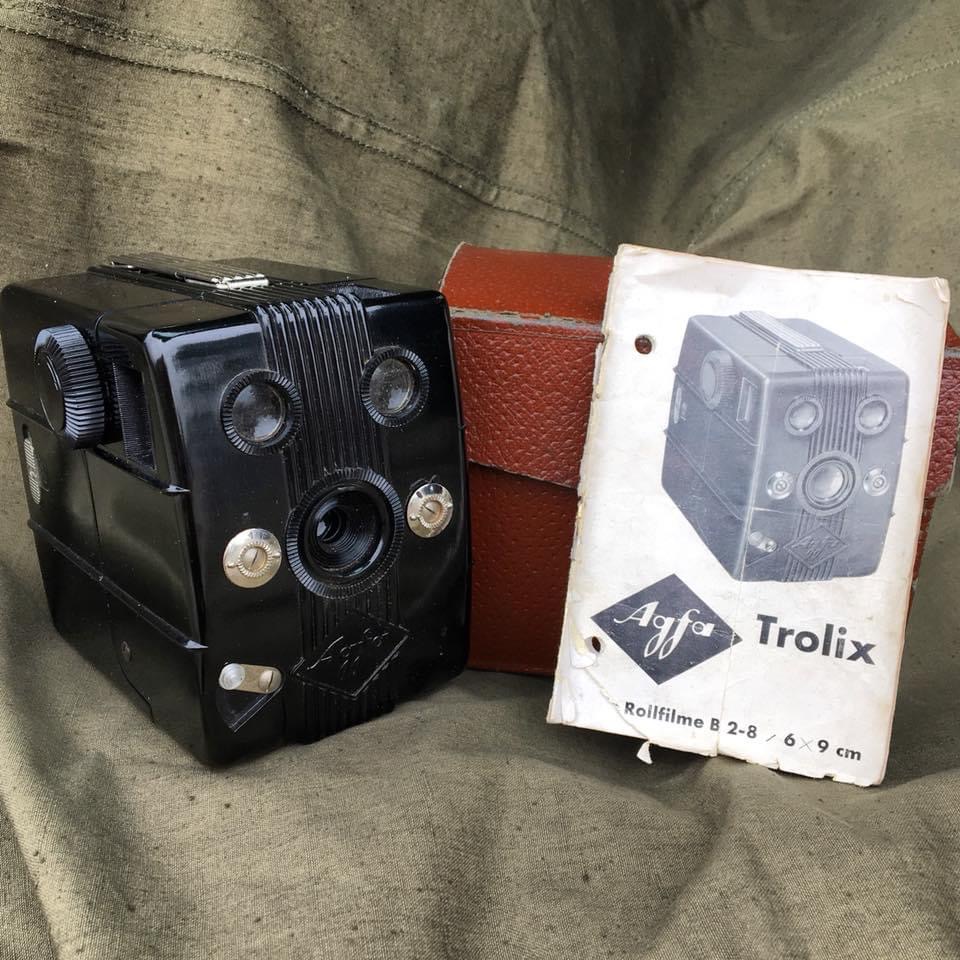
Prewar German and American cameras were made to use a number of roll film formats. Today, all of these formats are obsolete with the exception of 120 film, which was introduced by Kodak for their Brownie No. 2 box camera in 1901. 120 film remains widely available, being made by a number of film manufacturers, and can be found at any real camera store, or online. If you are buying your first box camera, it is easiest if you make sure that the camera you are buying takes 120 film. Some camera models, such as the Agfa Box 44, were only made in the 120 format; if you look up any camera model online, you can probably learn if it was made in just 120 or in other formats also. Kodak cameras are likely to be marked somewhere with “Use 120 film,” while German cameras may be marked with “B2” or “B II,” a German designation for 120. Many Kodak cameras were made to use 620 film, which is the same as 120 but uses a different spool that may not be compatible. If this sounds confusing: just look for a camera that says it takes 120 film, or buy from a seller who knows what film format a camera uses.
It may be hard to find a box camera that has been cleaned, tested and works. You might have to test and clean the camera yourself. If the shutter fires, it’s likely that the camera can be cleaned up and made to work, but not all sellers will be willing or able to test even that basic function. If you get a camera with a working shutter, the lens will almost always need to be cleaned before the camera will take good photos. Use cotton swabs and glass cleaner to very gently clean the lens. Don’t scrub, wipe carefully. You can use an old T-shirt or a lens wipe at the end to do a final wipe.
Manuals for many prewar cameras can be found in PDF format online. There are also many YouTube videos showing how to use box cameras, even specific box camera models. For example, here is a video I made showing the Kodak Hawkeye No. 2 Model C. Most box cameras function similarly to this.
Here are the most important things to keep in mind when shooting with box cameras. The shutters are slow by modern standards, so if you are not holding the camera still, the images will come out blurry. Press the camera against your body to steady it, breathe out, hold your breath, and smoothly fire the shutter. You also need to make sure you are a proper distance from your subject. While some box cameras offer different focus zones, most box cameras are fixed focus. With a Box 44, everything six feet and further from the camera will be in focus. Kodak manuals indicated that subjects eight feet and further away would be sharp, while objects as close as six feet, while not as sharp, would be sharp enough for practical purposes. You may need to experiment a bit to get a sense for how close, is too close, with your camera.
With most box cameras, you will get 8 exposures per roll of 120 film. It’s my experience that the brand or even the speed of the film won’t make a big difference in most situations. My favorite all-purpose film for box cameras is Ilford FP4 Plus, which at the time of writing (2021) can be found for $6-$7 roll. I have also used cheaper film, with very good results. Ilford FP4 Plus is ISO 125 (125 speed). The higher the speed number, the faster the film is exposed when light hits it. As I mentioned above, box cameras have shutters that are slow by modern standards. You will want a film with a fairly low speed, so that the photos are not overexposed. In bright sun, I will use 100 speed film. In lower light (a cloudy day) I will use 400 speed film; I haven’t used anything faster than that. If you are going to take photos indoors, or in low light conditions, you need to take a time exposure, if that is a setting your camera has. Film has a lot more latitude and flexibility with exposures, than you might think.
Once you have taken your photos, the next step is developing your film. There are many labs all over the world that still develop film, and you may be able to find a place local to you. Most places that develop film will develop 120 film, and they may be able to make prints or scans for you, depending on how you want to view and share your photos. If you can’t find a local place, you can send the film out to a place that will develop, print or scan for you. I used to send my film to The Darkroom in San Clemente, CA. They would develop my film, scan my negatives, and upload them to the Internet so I could download and share them. But I was taking a lot of film photos, and at $12/roll, it got kind of expensive. I found that I could save a lot of money over time by developing and scanning my black and white film myself.
Sending my film out for development and scanning cost me more than $2 per photo I took. The same photo now costs me less than $1. I had to spend a bit of money up front, but have since enjoyed cheap photos for a long time. Developing black and white film yourself at home is super easy. You need the following supplies to develop your own film:
-Developing tank and reel for 120 film
-Chemicals. You need developer and fixer. I used Kodak powdered chemicals because they are inexpensive and they always work for me. The developer I use is Kodak Professional D76 Developer and the fixer is Kodak Professional Fixer. You also need a bucket to mix the chemicals.
-A measuring cup (ideally with gradations in milliliters) and thermometer
-Containers for chemicals. I bought cheap gallon water jugs at the grocery store, dumped the water out, and I use those bottles for my developer and fixer. You can use any kind of bottle.
-Something to weigh the bottom of the film roll when hanging to dry. I use clips for documents.
This is EVERYTHING I use to develop film. I go in a darkened room and sit under 2 or 3 wool blankets and a Zeltbahn shelter quarter, and tuck the blankets around me so no light can get in, and I load the film into the tank. I measure the developer, make sure the temperature is in the 68-75 degree F range, and pour the developer in the tank. I use a stopwatch to time the developing, agitating the tank every minute until the developing is done. Then I dump the developer, put water in the tank and dump it out twice, then I pour in the fixer, timing it and agitating just as I did with the developer. When the time is up, the fixer goes back into the bottle, I rinse the film and hang it to dry. The total time is about 20 minutes and it is so easy. I found lots of great YouTube tutorials on every aspect of the process, from mixing the powdered chemicals, to loading the tank and developing the film. The cost for all the supplies needed to develop film is less than $100, an amount you might spend having someone else develop your pictures from 5-6 reenactment events. Doing the developing yourself cuts the cost of developing to less than $1 per roll.
I share my reenactment photos online. To do this, you need to scan your negatives; this requires a scanner that can handle film. The film has to be backlit to get a good scan. A document scanner uses reflected light, and won’t give good results. Some people use a light table and a DSLR digital camera on a stand to photograph the negatives, then rework the photos to create the images; I have never attempted this. I find it easy to use a film scanner and I am very happy with the results I get. At this time, I think the best scanner for this purpose is the Epson V600. The list price for this scanner is $230, and you can get it on Amazon with free shipping. You can likely find a refurbished one from a reliable seller for under $170. The scanner that I use is an Epson V550, which was cheaper than the V600 but is now discontinued. You may be able to get a good deal on a used V550 or V600.
After scanning my negatives, I will crop them and add contrast or otherwise edit the lighting to make the images look their best. A photo print may have more contrast than a scan from a negative, and lab techs have always been able to crop negatives and adjust lighting when making prints. I feel the digital edits I make are analogous to these analog processes. The scanner makes its own adjustments before I even see the scan; I don’t see any reason to be a “straight from the scanner” purist when I am making digital images from negatives, to share online. I mostly use Photoshop Elements for this. Sometimes I will e-mail the photos to myself, download the photos to my phone, and then use the basic photo editing tools or a photo editing app, before sharing them from my phone to a social media platform.
Once you have bought the developing supplies and the scanner, you are all set to develop your own black and white film. The total start-up cost is around $300-$350. As a reenactor, you might pay this much for a helmet or some other uniform or gear item. Processing your own film, you will spend $5-$7 per roll, plus less than $1 in chemicals to develop, every time.